Do you even live in the United Kingdom if you have not at some point been blighted by the dreaded phrase “supply issues” since the start of 2021? Whereas some see it as a disaster, we at SylCreate have been determined to make the most of the opportunities created by supply issues – by showing the world the benefits of Green Stuff Stick.
Supply issues have meant that we have struggled to get in the materials needed for our Kneadatite Green Stuff Duro Reel. As soon as we do have product on the shelf, its popularity means that within a month or two it has sold out again. The world seemingly loves a Green Stuff Reel more than it loves a Stick.
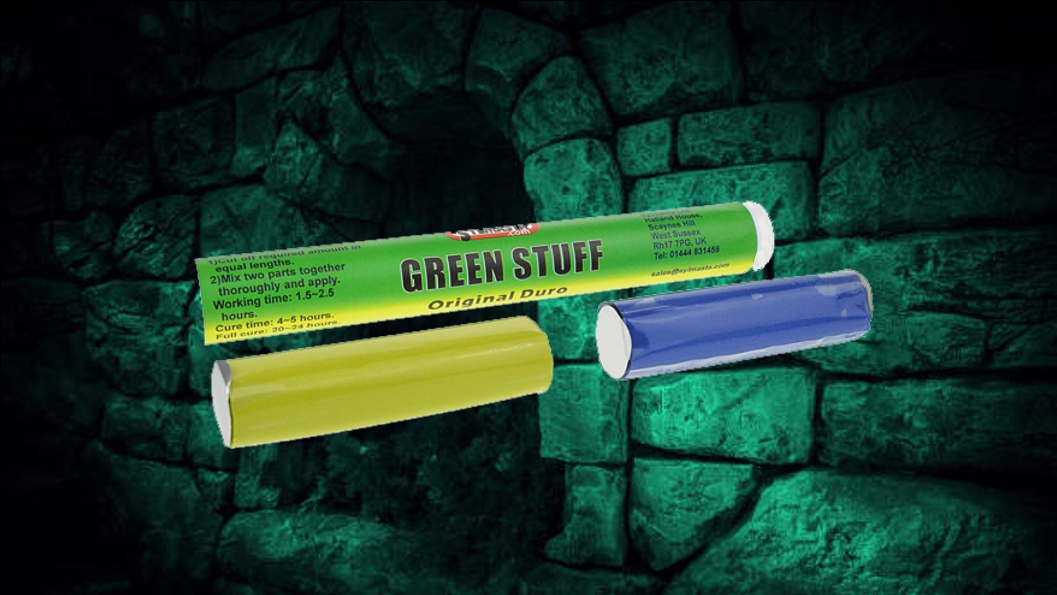
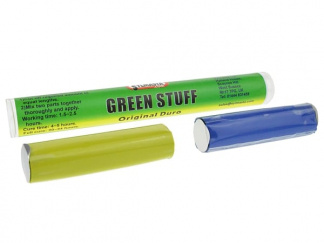
Which is a little odd because in many ways, the Stick is the format of Green Stuff putty which offers the most potential. By supplying the filler and the hardener as completely separate entities, greater control over the mixing process and the properties of the putty is possible.
The difference between Green Stuff Reel and Green Stuff Stick
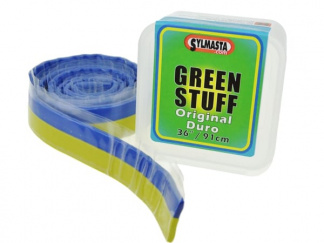
The reason that the Reel is so popular is perhaps because of its simplicity to use. It comes in a pre-formatted 90cm strip. The yellow filler runs next to the blue hardener. When cutting off the amount of putty needed for the gap filling, sculpt or conversion that the user is working on, the Reel gives a perfect 50-50 mix.
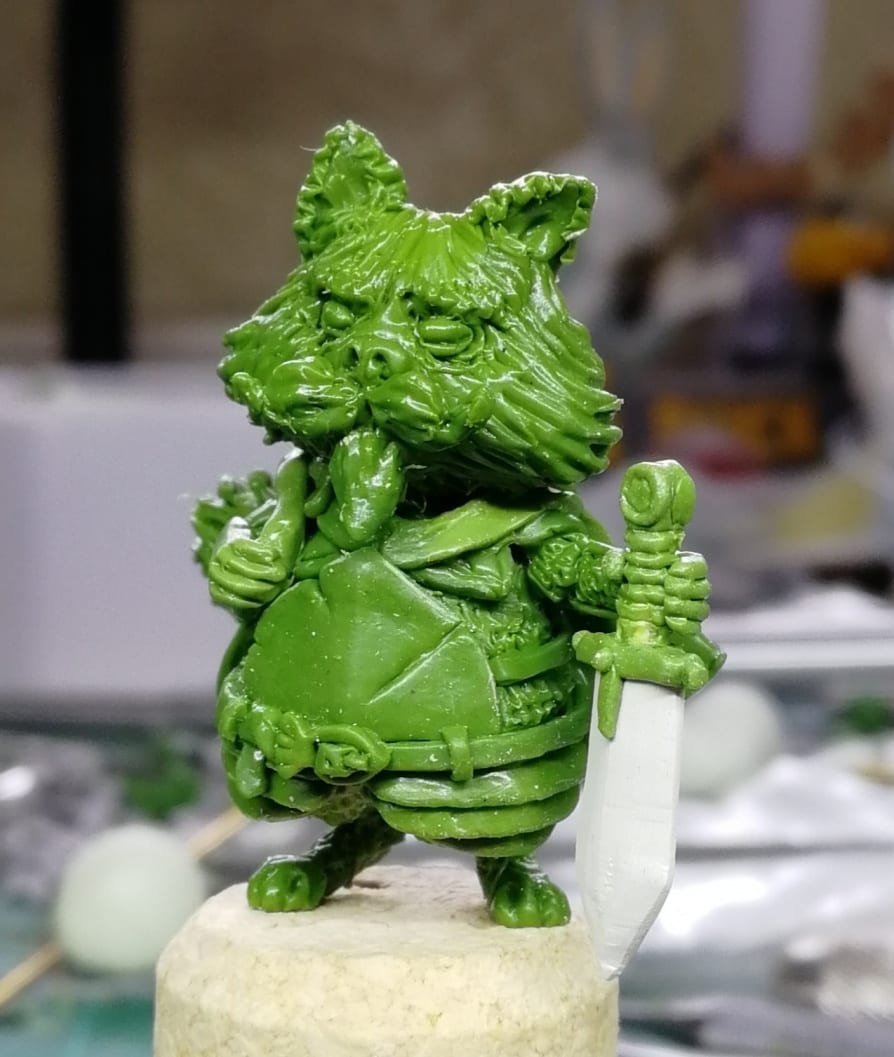
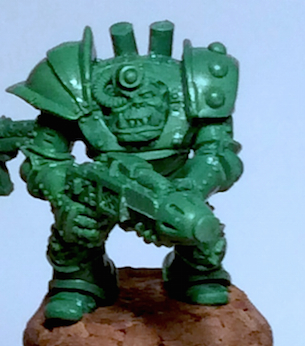
Kneading the cut-off strip by hand will mix the yellow and blue parts together, turning the putty green. When it is streak-free and sticky to touch, then that is an indication of successful mixing and Green Stuff is ready to use. Bob’s your uncle, or the orc you are carving…
Using the Stick, it is possible to easily increase the amount of hardener to filler or vice-versa. If you wanted twice as much filler as hardener, you simply cut double from the yellow stick as you do from the blue stick. Adjusting the mix ratio impacts on the putty’s properties including stickiness, cure time and flexibility.
What happens when you adjust the mix ratio of Green Stuff?
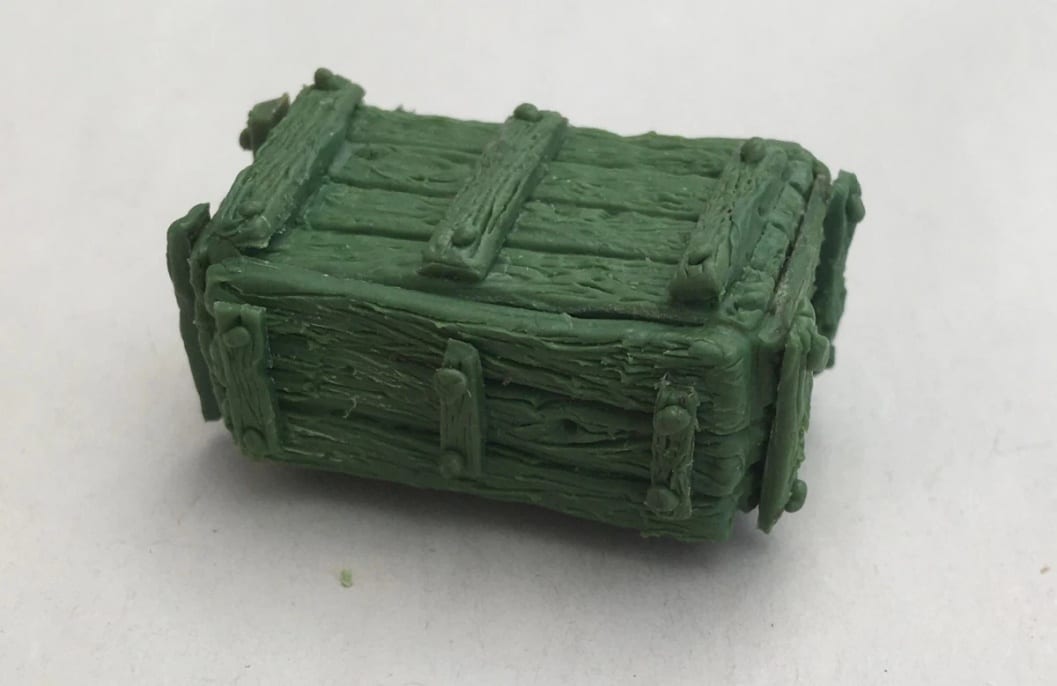
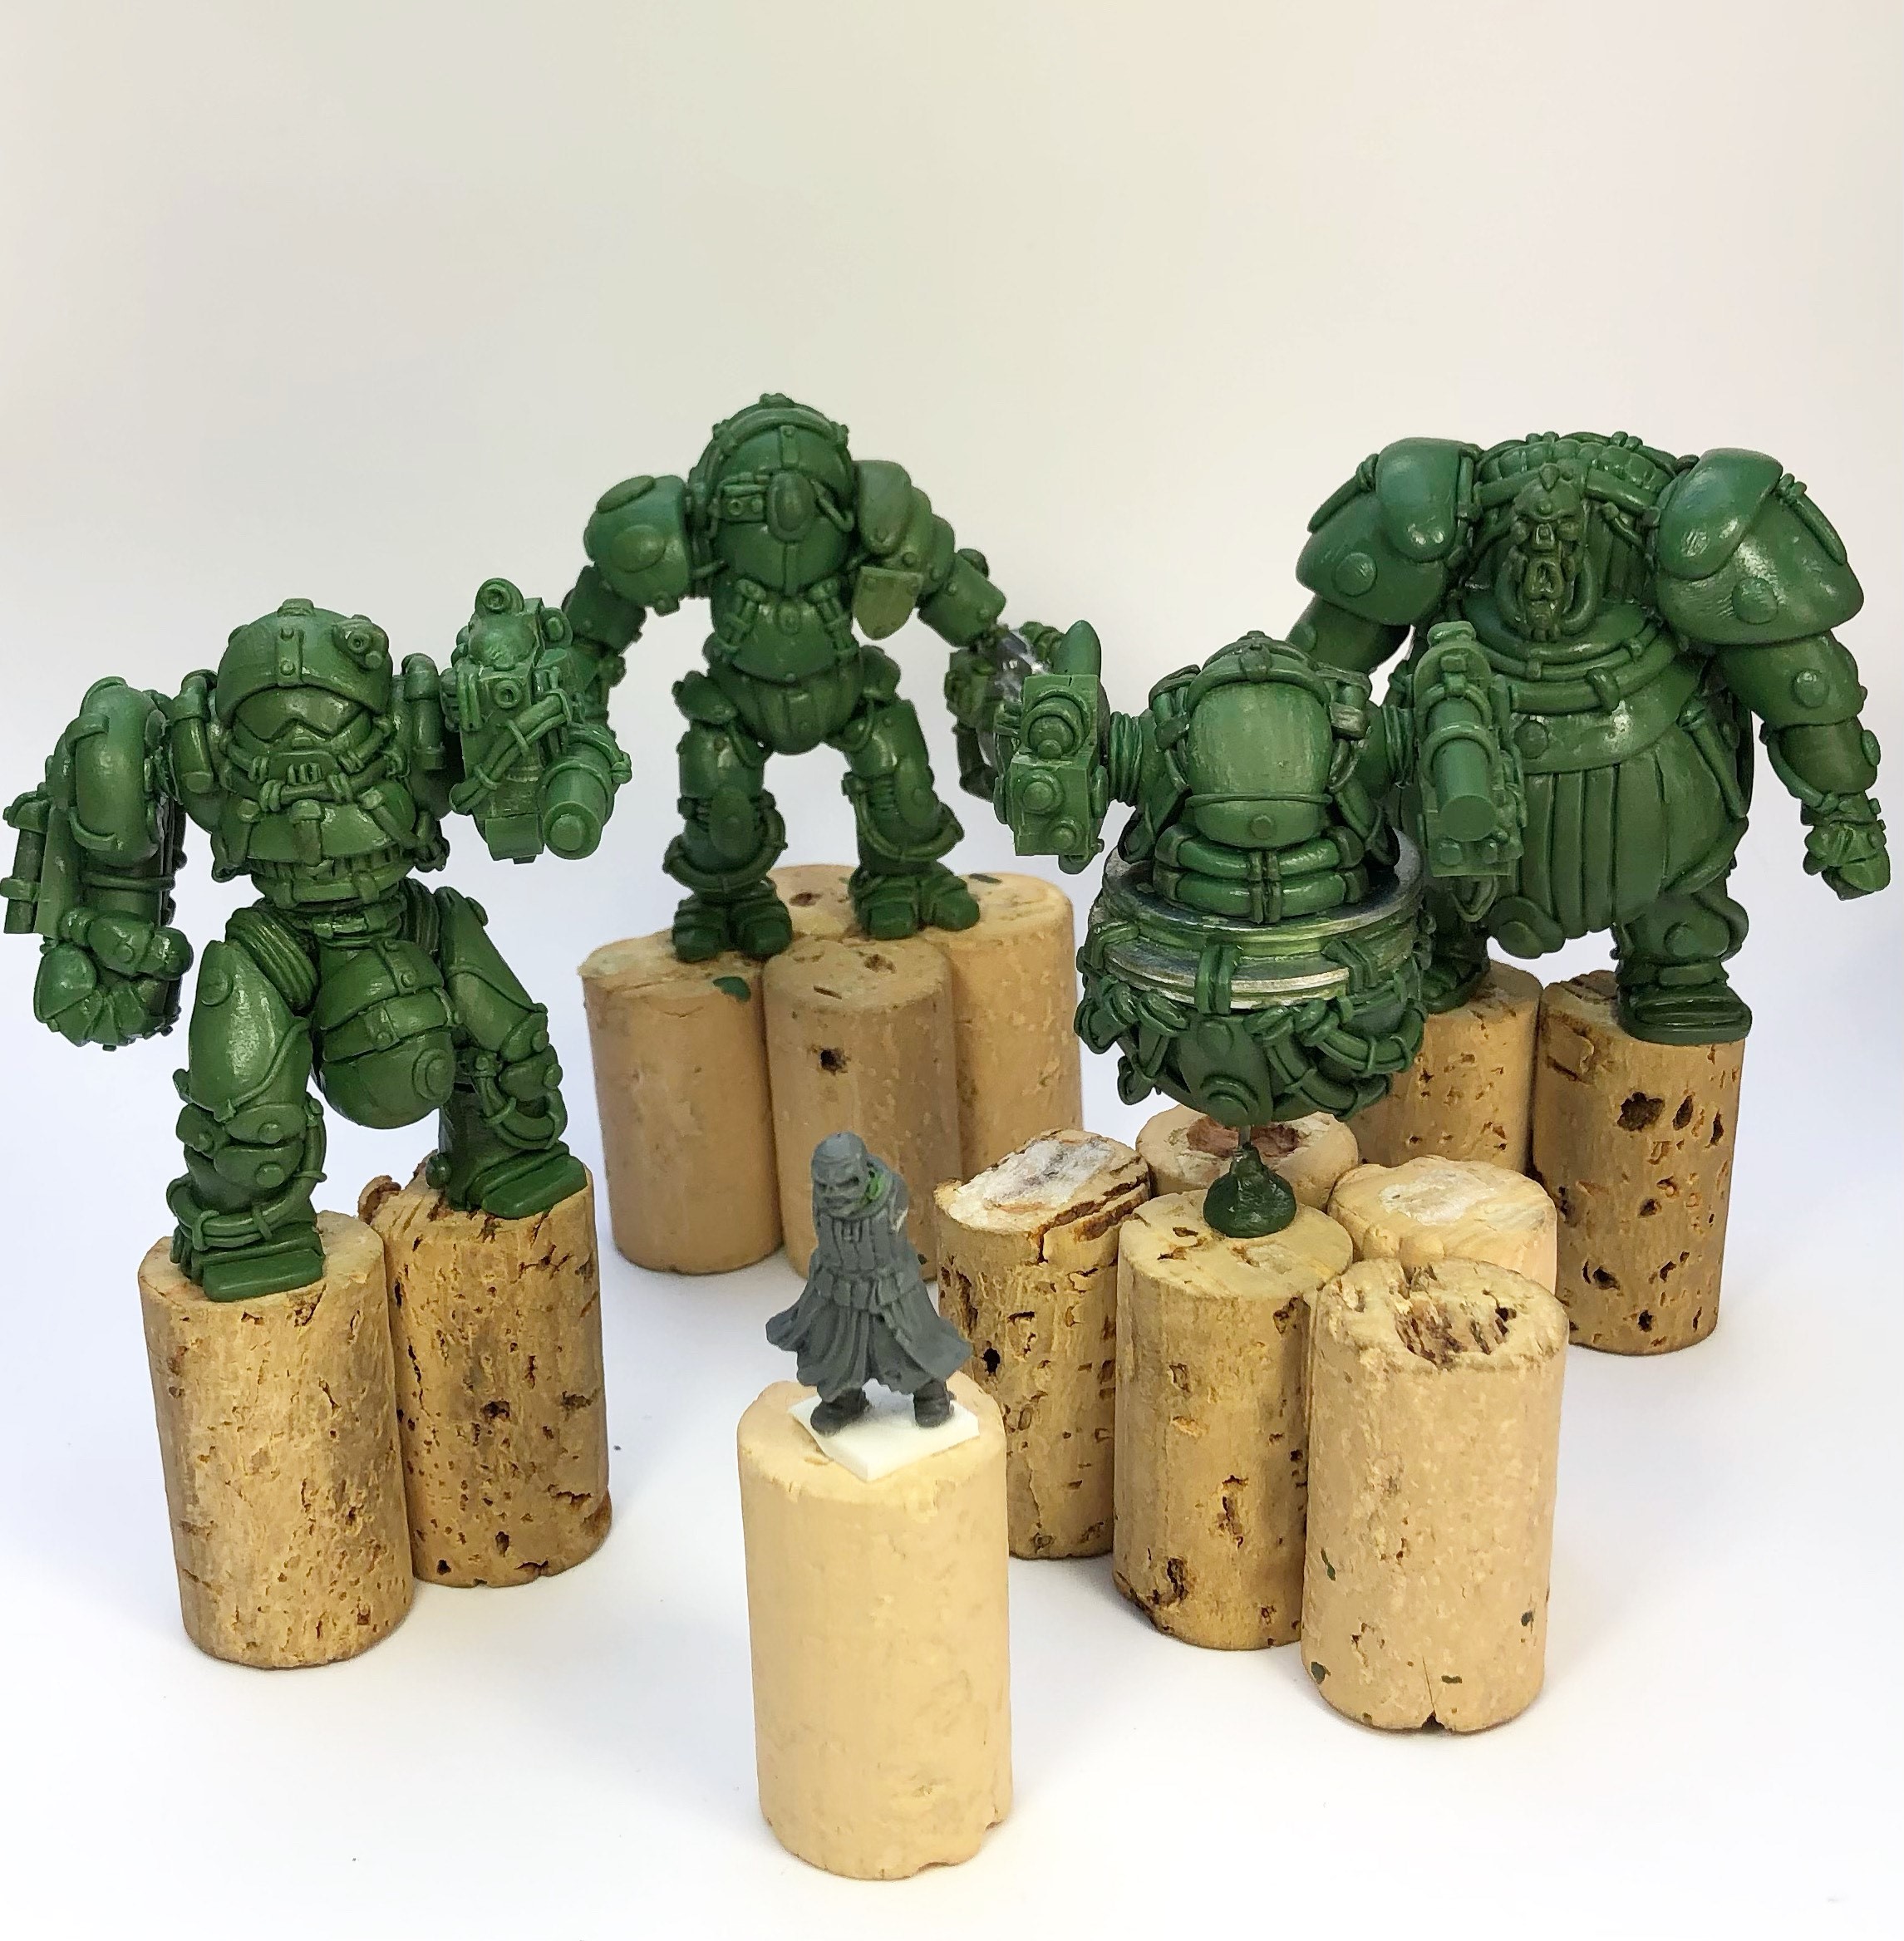
Increasing the amount of blue hardener to yellow filler will – unsurprisingly – lead to a harder, faster curing putty. The more hardener you use, the faster the cure time. When building the bodies or bulk of larger sculpts, some model makers will use a mix ratio of three parts hardener to one part filler.
This results in a darker, stronger putty which will set more quickly than the four to five hours of a 50-50 mix. It is sacrificing the ability to carve more intricate detailing into a softer putty and a longer work time in exchange for a firmer base to a project which can be moved onto the next stage more quickly.
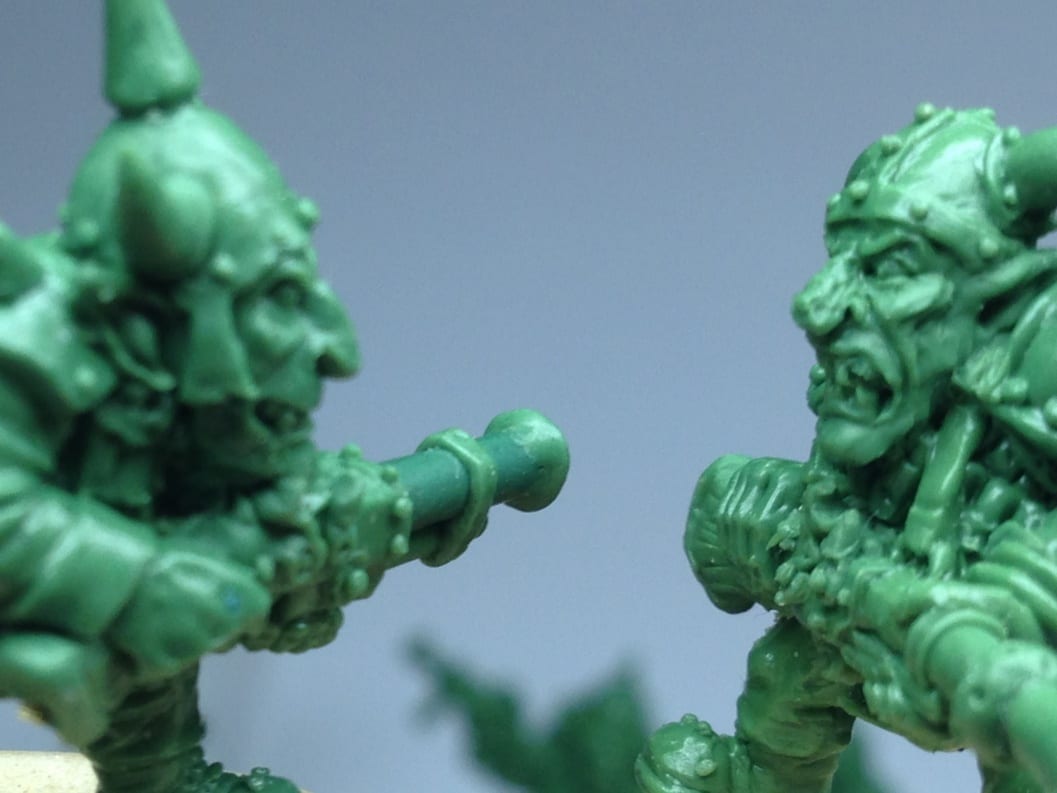
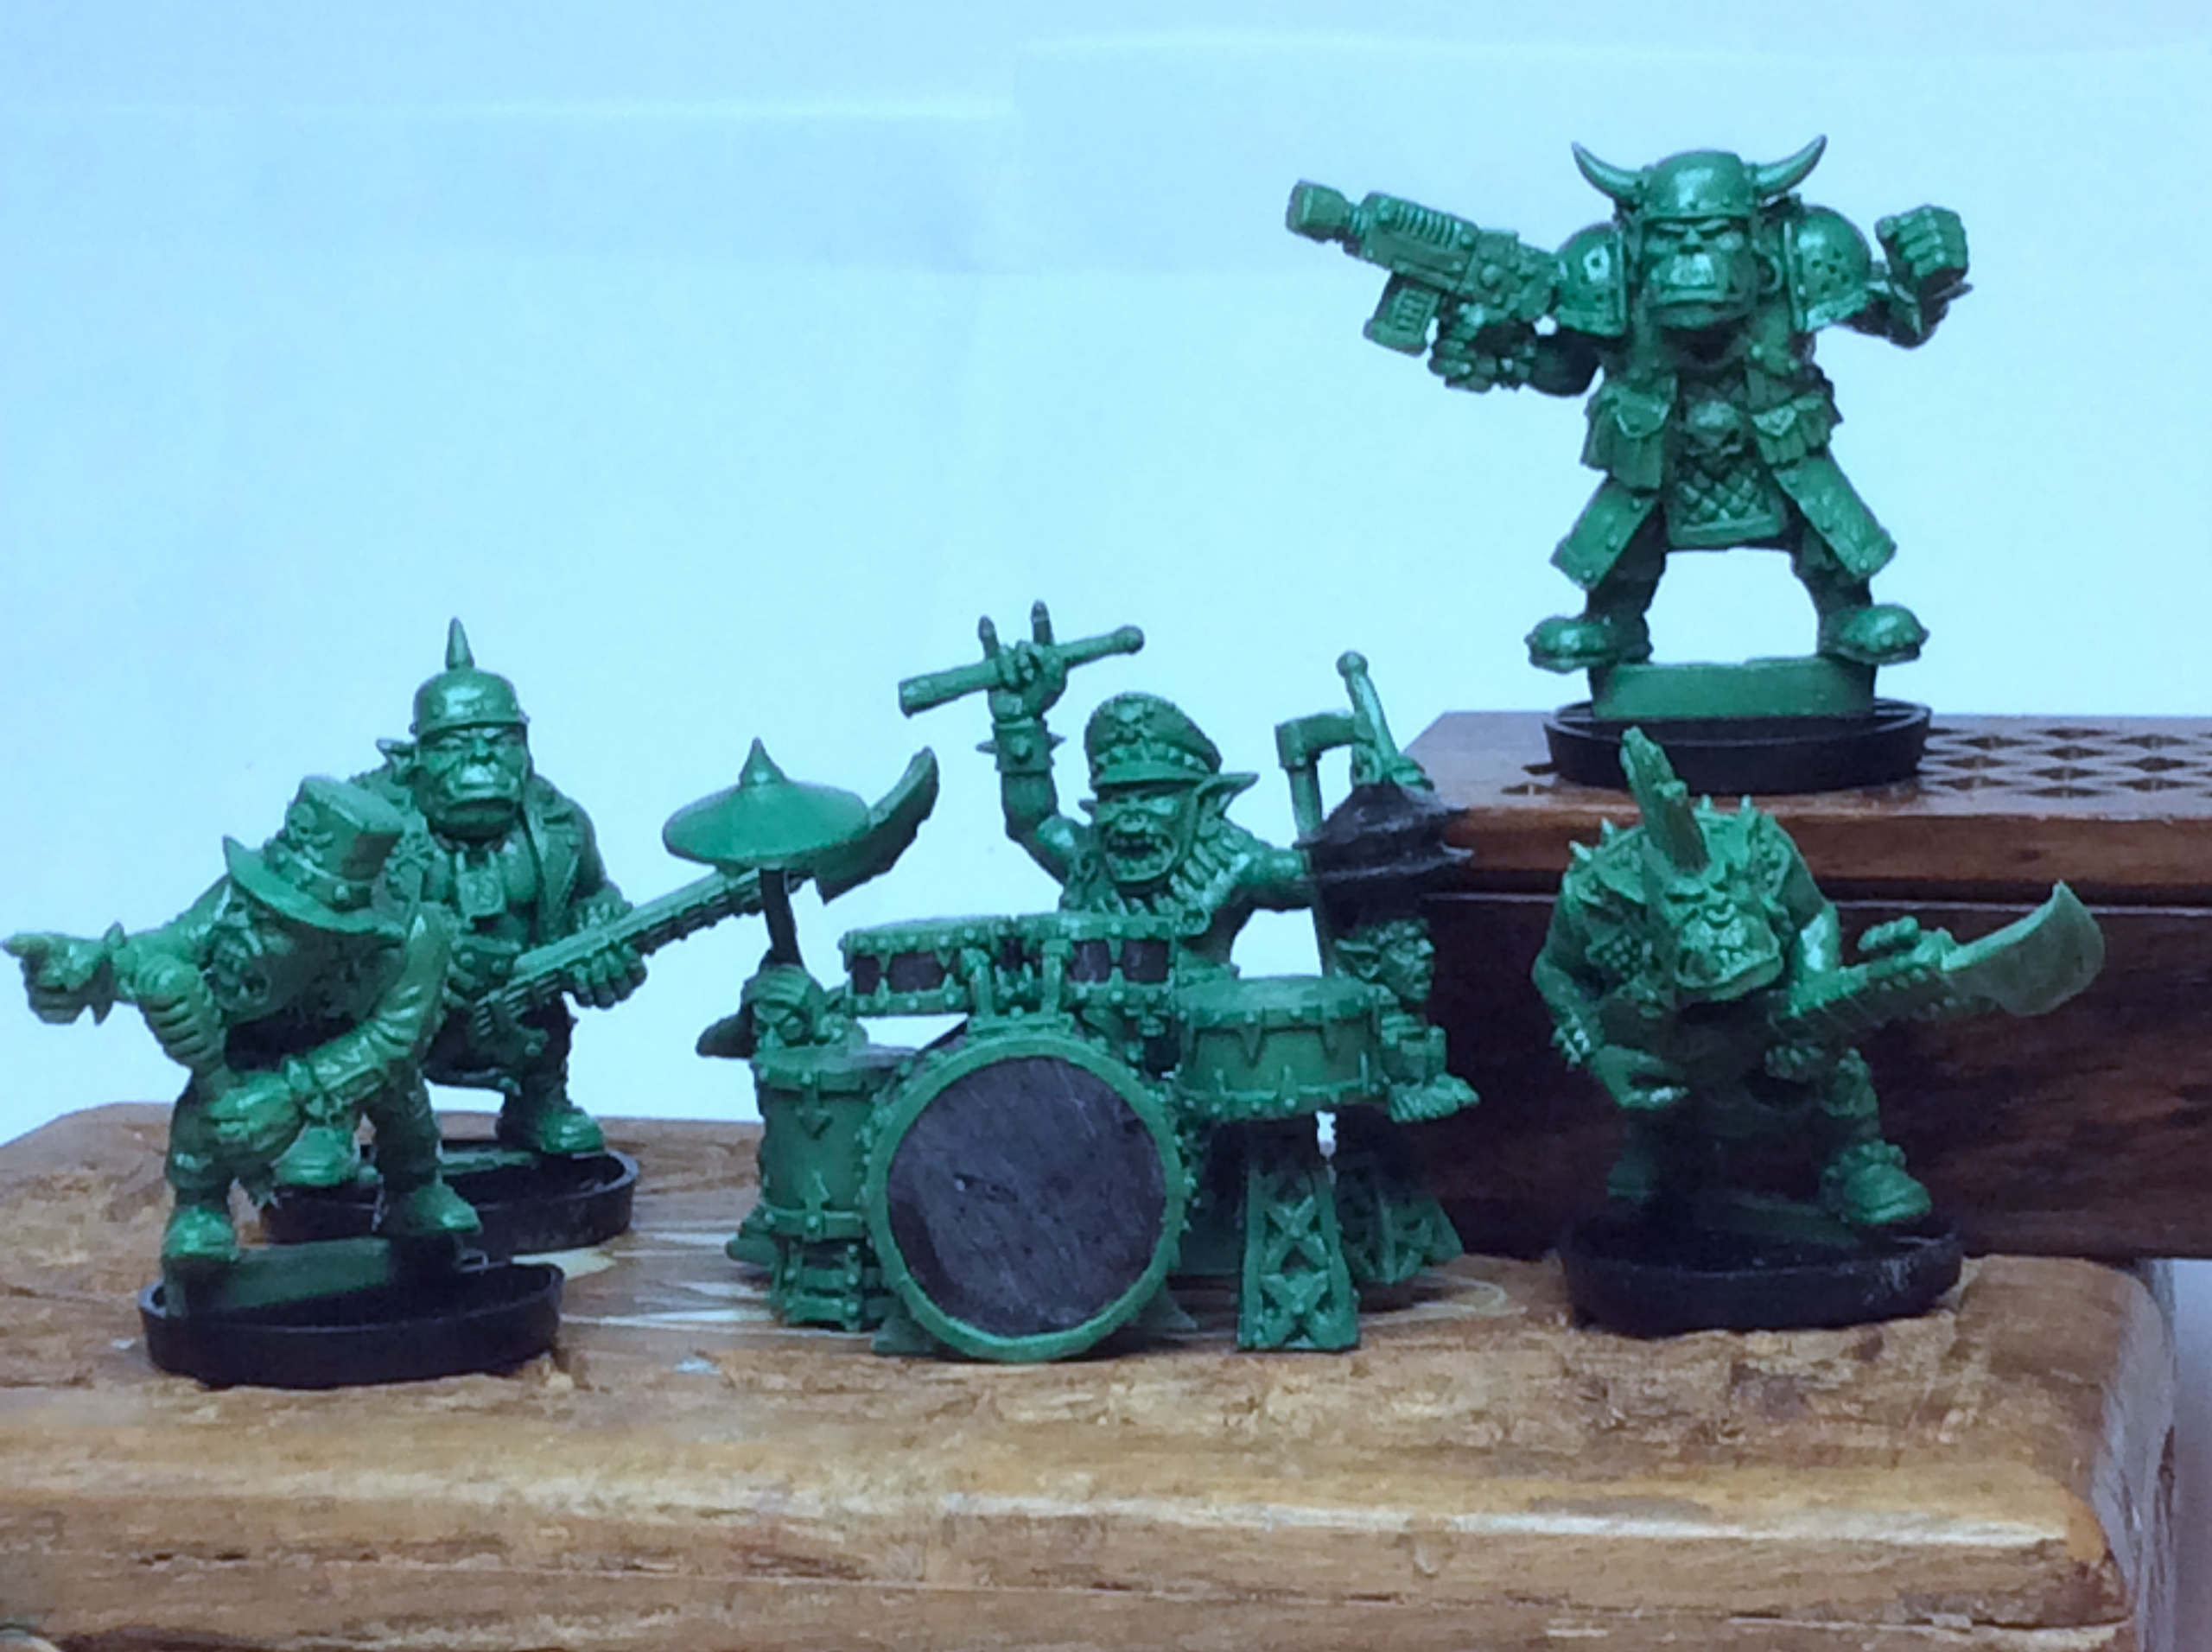
Green Stuff is known to be a difficult putty to get along with due to its stickiness. Even an expert in the world of Green Stuff like The Goblin Master Kevin Adams is known to mix and then leave the putty for up to an hour, so that it has already begun to cure and become less sticky before he begins carving his world-famous fantasy miniatures.
Using more hardener is a way to reduce the stickiness of Green Stuff. We often recommend that model makers who struggle with the putty try using more blue than yellow to see if that helps them get on with the material better – another example of the benefit of the Stick over the Reel.
More yellow, less blue
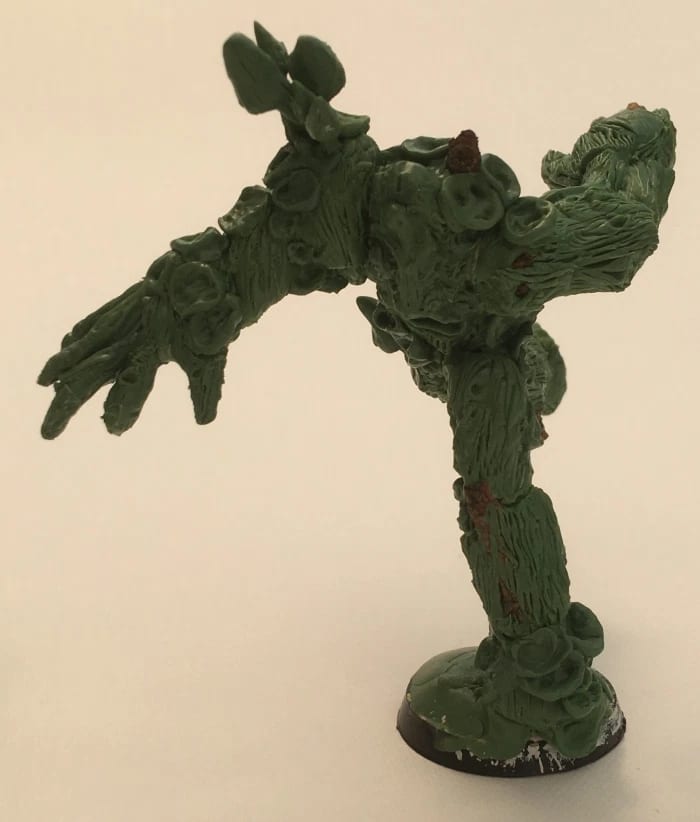
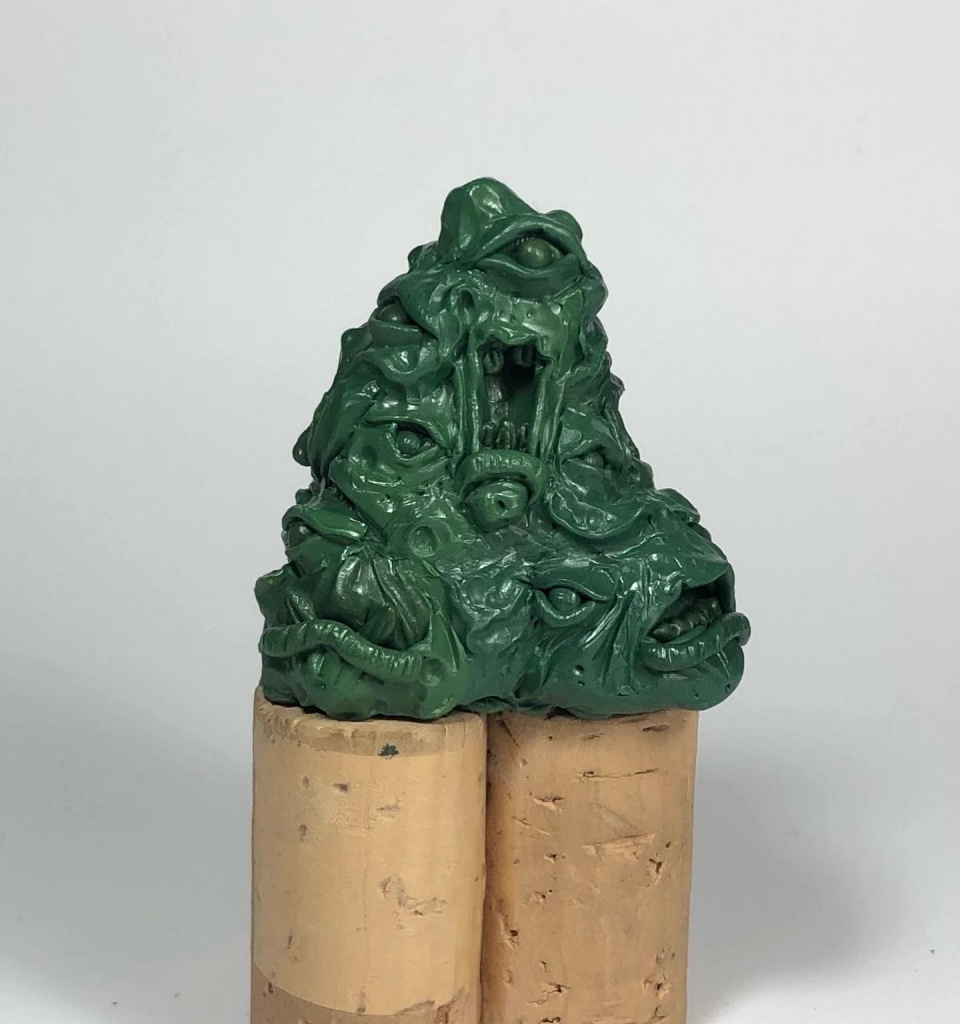
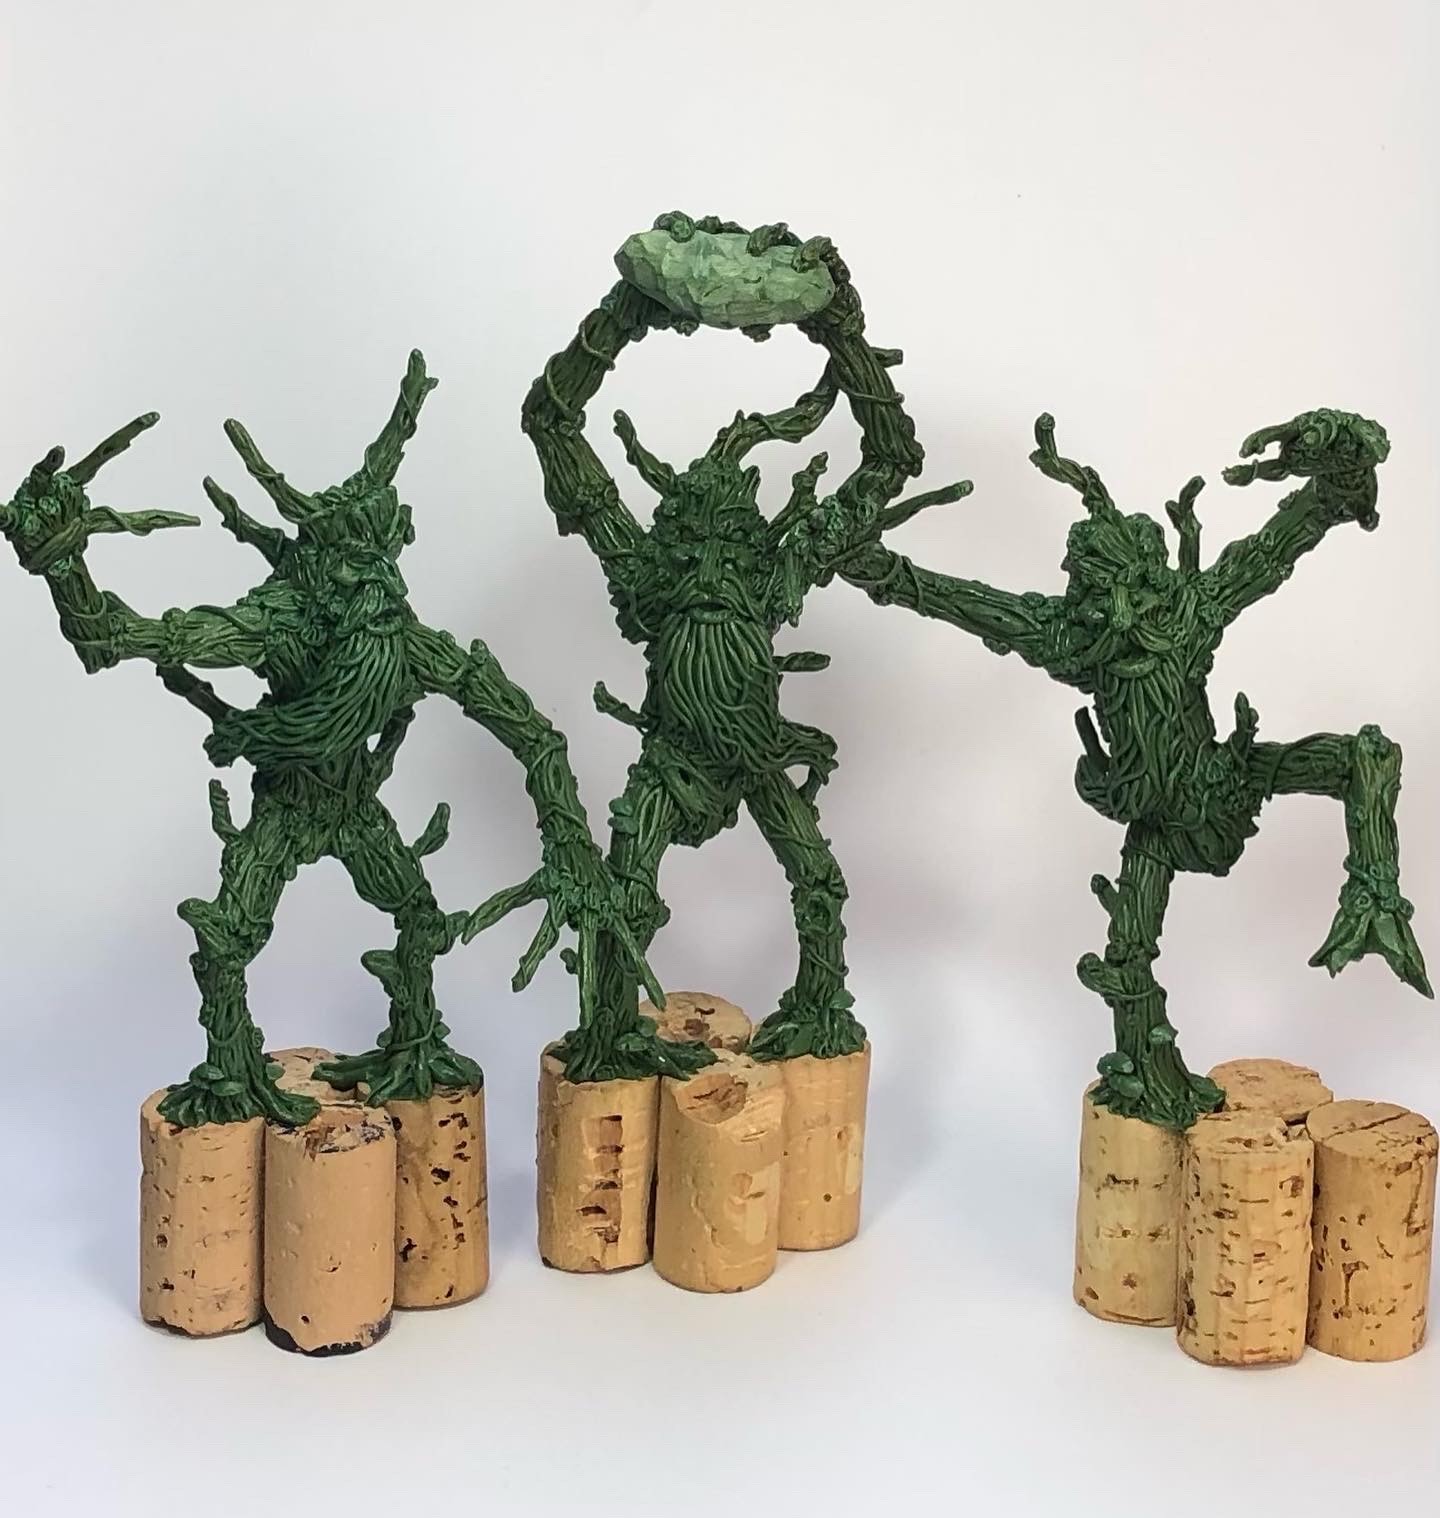
Going the other way and increasing the amount of yellow filler will create a lighter green putty. This stickier, softer putty is much more flexible for carving and holding fine details. You have probably guessed that it is also slower to cure, giving the user much more time in which to work with it.
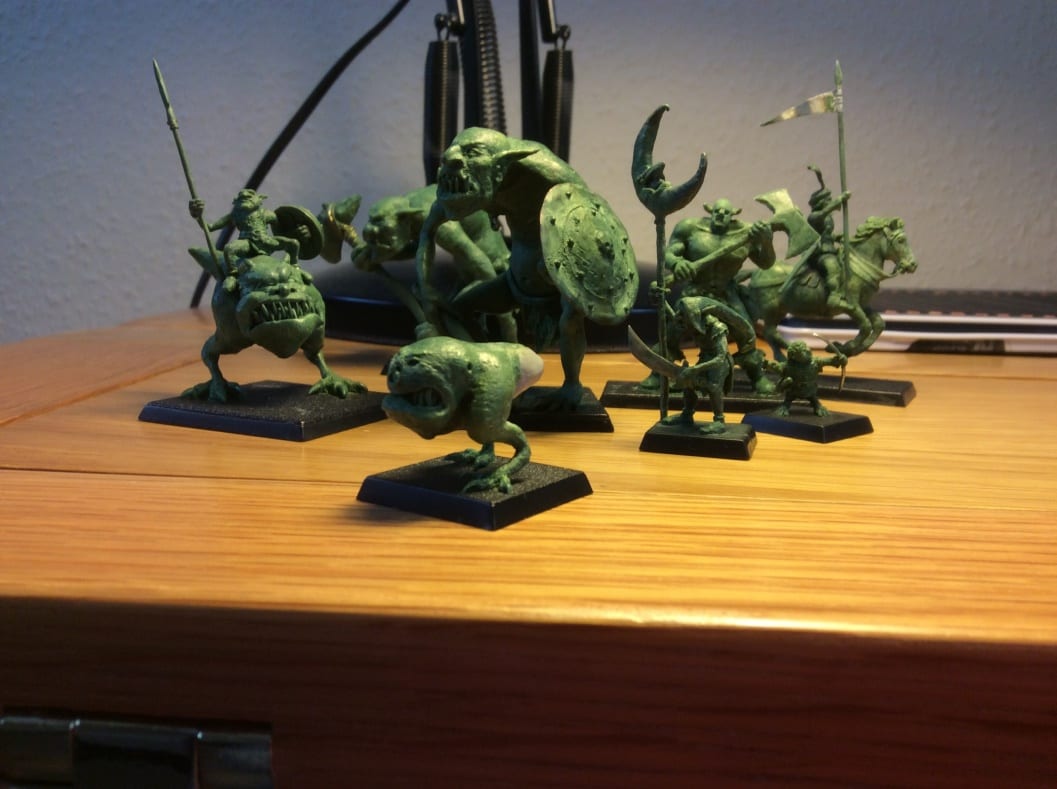
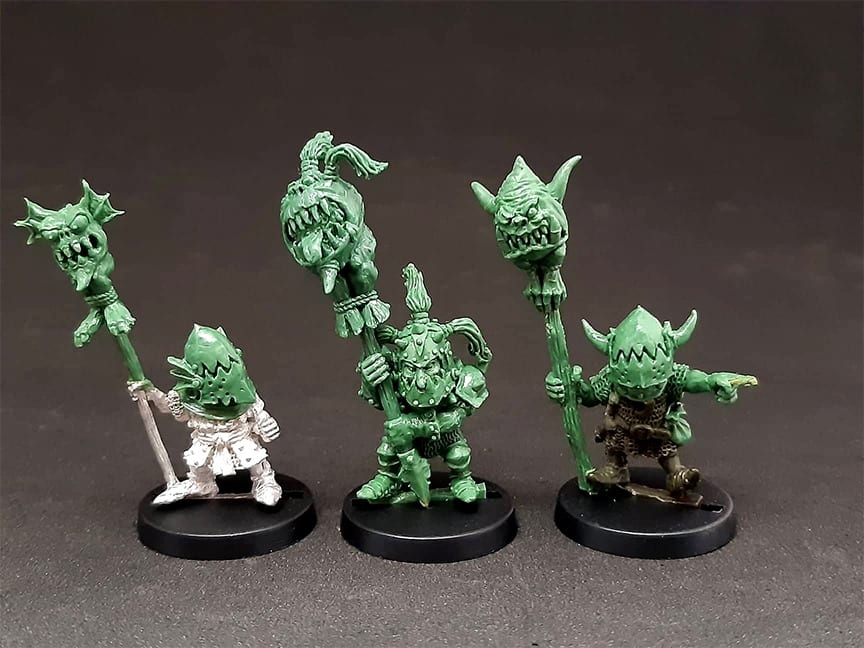
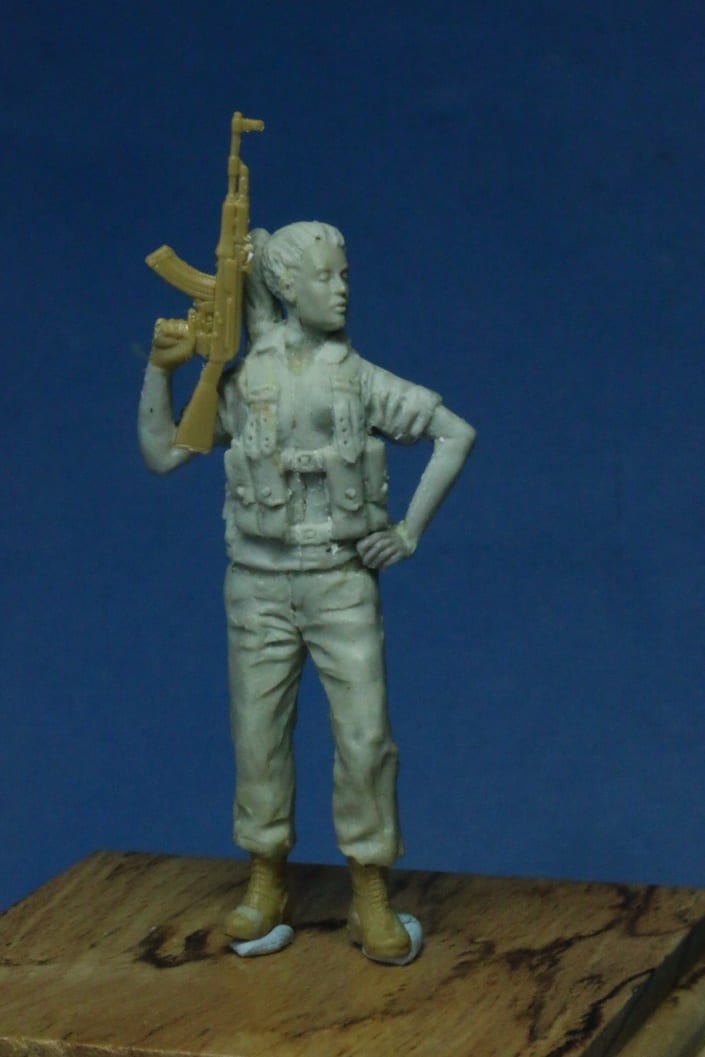
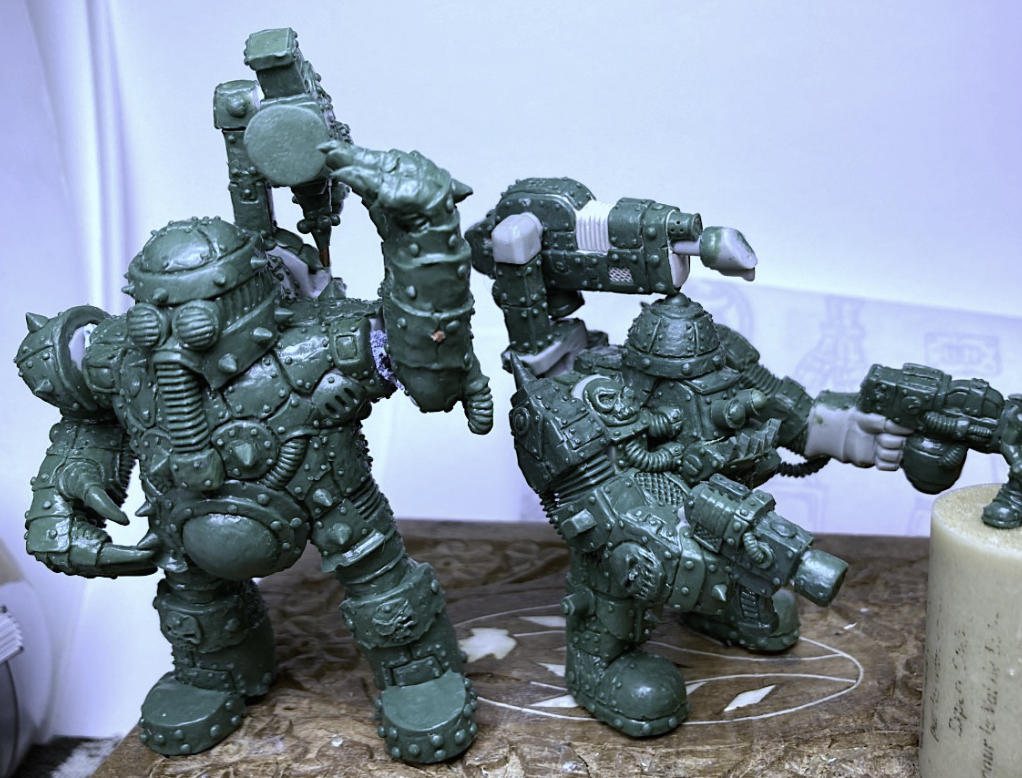
Leading fantasy miniature creators will often mix as much as four parts filler to one part hardener when carving the most intricate of orcs, goblins and other characters requiring the greatest of details.
They overcome the extra-stickiness of the putty by using more water when handling it and heavy-duty lubricants such as olive oil, vaseline or petroleum jelly on their sculpting tools.
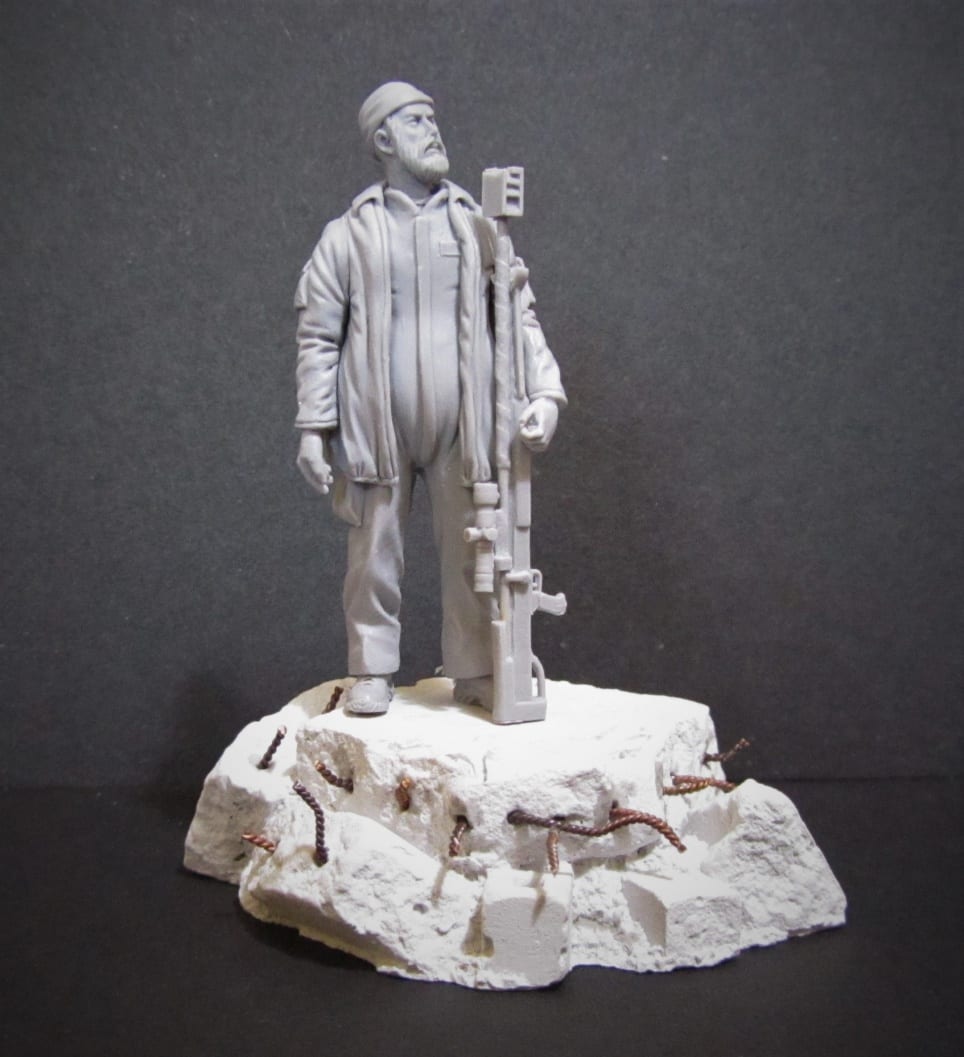
Green Stuff adheres to most materials including other cured putties and itself. This means that different mix ratios can be used in one project depending on the stage.
A giant sculpt could be formed from a putty using more hardener to increase its hardness and cure speed and then finished off with a softer mix carved with fine details added to the base afterwards.
Where to buy Green Stuff Stick
With Kneadatite Green Stuff Reel in short supply, we have subsequently been introducing our customers around the world to Green Stuff Stick.
Even those who were a little reluctant at first are beginning to see the upsides of having far greater control over the properties of the putty they are using.
And – whisper it quietly – for a limited time, we are including Green Stuff Stick in our Modelling Putty Kits at no extra cost compared to when the Kits contain a Reel.
Those who still have their doubts about the Stick can now experience it for effectively the same price as the Reel – whilst stocks last, obviously.
Which might not be long if we run out of the components that go into the Stick as well. Haven’t you heard? There are supply issues…
Purchase Green Stuff Stick today – or try it as part of the Modelling Putty Kit for a limited time…
-
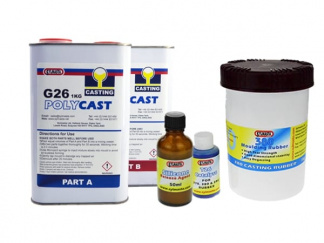
 Modelling Putty Kit XL£61.64 inc. VAT
 -
Modelling Putty Kit£35.39 inc. VAT
-
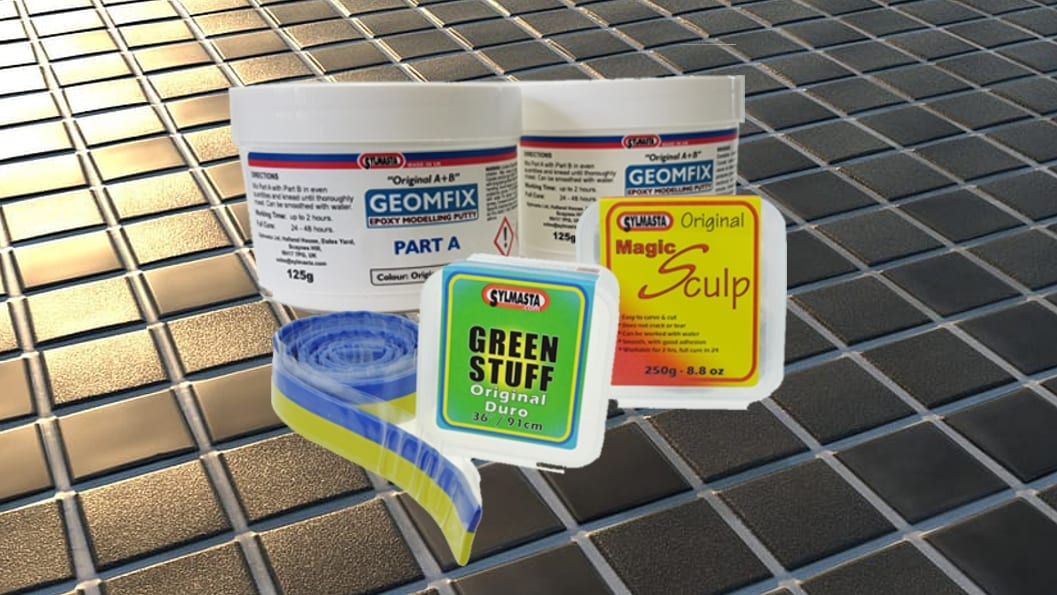
 Green Stuff Stick£17.42 inc. VAT