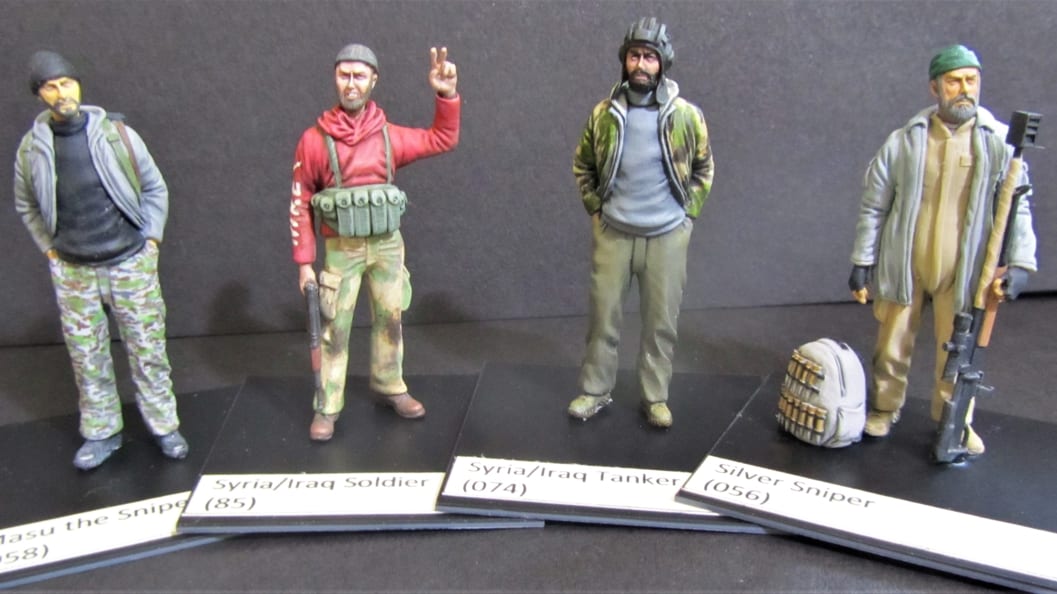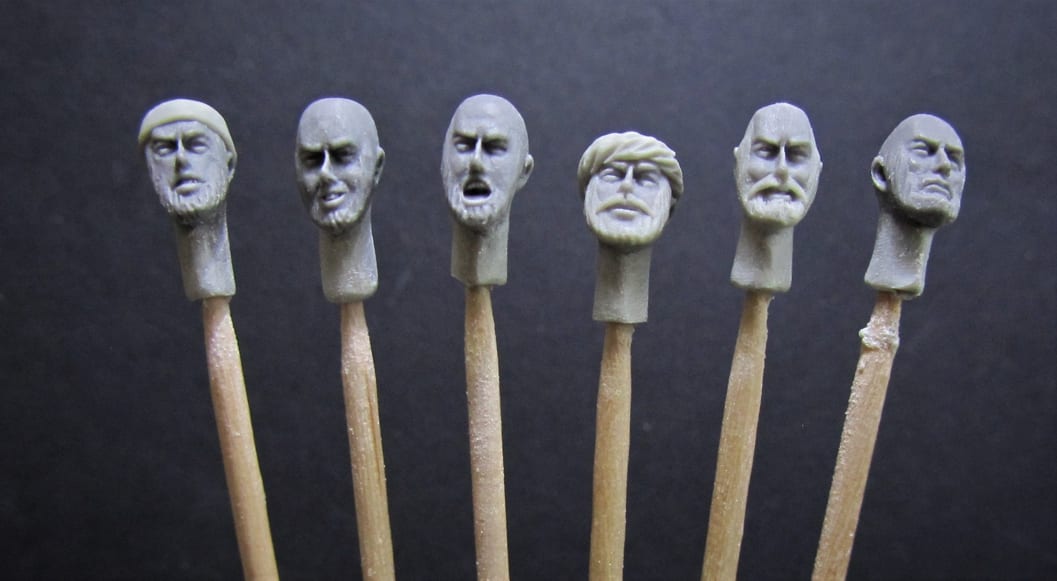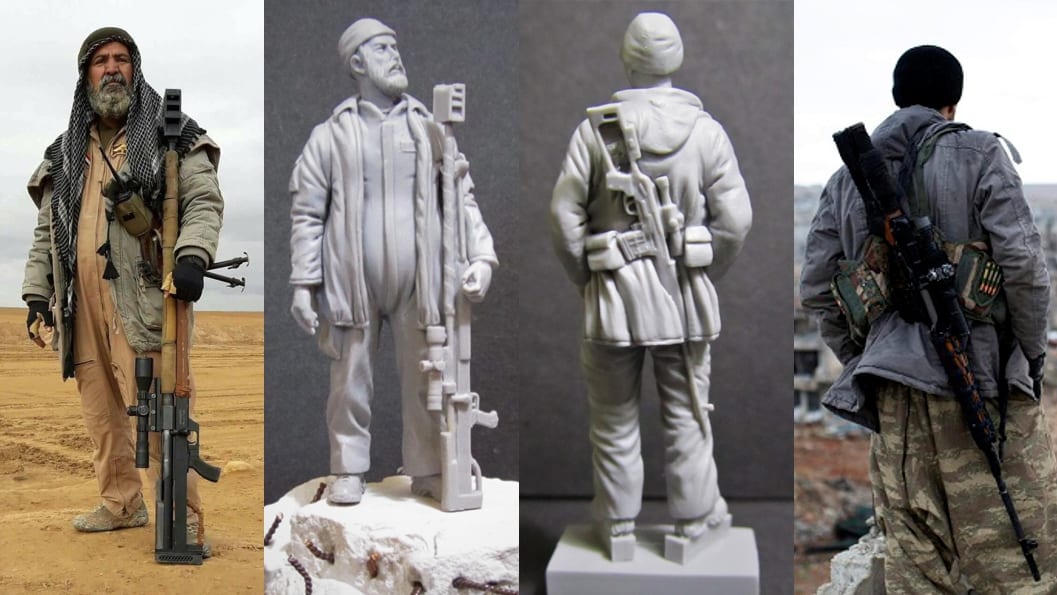
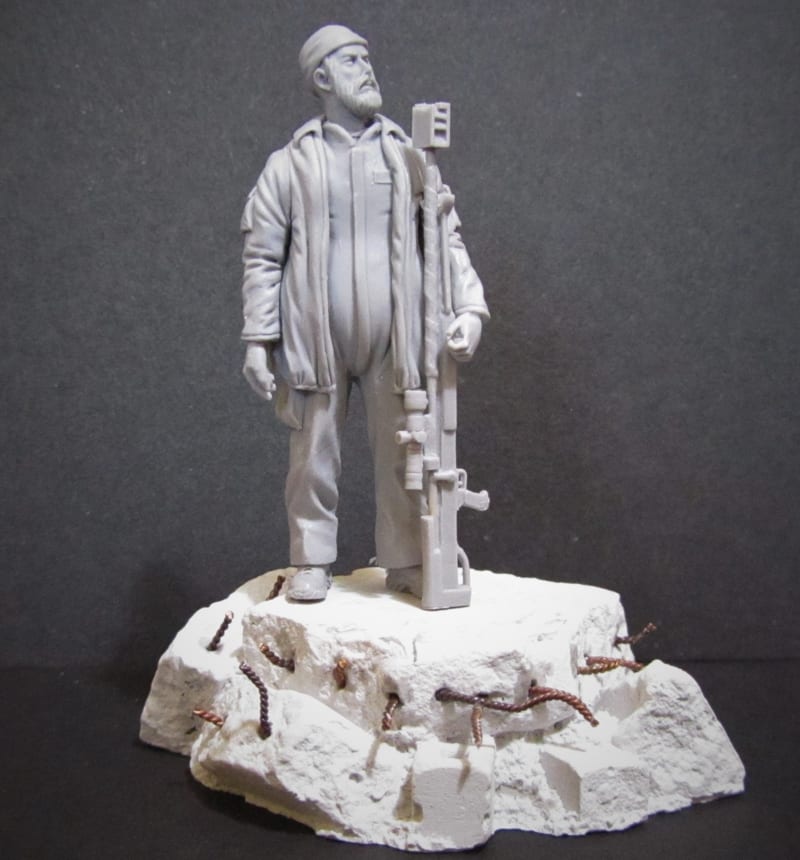
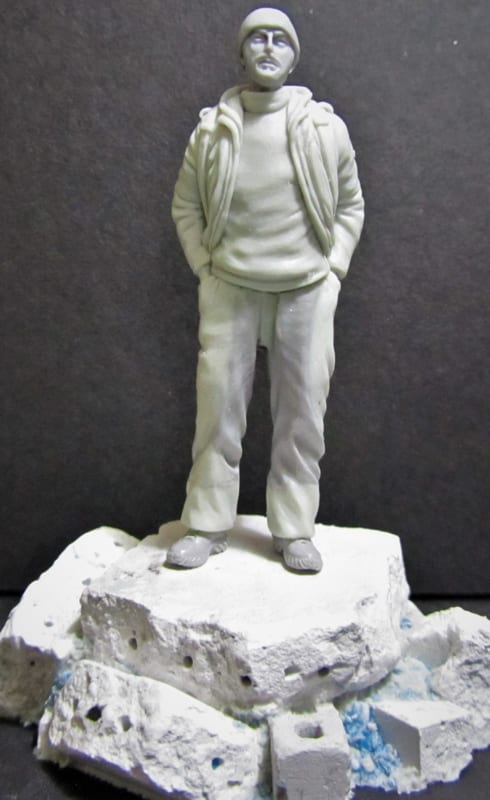
At first glance, the two figures sculpted from Magic Sculp in 1/35th scale look like a couple of men casually standing on a street corner – you certainly would not have them marked out as two of the world’s most deadly snipers.
They have their hands in their pockets, as if they are doing nothing more than watching the world go by. It is only when you notice the sniper rifle that you realise these two are anything but civilians.
Abu Tashin al-Salhi and Musa Hardem were in fact feared snipers who fought against ISIS in the Iraq-ISIL War, which raged between 2013 and 2017.
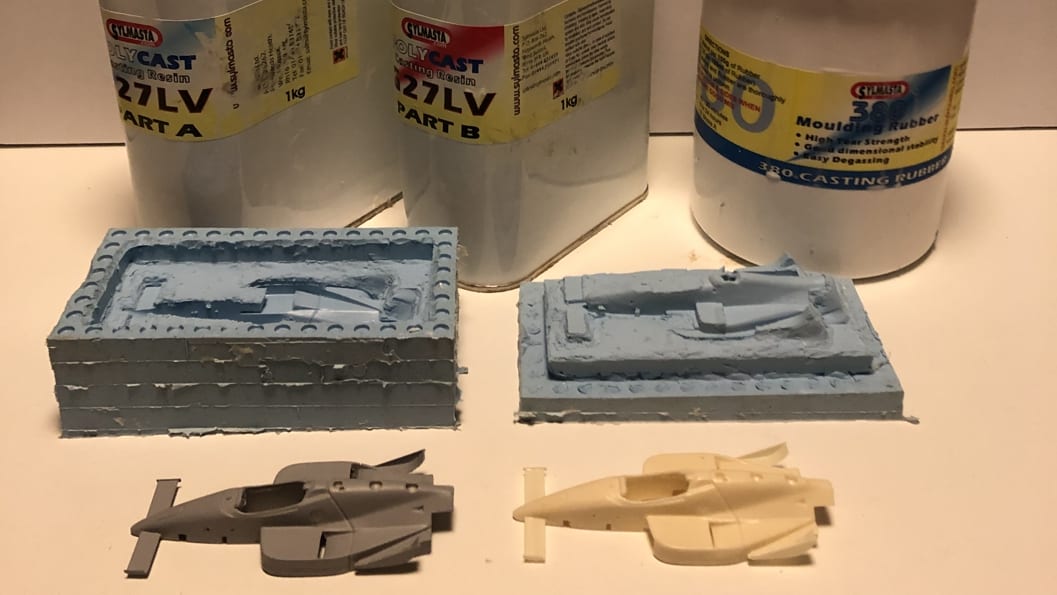
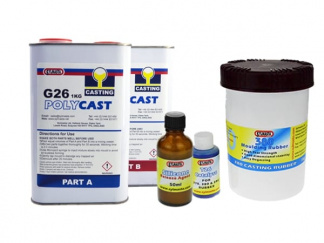
Their feats earned them legendary status in both their home country and across the globe – which is what led Red Zebra Models some 2,717 miles away in the United Kingdom to immortalise al-Salhi and Hardem in Magic Sculp before and polyurethane casting resin.
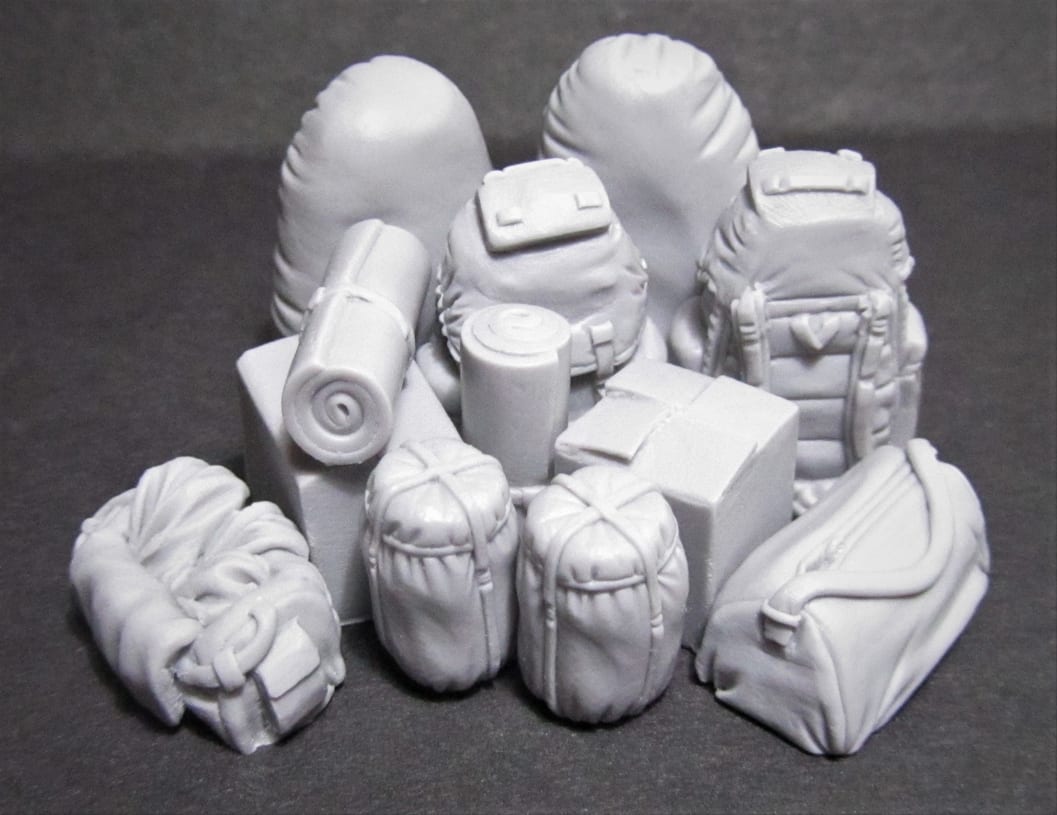
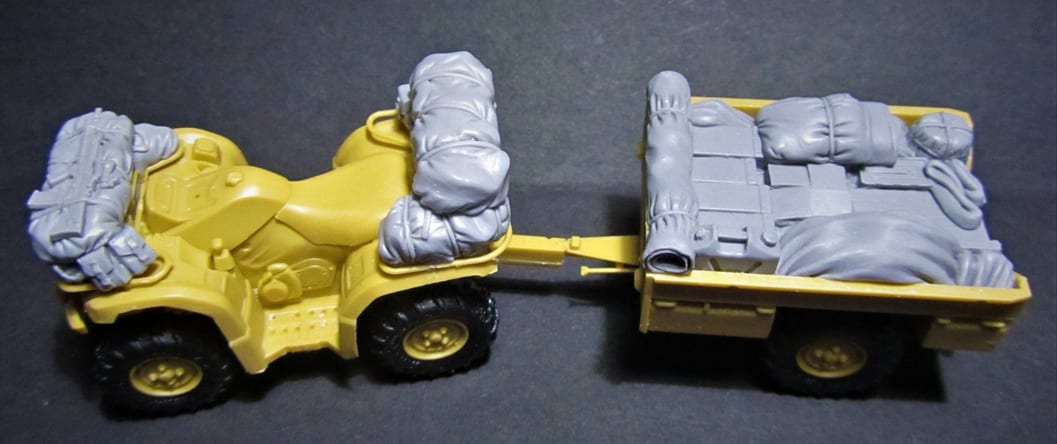
Regular readers of our Showcase page need no introduction to Red Zebra. They are the military modelling company who specialise in figures and accessories from Middle East conflicts and desert warfare.
It says much that even in a range as intriguing as Red Zebra’s, al-Salhi and Hardem stand out. Which is what made us want to find out more about the process and inspiration behind recreating al-Sali and Harden in Magic Sculp – as well as the incredible life stories of these two snipers.
Abu Tashin al-Salhi
Abu Tahsin al-Salhi first came to the attention of Red Zebra when owner Paul Wade discovered a photo online whilst carrying out research into recent conflicts in Iraq and Syria.
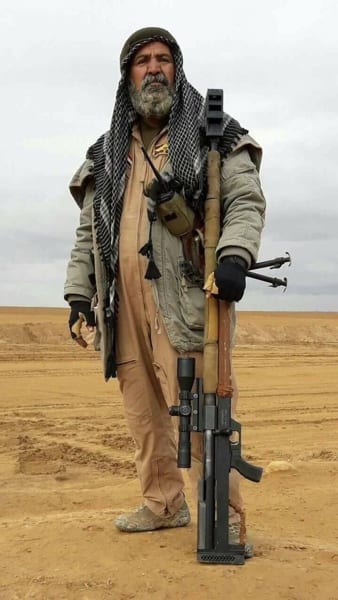
“I came across a photo on the internet of what appeared to be an old man in a boiler suit holding a large rifle. I was curious to learn more about this man and after some research, discovered the incredible story behind the figure.”
For al-Salhi was more than an old man in a boiler suit. He was one of the most feared snipers in the Middle East having taken part in conflicts in the region dating all the way back to the 1973 Yom Kippur War, earning the nicknames “The Sheikh of Snipers” and “Hawk Eye” over the course of his 44 year military career.
Much of al-Salhi’s story cannot be verified, not helped by his status as a mythical figure among Iraq’s Shiite community.
From what we know, al-Salhi was born in 1953 and travelled to Kuwait as a young man, where he worked as a shepherd of cows and camels. For protection, he carried a French rifle which he also used for hunting rabbits.
In the early 1970s, al-Salhi swapped shepherding for sniping. He was sent to a Russian sniper school in Belarus shortly before joining the Iraqi army.
After serving in the Golan Heights during the Yom Kippur war, he saw action in the 1974 Second Iraqi-Curdish War, the 1980-88 Iran-Iraq War, Saddam Hussein’s 1991 invasion of Iraq, the Gulf War, and the US invasion of Iraq in 2003.
Al-Salhi came out of retirement in 2014 to join the Popular Mobilization Forces militant group in the fight against Islamic State after the terrorist organisation seized vast swathes of Iraq.
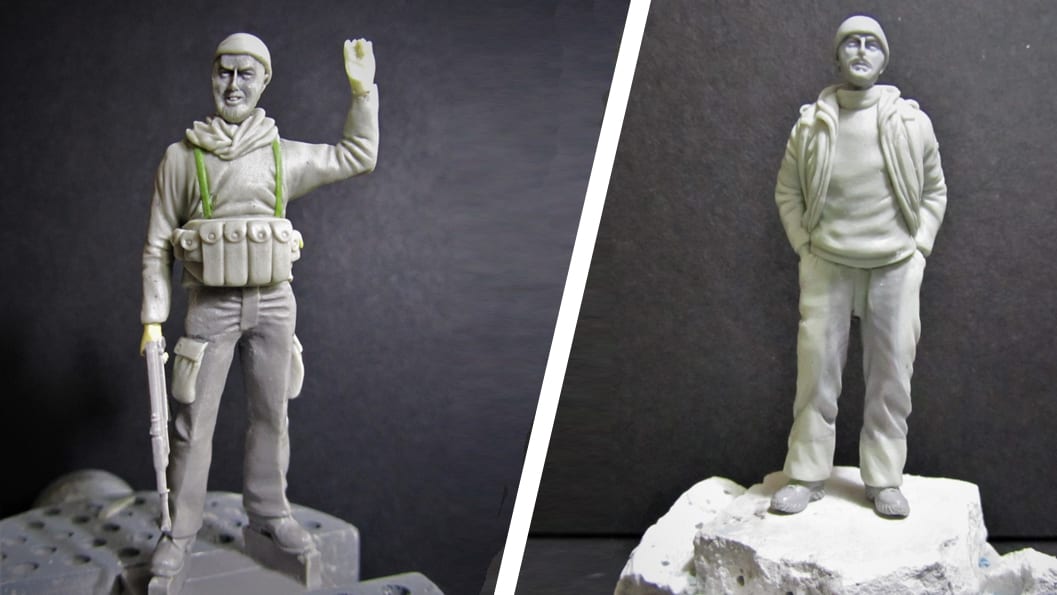
It was during his time fighting ISIS that the photo of al-Salhi was taken, inspiring Paul to sculpt his first snipers model using Magic Sculp and a small amount of Green Stuff.
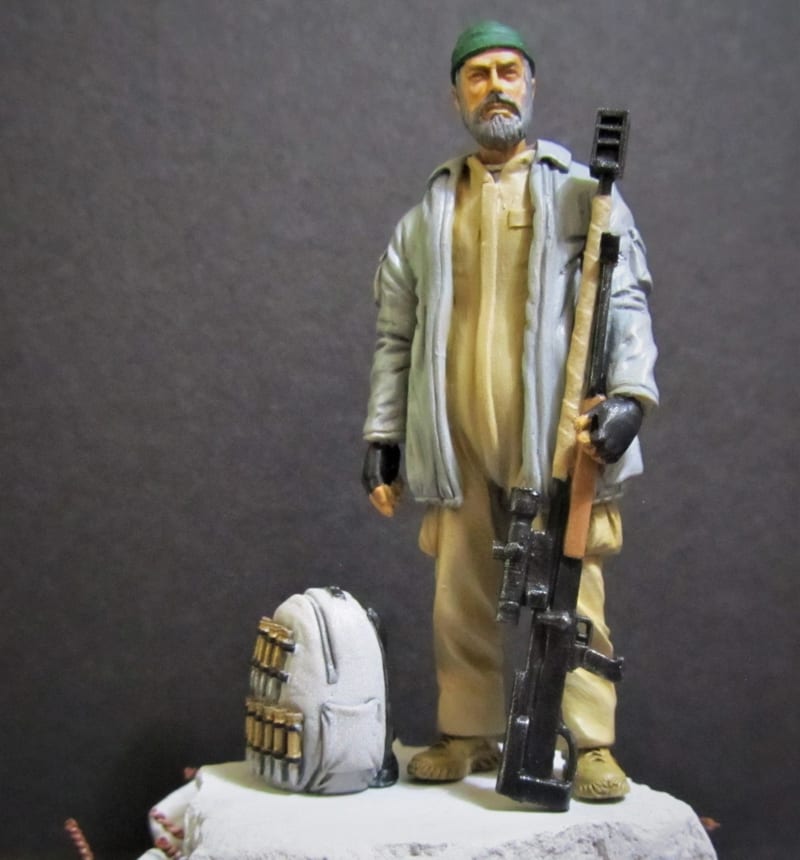
In it, al-Salhi can be seen with his trusty Austrian-made rifle. With this piece of weaponry, he killed 384 ISIS fighters according to the Popular Mobilization Forces, including four on the day he died as part of an advance to retake the town of Hawija in September 2017.
His rifle was given pride of place in a museum in Karbala following his death. Al-Salhi was celebrated across Basra and other Shiite areas as posters with his face adorned homes and shops, poems were written in his honour and a bakery even started selling cakes with his face on.
Thanks to Red Zebra, al-Salhi will live on through his own military figure. “Although I’ve sculpted a lot of figures over the years, they all tended to be more regular soldiers,” Paul said. “The look of this man certainly appealed as something completely different.”
Musa Herdem
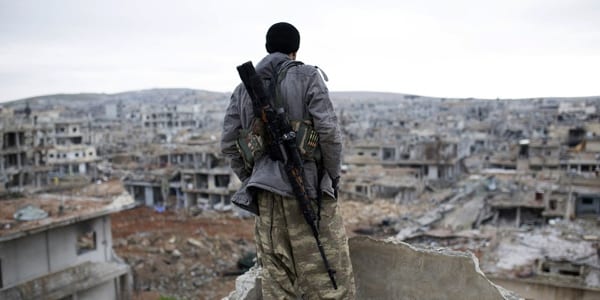
It was whilst trying to get information on al-Salhi that Paul came across another photo from the fight against ISIS.
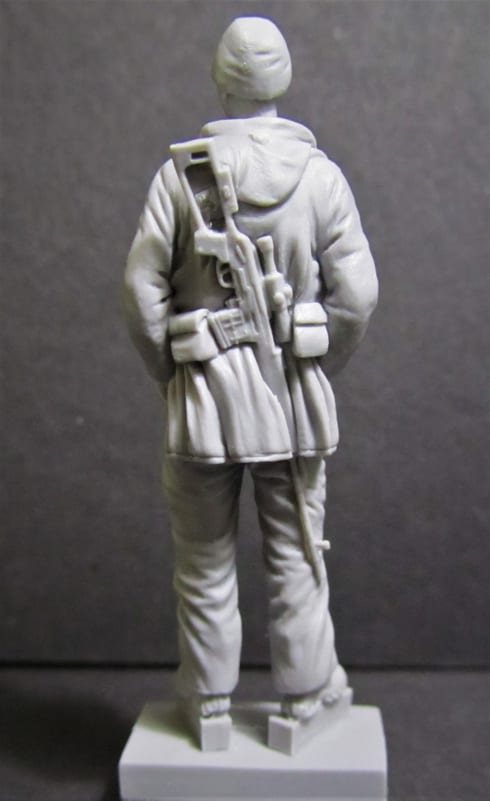
“It was a soldier stood on the parapet of a building, looking out over the ruins. He was stood there with his hands in his pocket and his rifle flung over his shoulder. Obviously, his job was complete.”
The soldier in question was Musa Herdem, an Iranian-Kurdish sniper who garnered worldwide recognition when it was revealed that he had successfully killed ISIS fighters from a distance of 400 metres using his Russian-made Dragunov rifle.
Herdem’s reputation was further enhanced when he became the subject of a profile carried out by an Iranian-Kurdish AFP photographer during the Battle of Kobane in Syria.
Pictures of Herdem were widely circulated among the international press, including the one that inspired Red Zebra to investigate his story.
Herdem was born in Rojhelat and grew up in Salmas, a city near Iran’s border with Turkey. Salmas is a melting pot of cultures, home to Azeris, Armenians, Assyrians, Kurds, Jews, and Persians.
He spent his childhood working as a kolbar, somebody who is paid to smuggle goods on their back across the border of Iran and Turkey. It is a dangerous way to make a living, with many kolbars shot dead by government forces when crossing the border or dying due to the treacherous journey over mountains in freezing conditions.
Herdem survived though and in 2012, he joined the Syrian Kurdish YPG at the age of 23. When ISIL captured 350 Kurdish villages and towns surrounding Kobani in September 2014, it was Herdem who helped lead the fightback, earning the nickname Musa the Sniper along the way.
He fought in Kobani from the first day of the siege until the last. From September 2014 until January 2015, he moved from ruined house to ruined house killing as many ISIL fighters as possible. Herdem is credited with hundreds of kills.
When he was not taking out targets, he was training other snipers to be just as effective as he was through his role as commander of the Kobani Sniper Group.
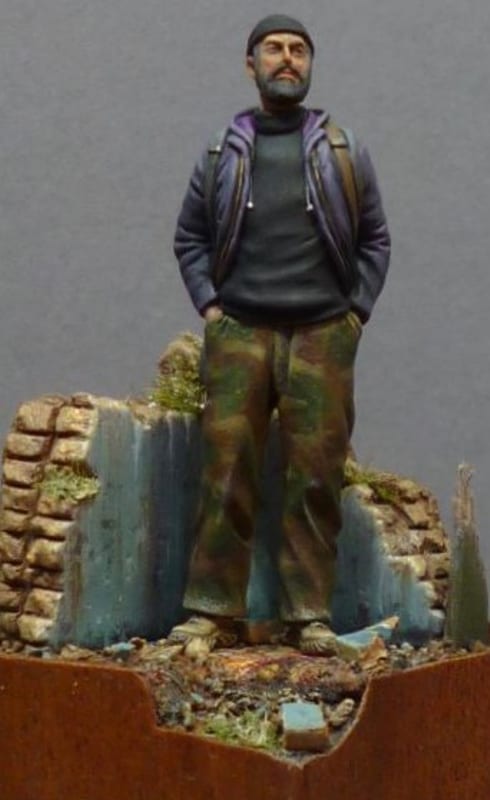
Herdem was killed in action in April 2015. Just a couple of months before his death, he gave an interview in which he talked through the Battle of Kobani while pointing at the bodies of nine ISIL fighters who he had dispatched.
This casual attitude to war appealed to Paul. “Just as with Abu, I liked the idea of the relaxed casual pose. Once I found out some history about Masu, I just had to sculpt this individual.”
The figure of Herdem features him in his signature pose, casually leaning up against a ruined wall with his Dragunov rifle strapped to his back. As with the model of al-Salhi, Magic Sculp and Green Stuff were used to sculpt Herdem, this most feared of snipers.
Masu the Sniper and Silver Sniper, Abu are both available to buy as part of the Red Zebra 1/35th Scale Range.
-
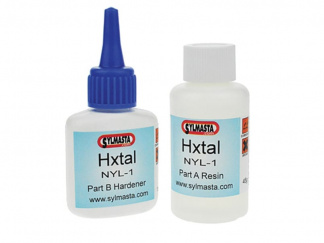
 Magic SculpPrice range: £18.23 through £1,922.53 inc. VAT
 -
 Green Stuff Reel (90cm)£14.93 inc. VAT