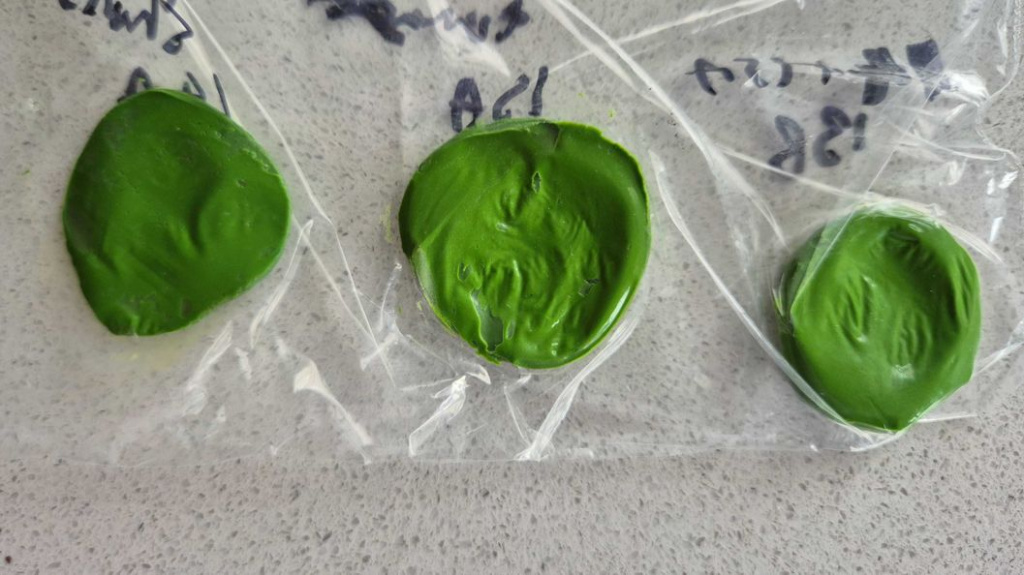
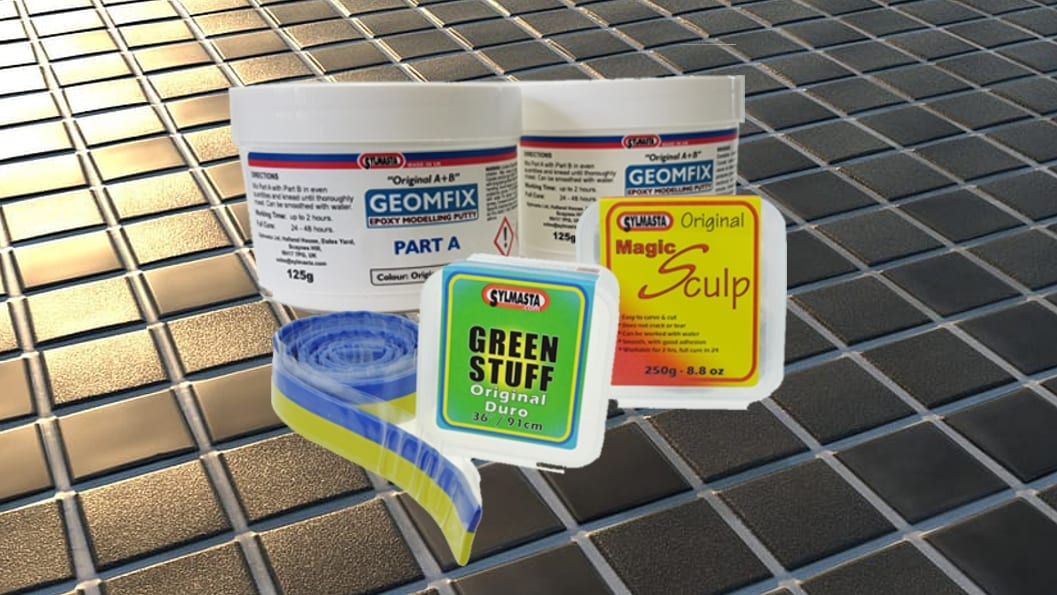
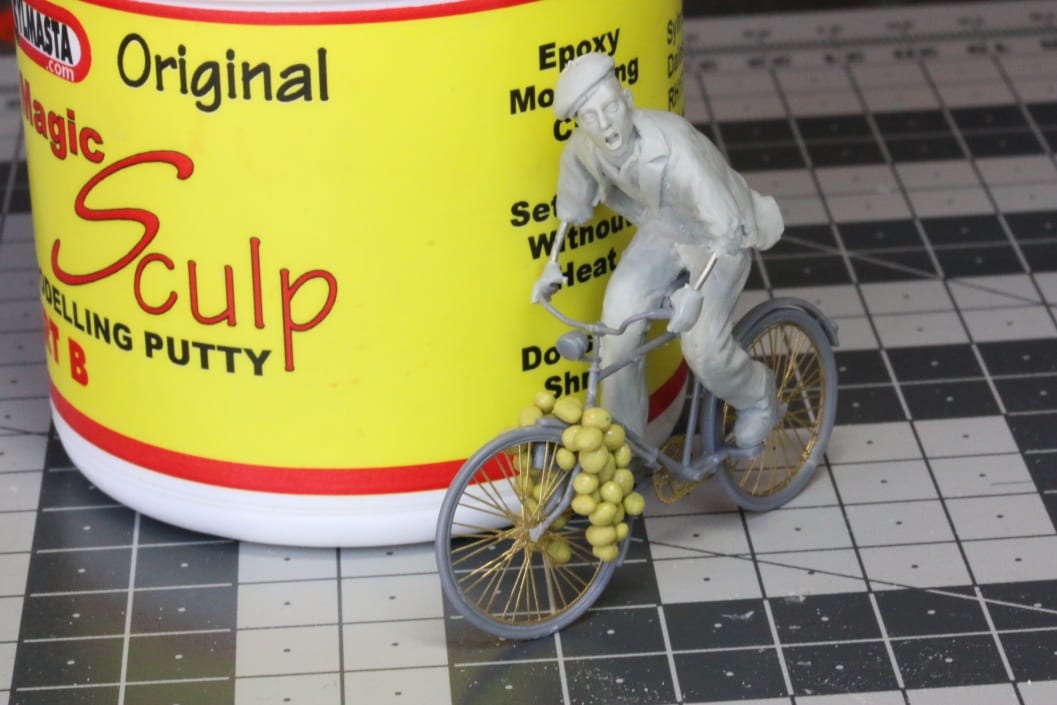
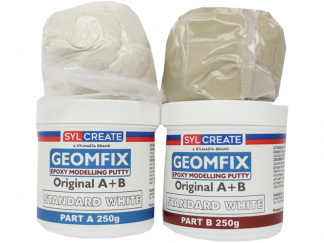
To say the research and development team at SylCreate have been busy over the past couple of months would be a slight understatement. In our quest to create a new Green Stuff Modelling Putty for the global market, they have made over 20 different Part A formulations and 20 different Part B formulations as we edge closer to full production of a replacement product.
An update on new Green Stuff
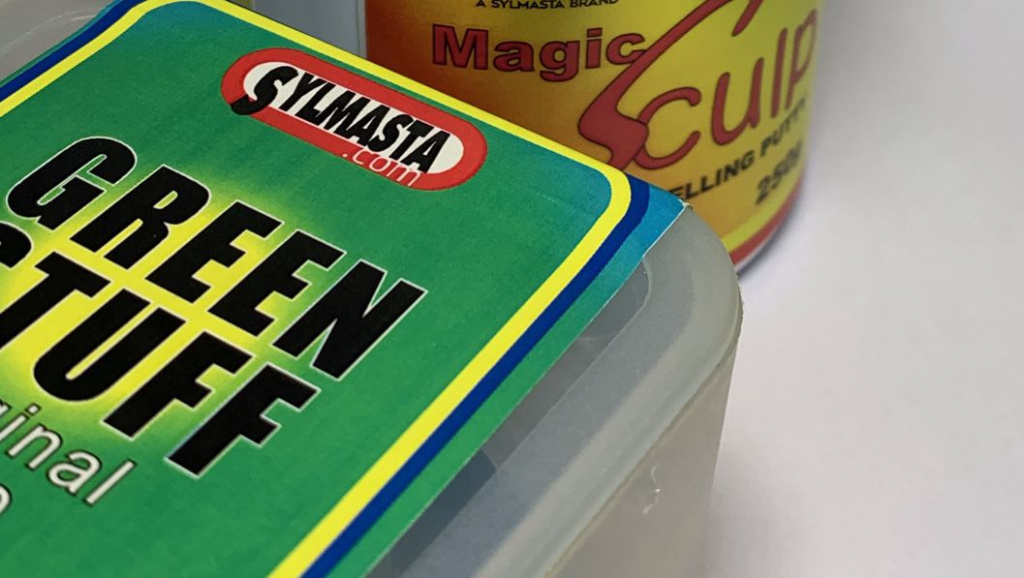
With the formulation and ingredients of original Kneadatite Green Stuff a closely guarded secret, we have effectively had to start again from scratch. Not that we want to blow the trumpets or our R&D team, but they are rather good at this.
They start by developing formulations which they think have the correct properties of Part A and Part B. Ingredients and their quantities are then adjusted to try and find the perfect match to the original.
The science behind it is pretty intense and in-depth. Hence why we currently have an area of our laboratory pilled high with 40 formulations of Part A and Part B combined. The trick now is finding the Part A and Part B which, when mixed together, best recreate the properties of the original Green Stuff.
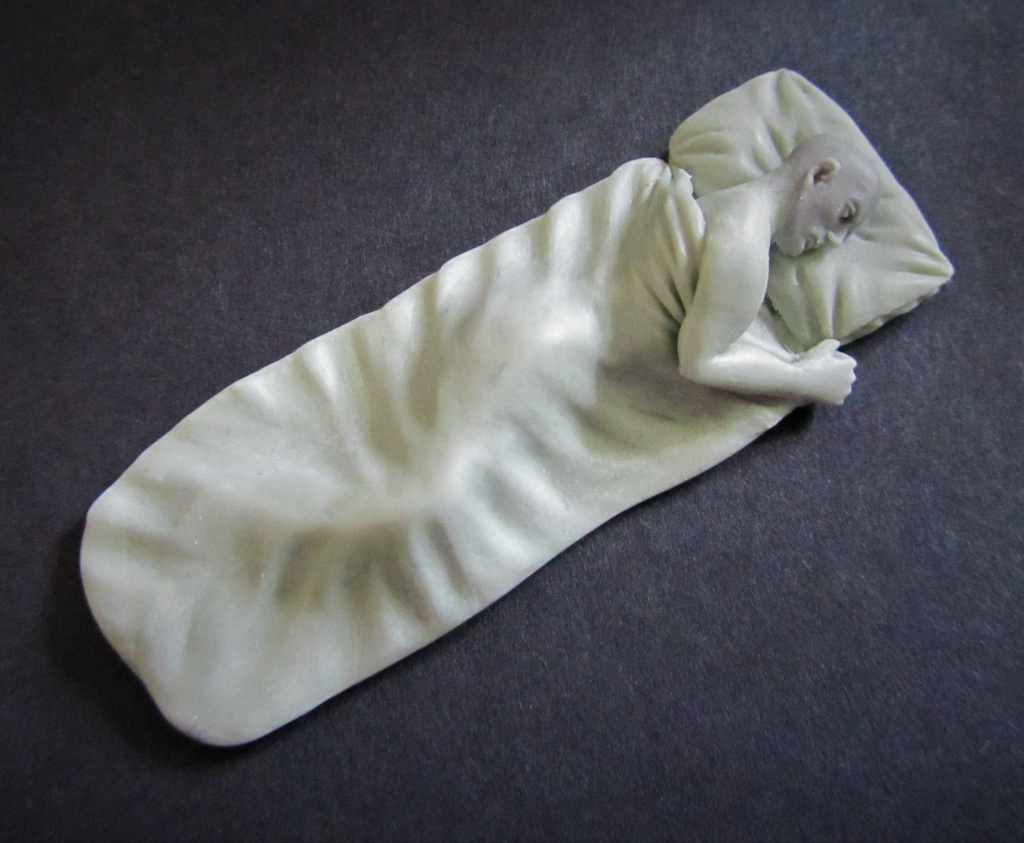
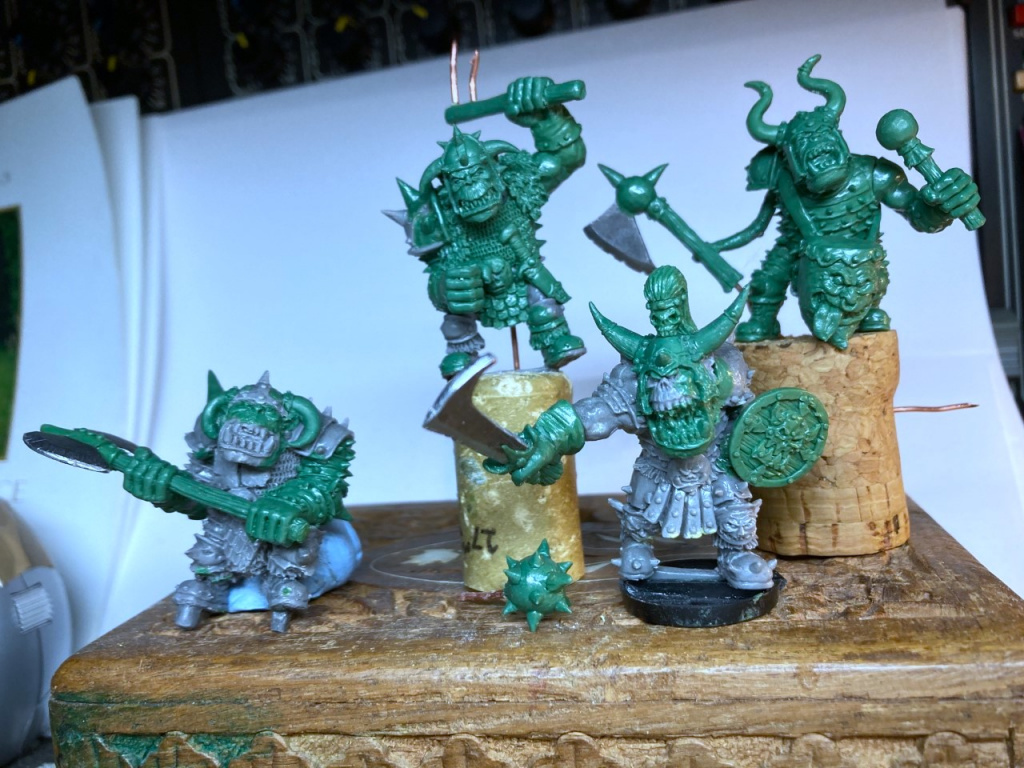
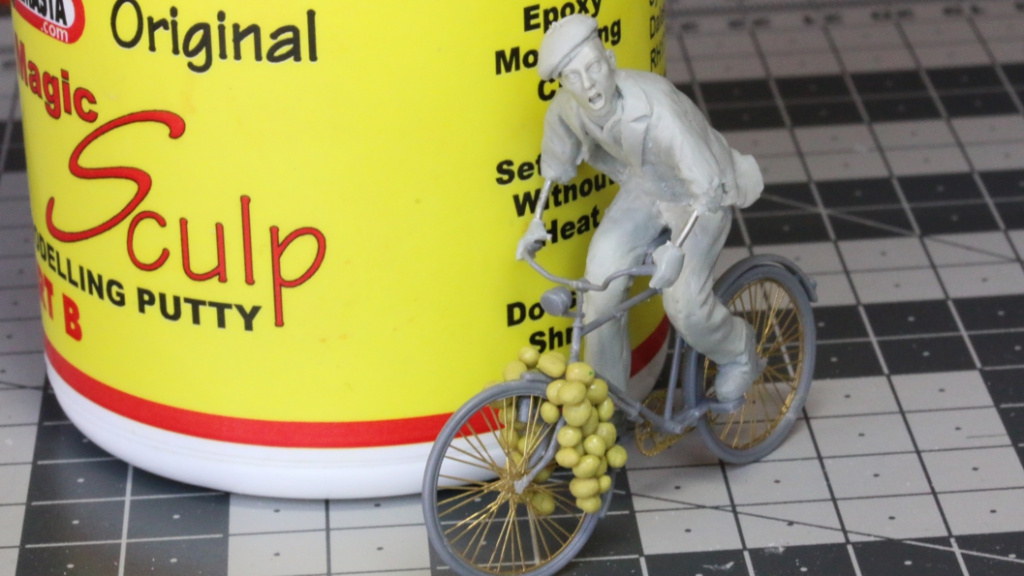
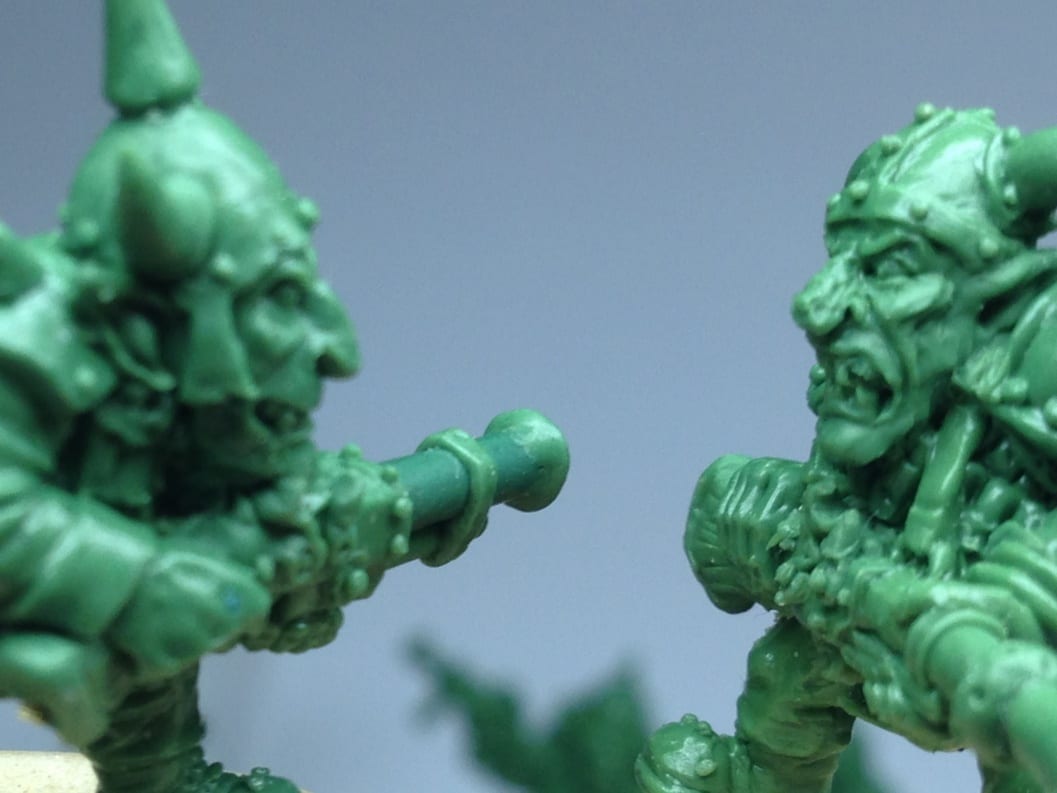
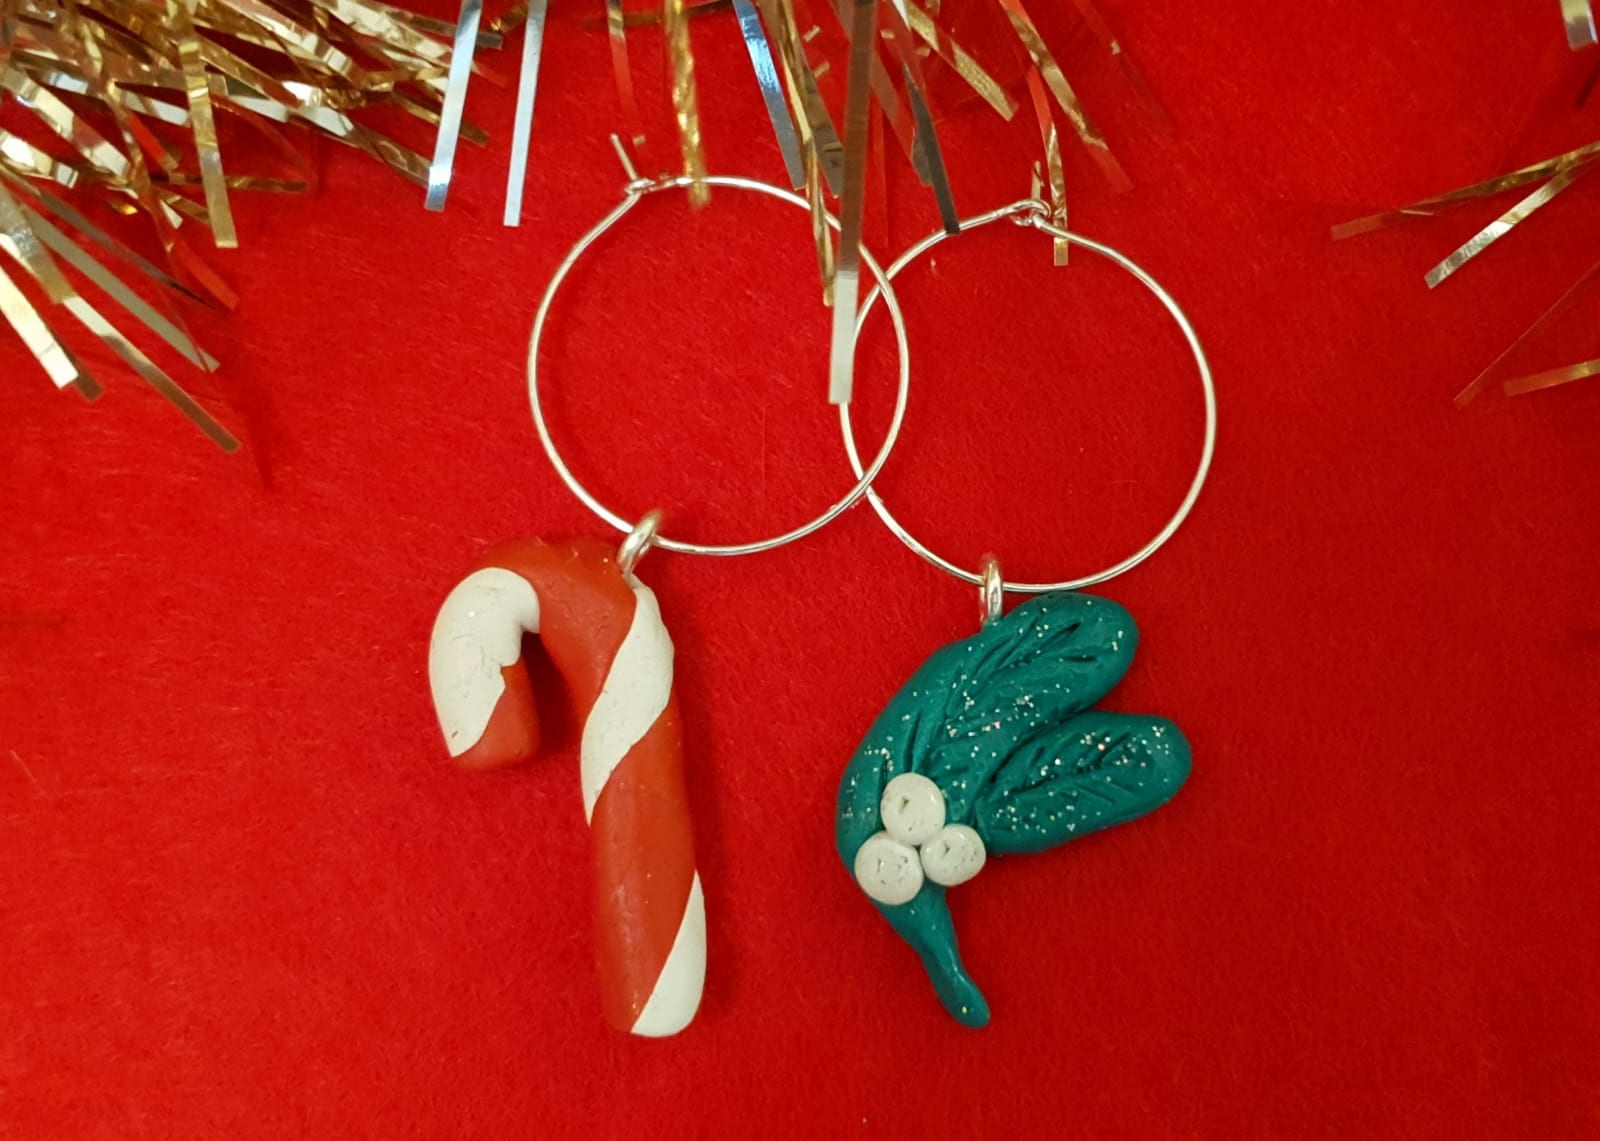
One sticky point (pun intended) our team have found is replicating the unique flexibility Green Stuff retains even when fully cured. From the user feedback we received before starting development on new Green Stuff, we know this property is essential as a unique selling point of the putty and drives its popularity.
The below video shows explains the process so far. You can subscribe to our YouTube Channel for further updates and more content about the reformulation of Green Stuff.
What happened to the original?
Unless you have been living under a rock for the past few months, you will know the production of Green Stuff was discontinued by manufacturer PPG back in the Autumn.
As a US based maker of epoxy putty sticks, tariffs and ant-dumping measures meant PPG faced increase manufacturing and export costs. Being squeezed from both ends, they therefore decided to cut their losses and leave the market, shutting down their Polymeric production plant in Pennsylvania.
PPG did not just manufacture Green Stuff. They also produced a whole range of epoxy putty sticks used worldwide by the industrial maintenance industry. That sector was hit first by the ramifications of PPG leaving the epoxy putty stick market before it filtered through to the model making supply chain in February 2026.
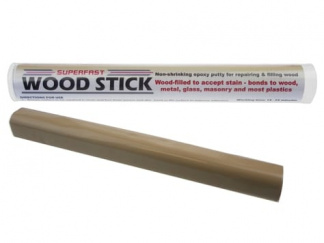
Luckily for us, our parent company, Sylmasta LTD, have the only epoxy putty stick production plant in the United Kingdom at their factory. It already manufactures the Superfast range of epoxy putty and other white label sticks.
When PPG stopped Green Stuff production, we knew we had the technology and the facilities to continuing making it in stick format. All we needed was a formulation. Something which is now edging closer.
When will new Green Stuff be ready to launch?
If you are a Green Stuff customer, this is ultimately the question you probably want answering – when will new Green Stuff be ready to launch?
When we set out on this process, the aim was to have a product which could be tested for feedback by Green Stuff users by the end of the summer. The R&D team believe we are on track for that – although there are still several hoops to jump through and no shortcuts to be taken.
The flexibility of the cured material is one of those hoops. And every mix of different Part A and Part B must be left for weeks after curing to assess how it changes over time – with specific focus on that flexibility.
Stringent test runs are also needed of formulations through the extrusion machine. An epoxy putty made in small 50g or 100g test batches does not always come out with the same consistency or properties when produced in bulk.
Once all that is completed, we will then ask Green Stuff users to assess the new putty. Only when they are satisfied that what we have made is as close to original Green Stuff as possible will we look to mass produce and bring it to the worldwide market.
If it all sounds a bit complicated, that is because it is. But despite the challenges, we are confident that new Green Stuff is nearly with us. Watch this space.
Related Articles
Green Stuff Modelling Putty Update: Supply issues and future plans

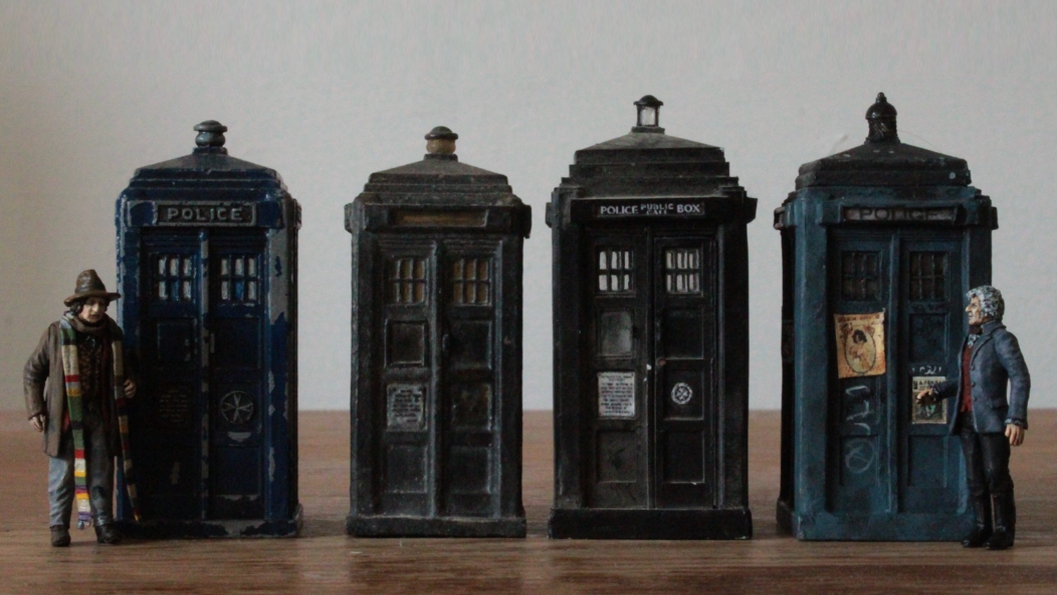
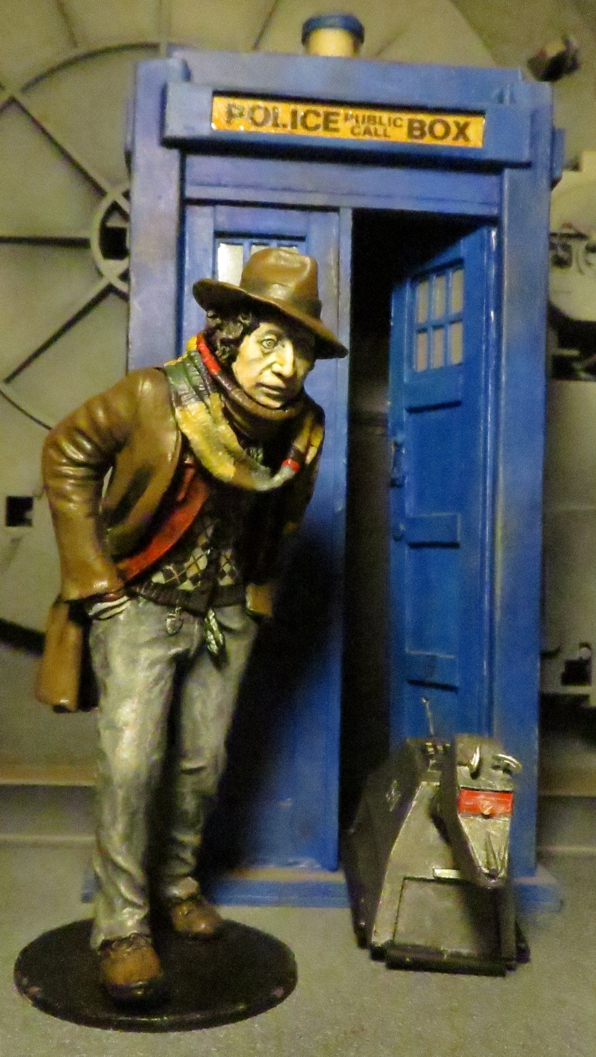
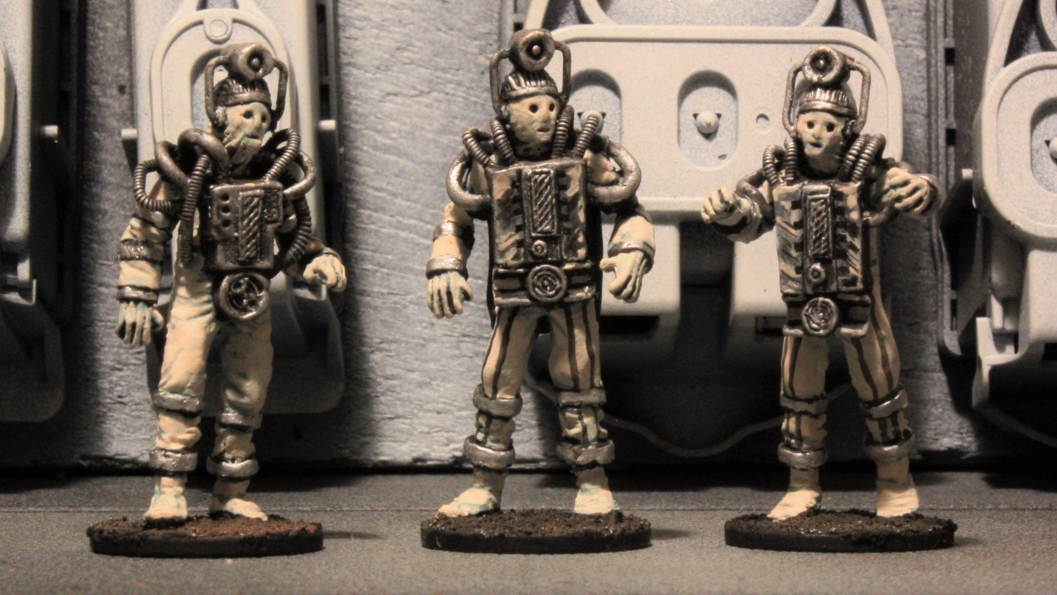
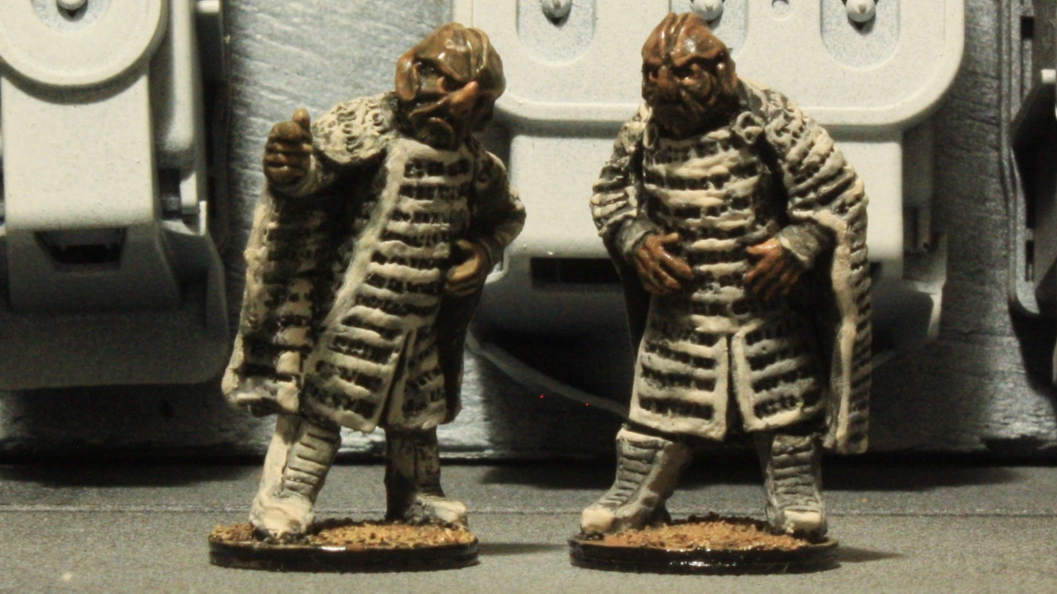
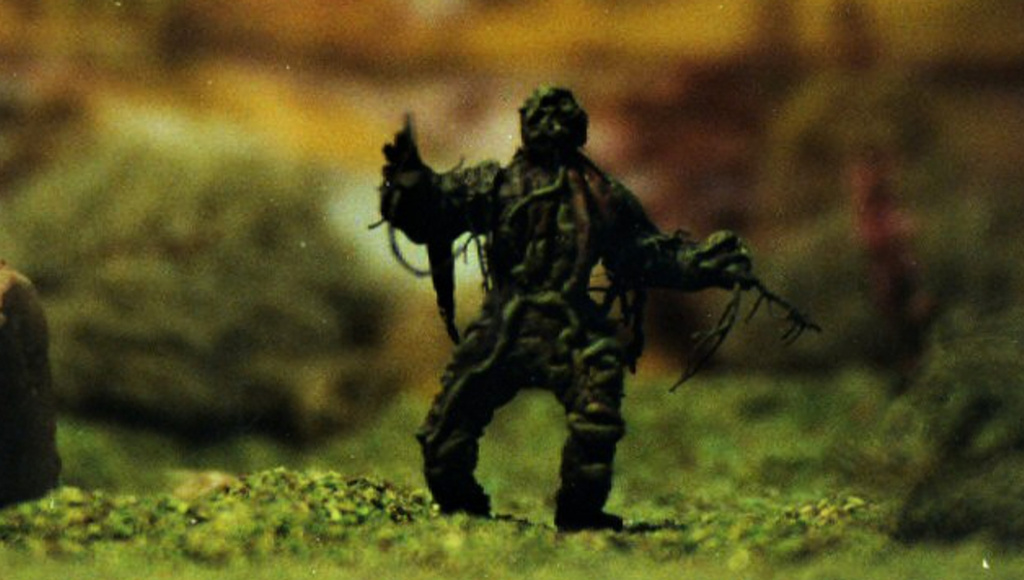
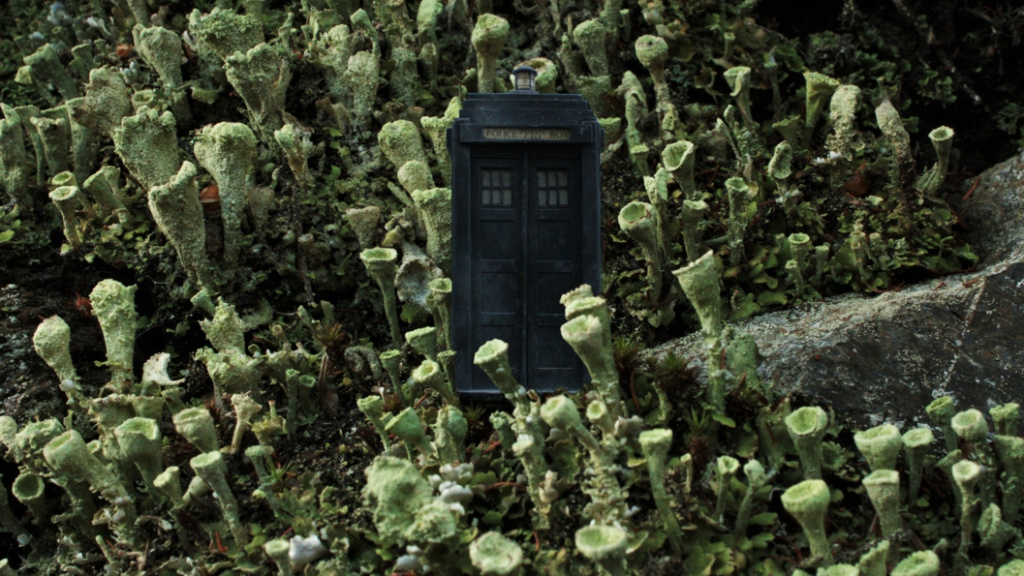
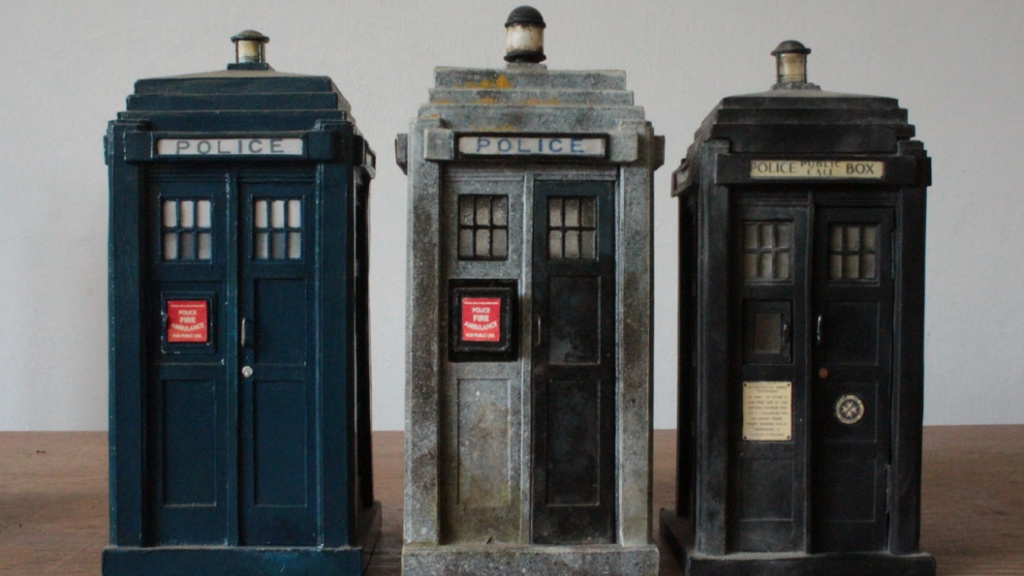
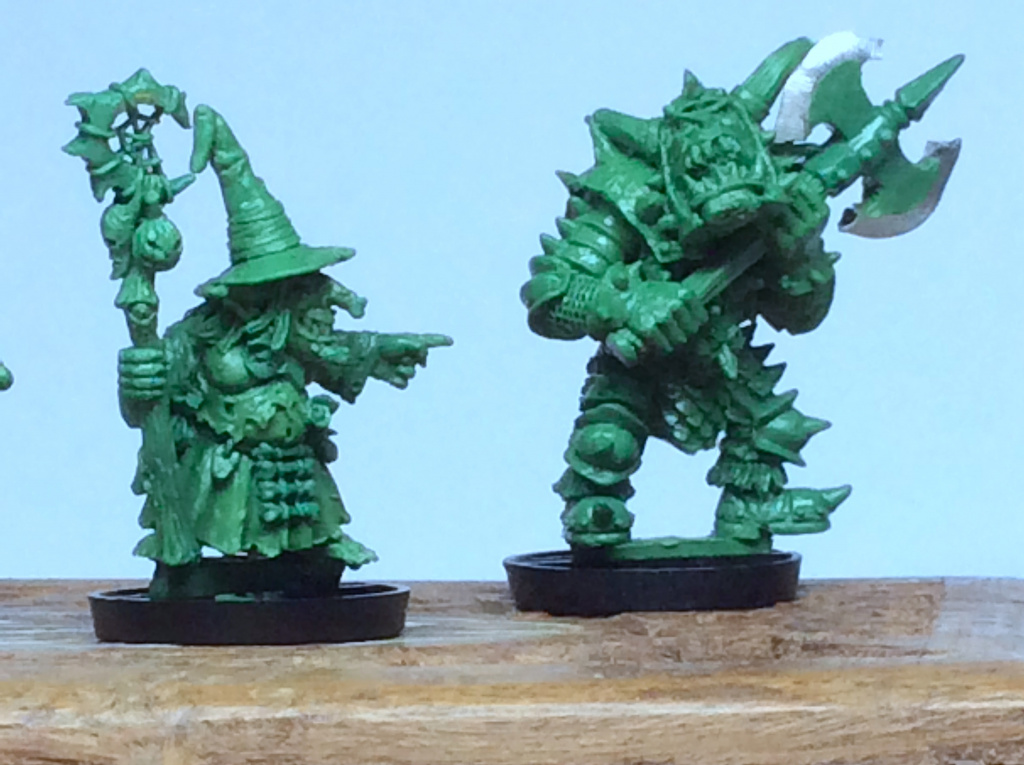
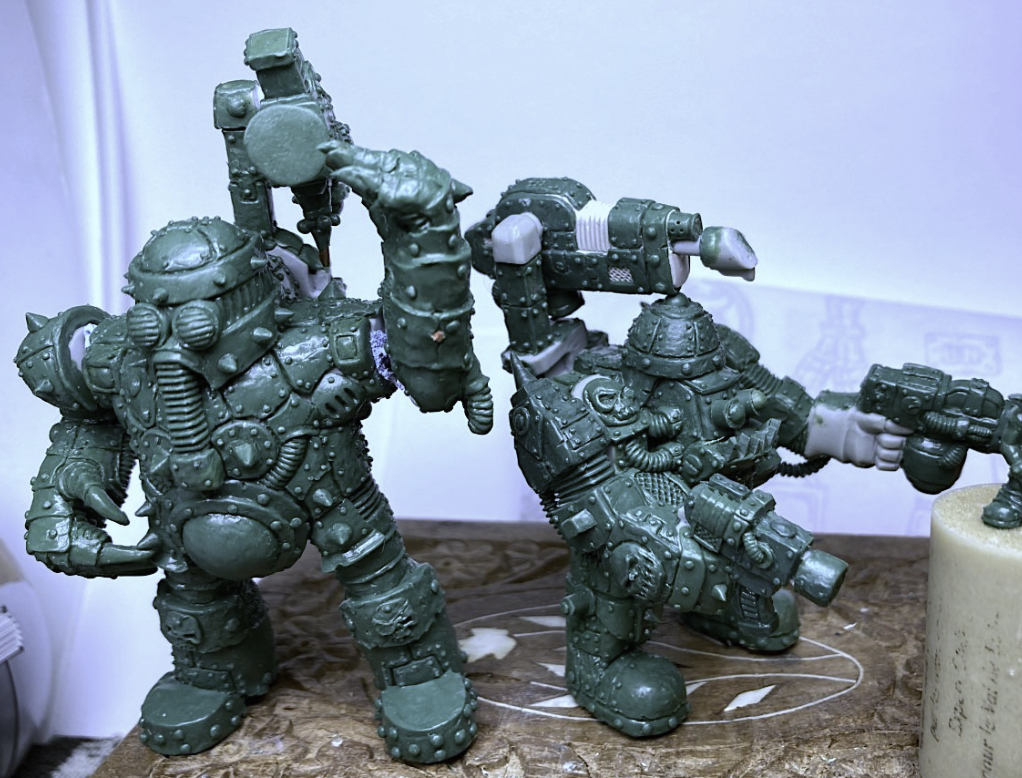
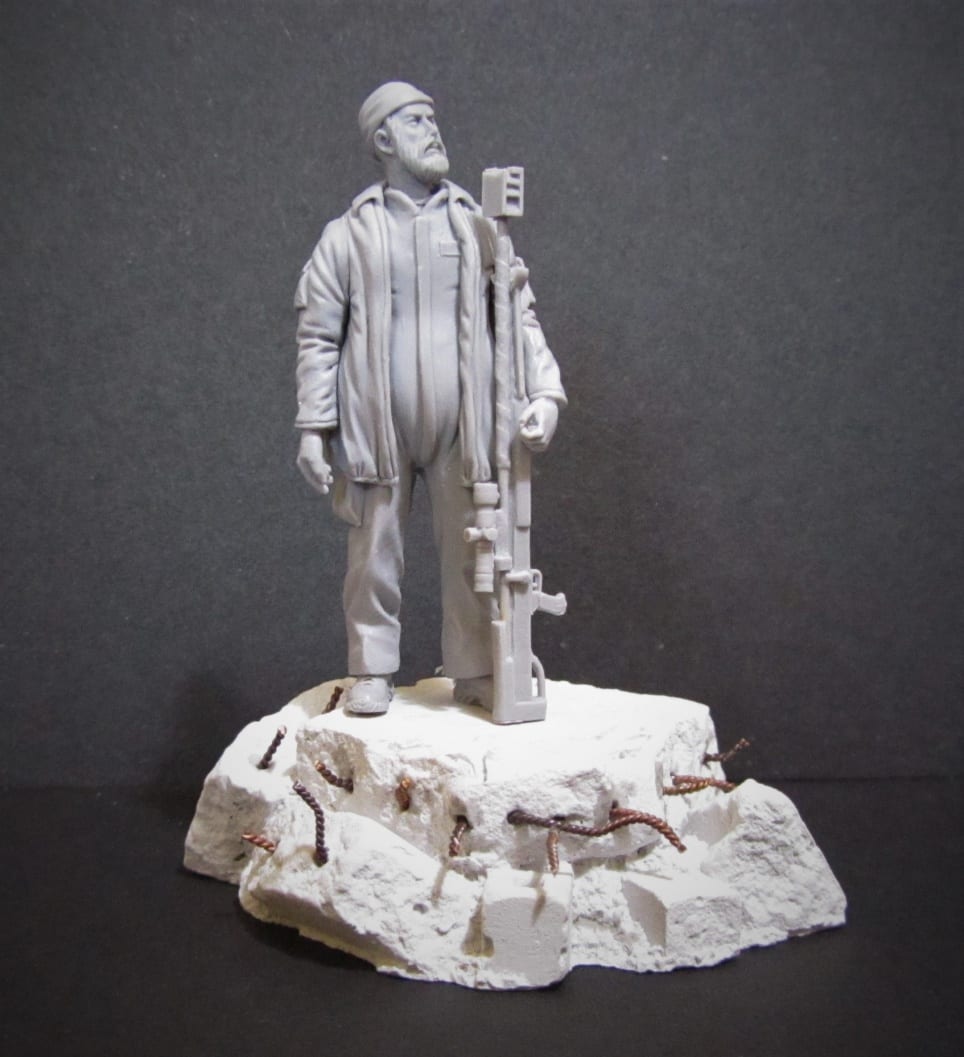
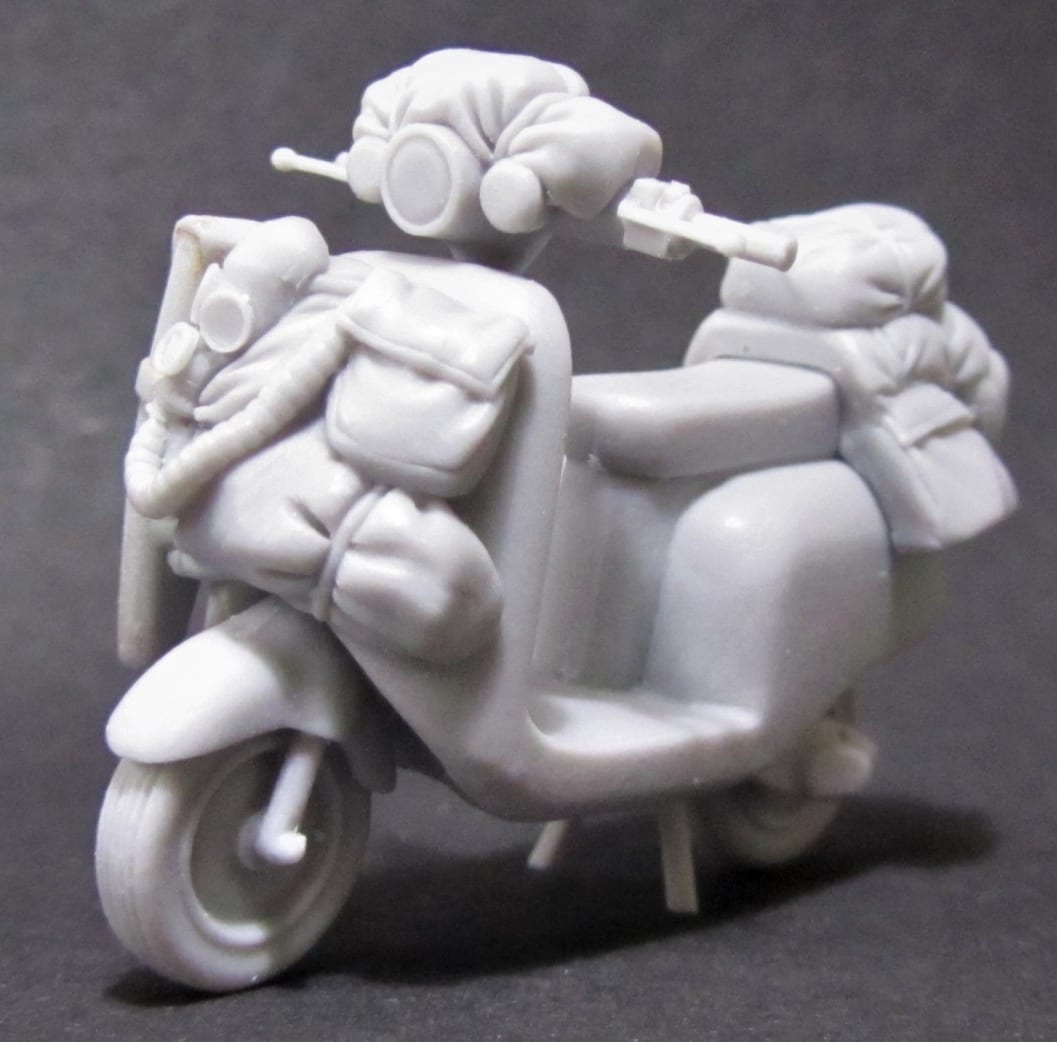
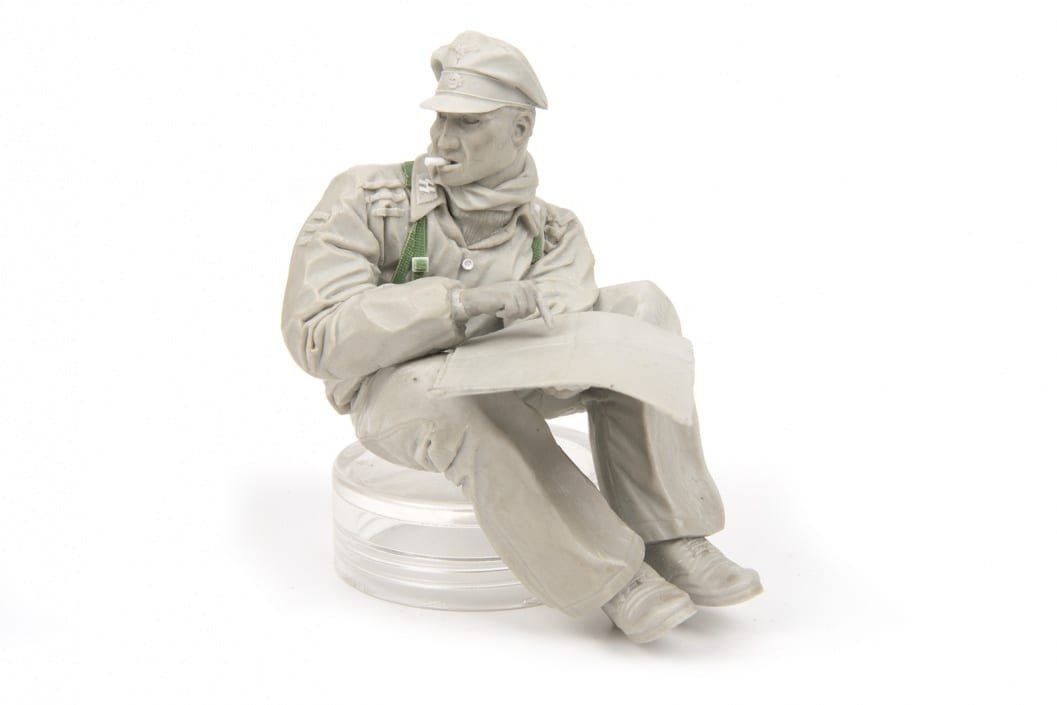
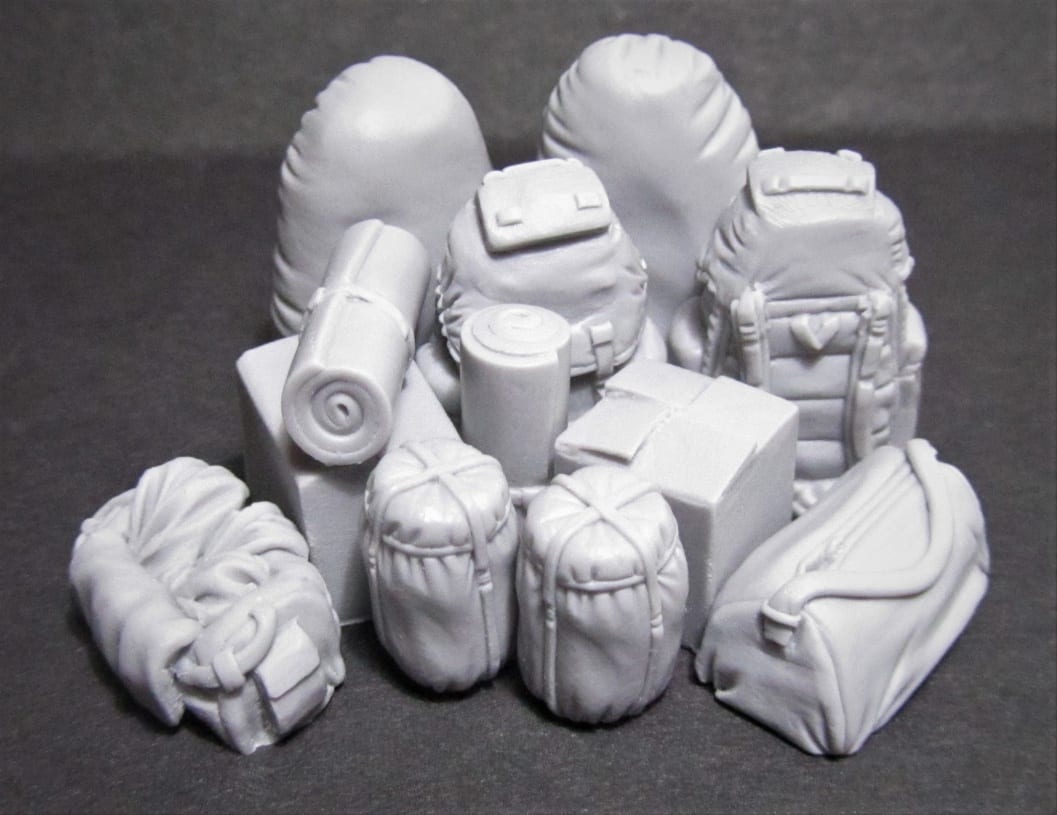
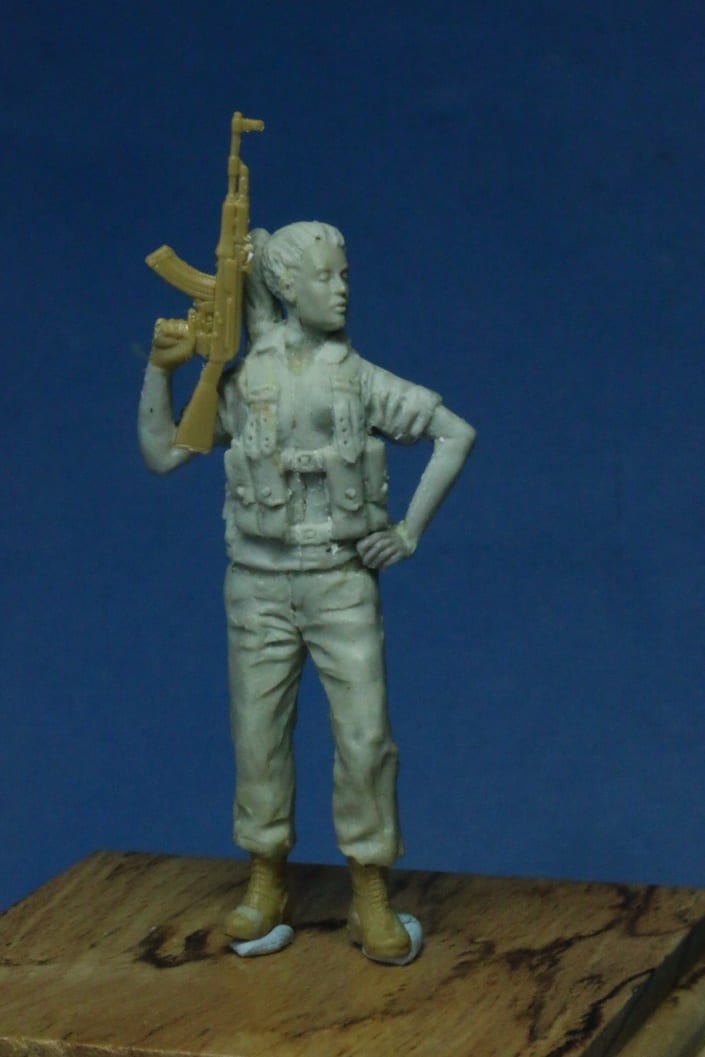
Green Stuff and Gallifrey: Making Doctor Who figure miniatures to travel through time and space

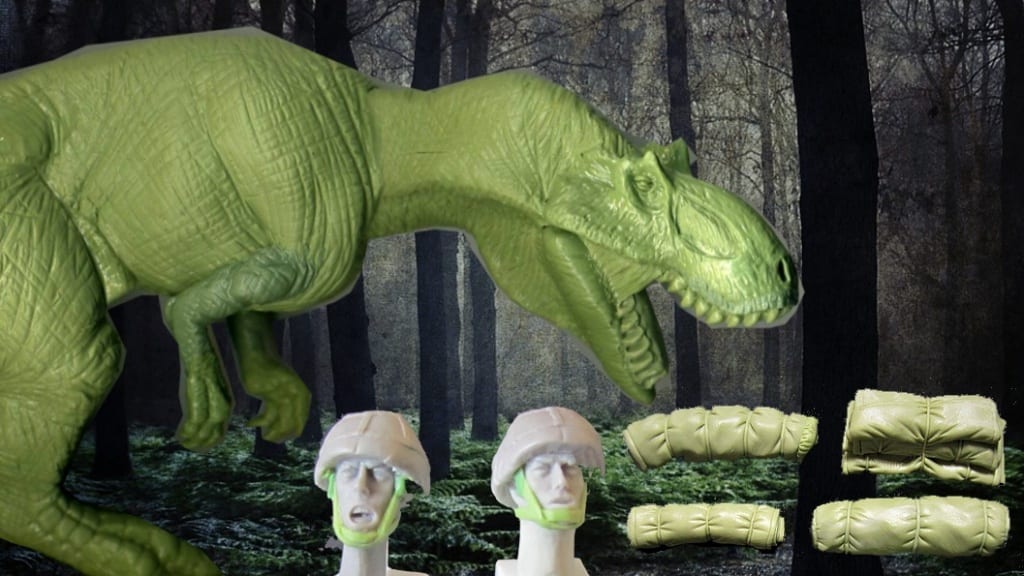
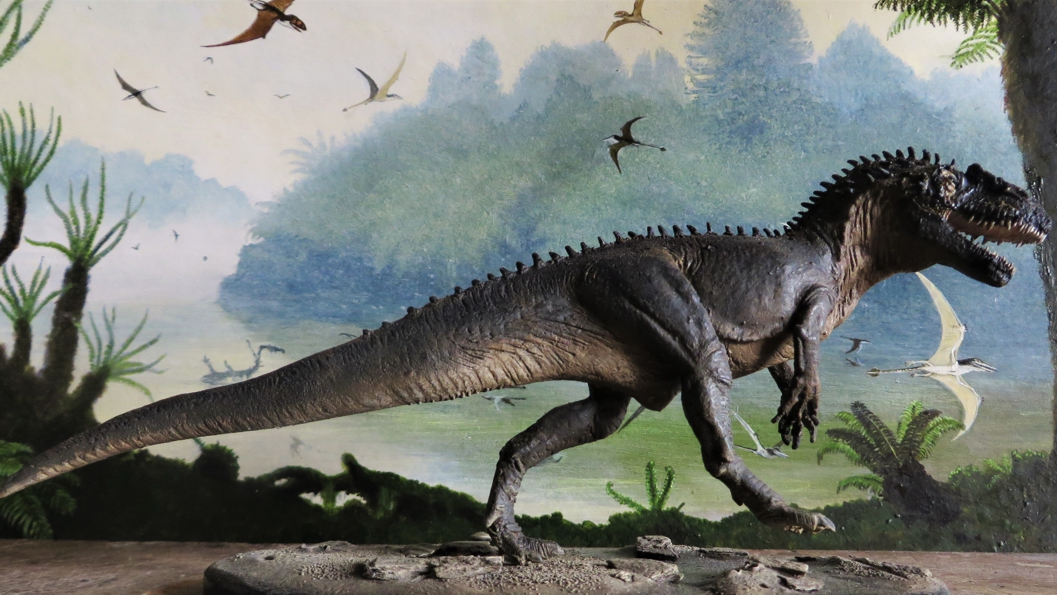
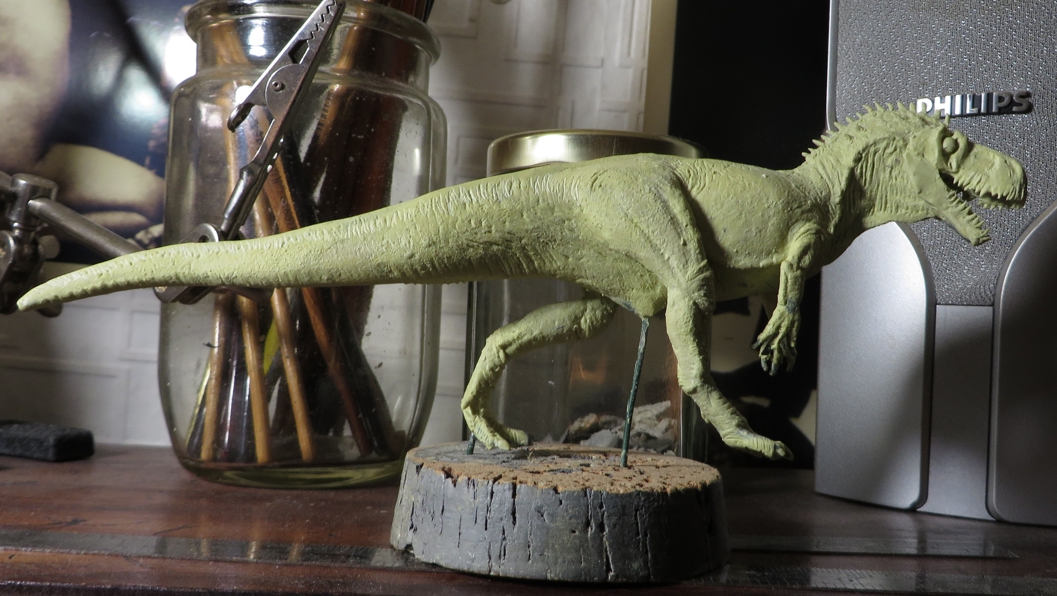
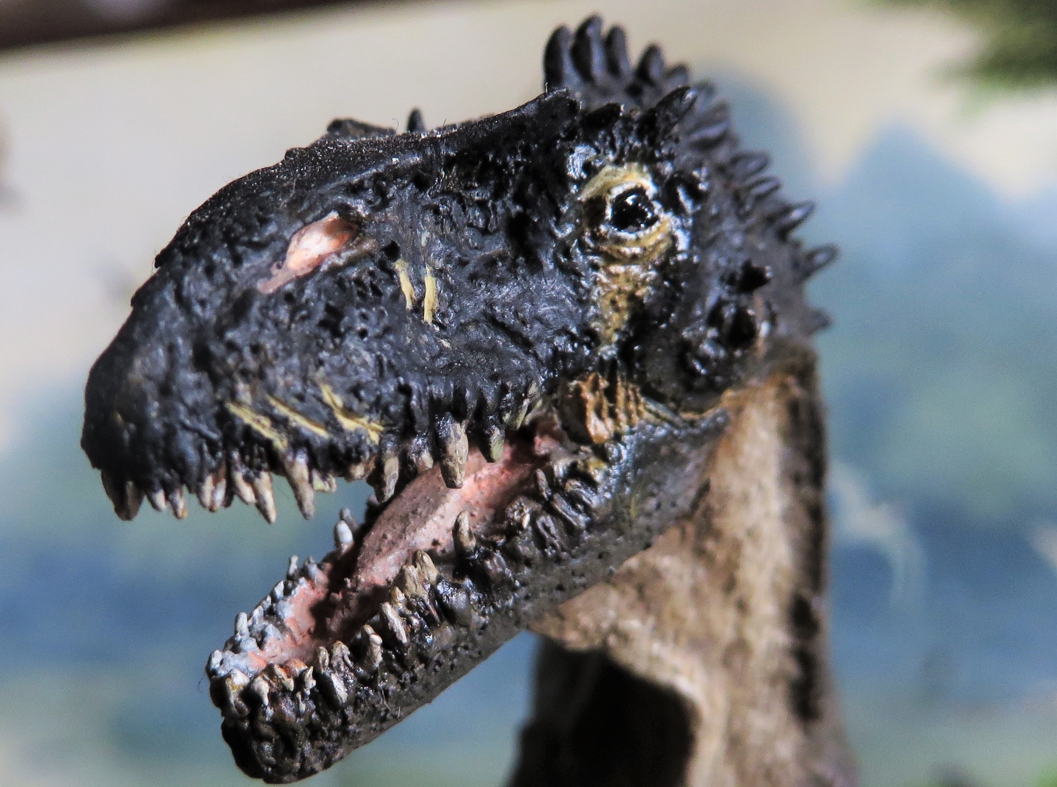
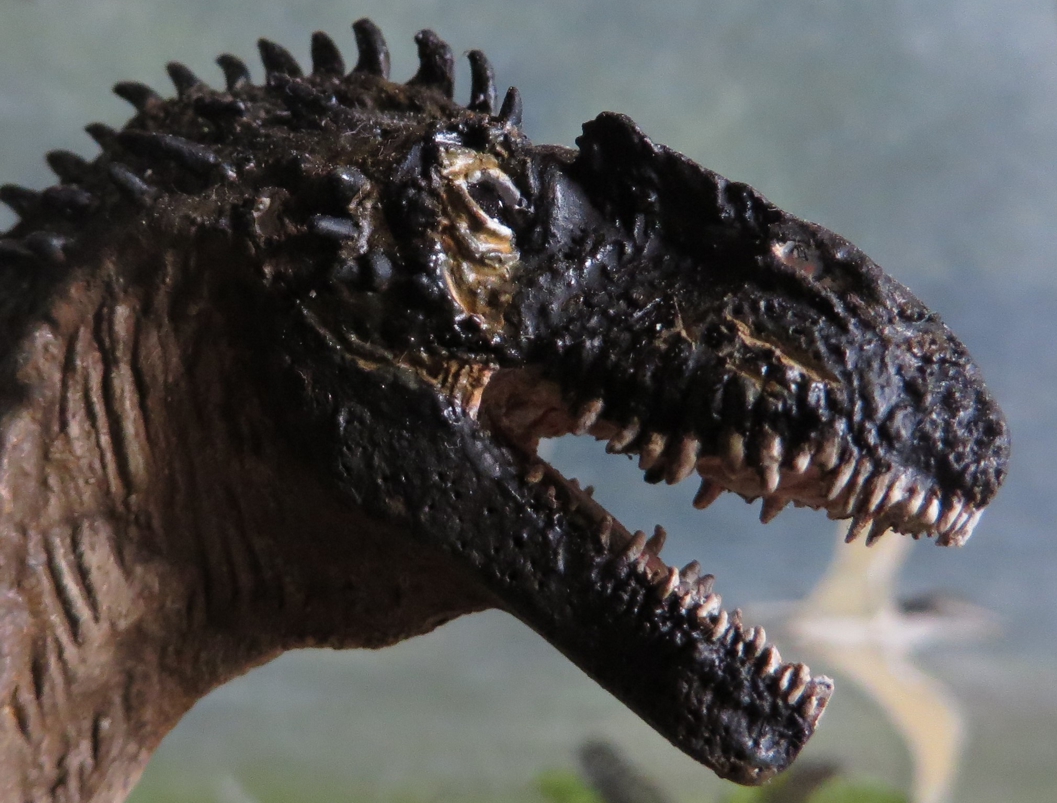
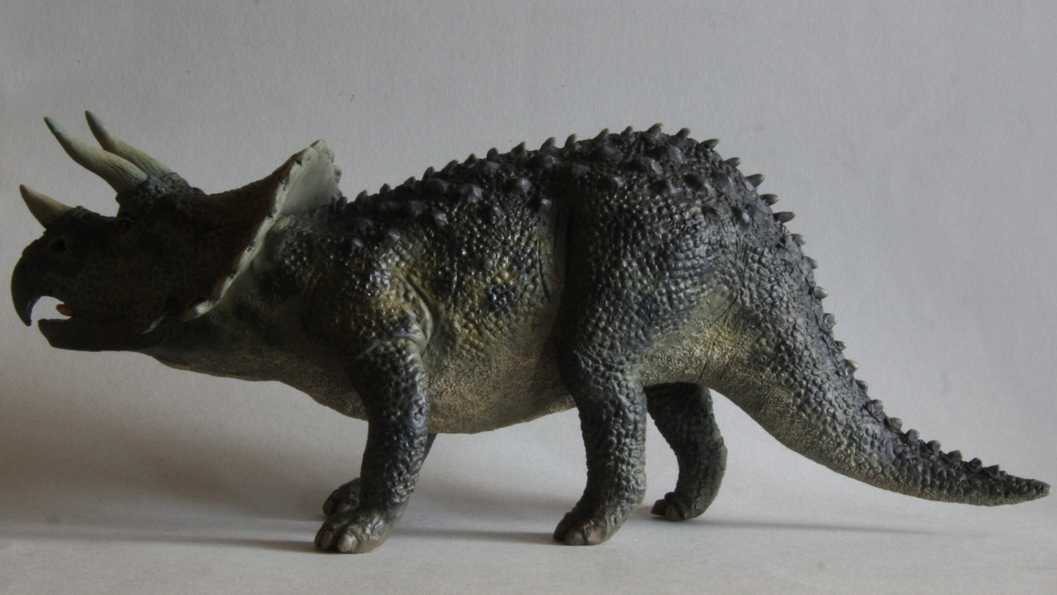
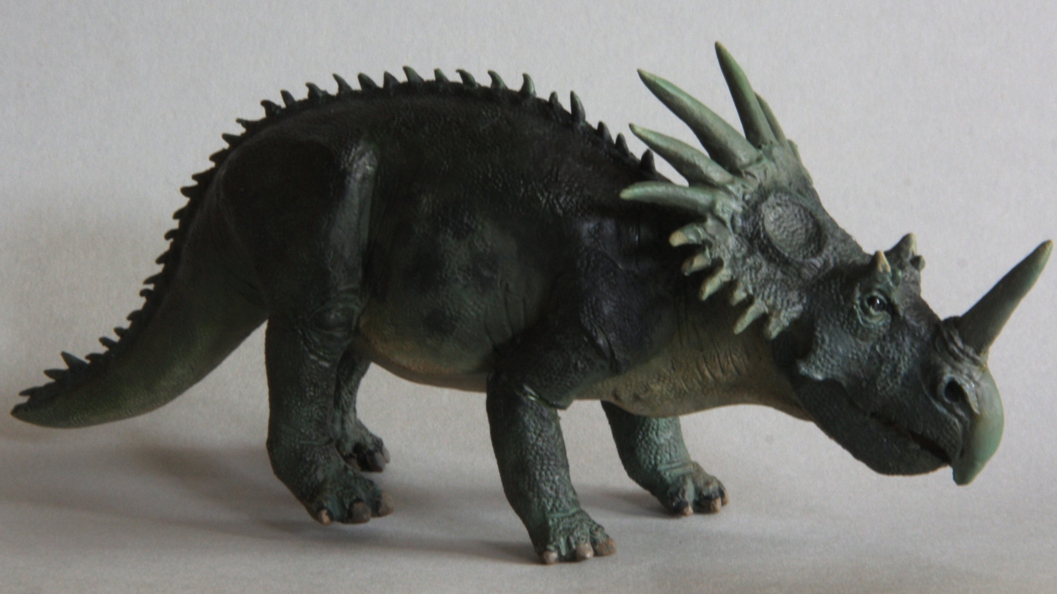
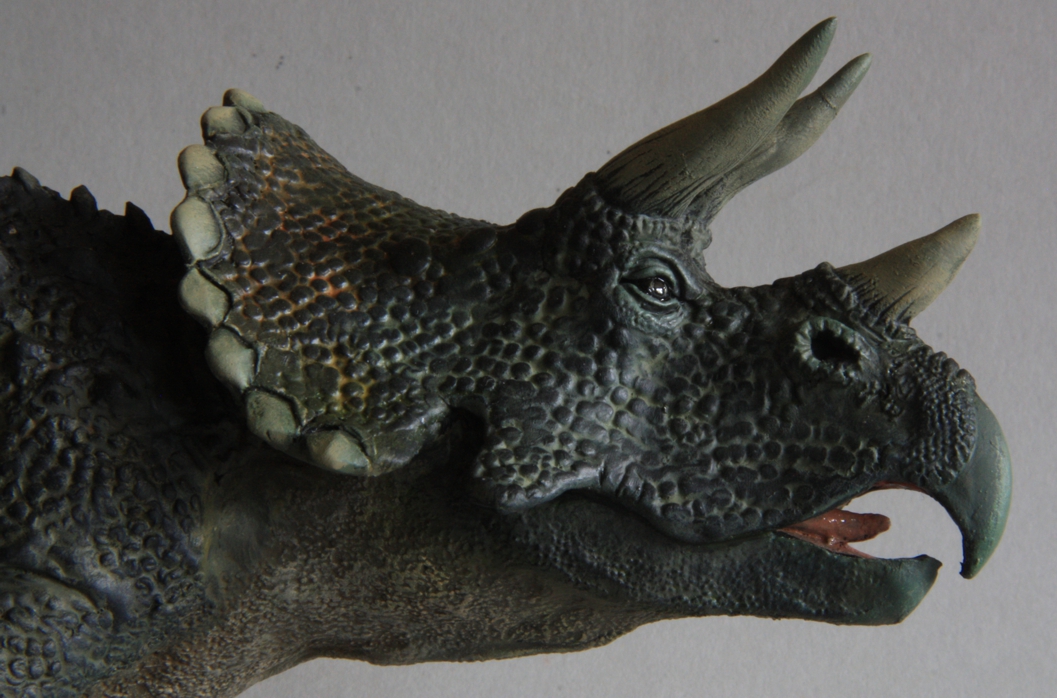
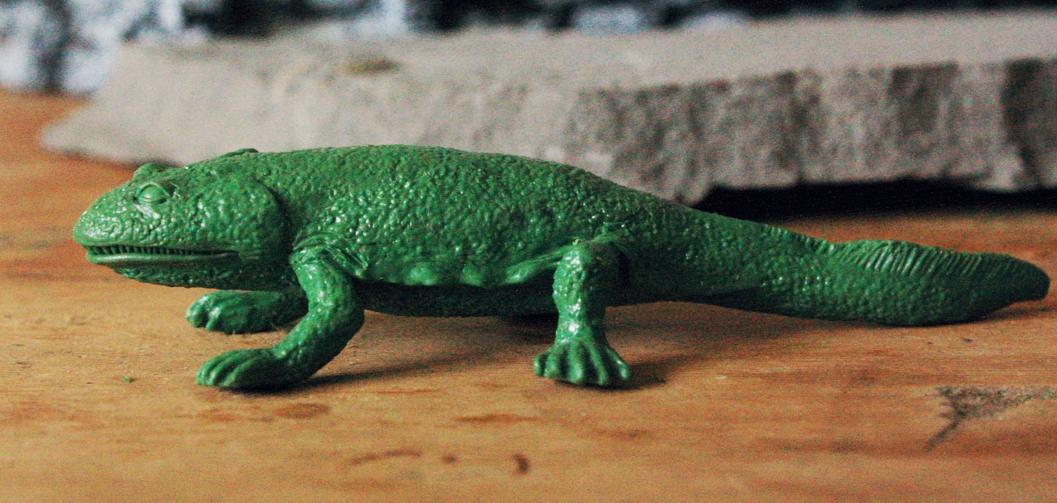
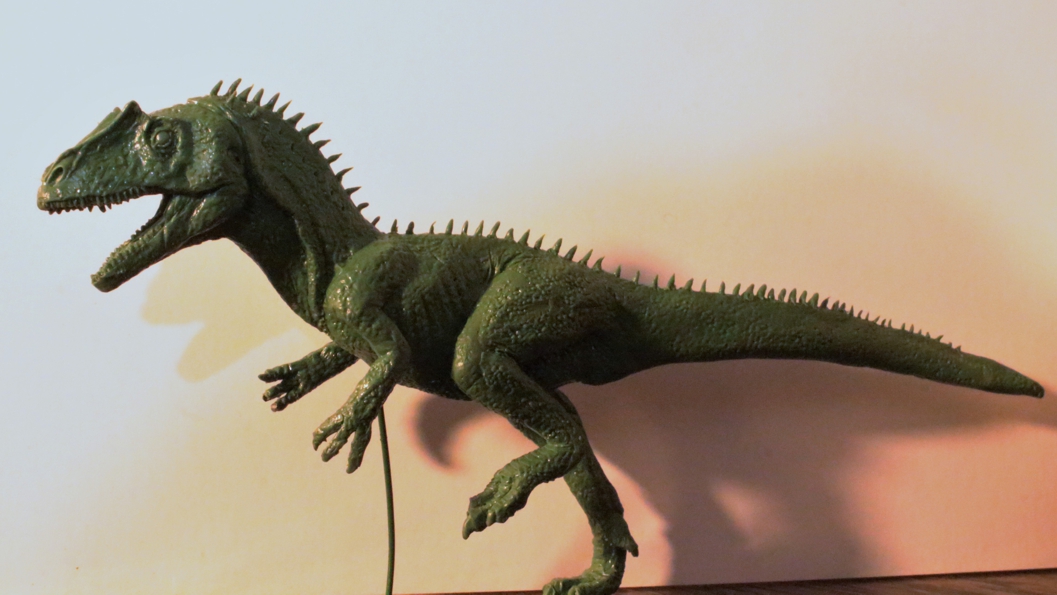
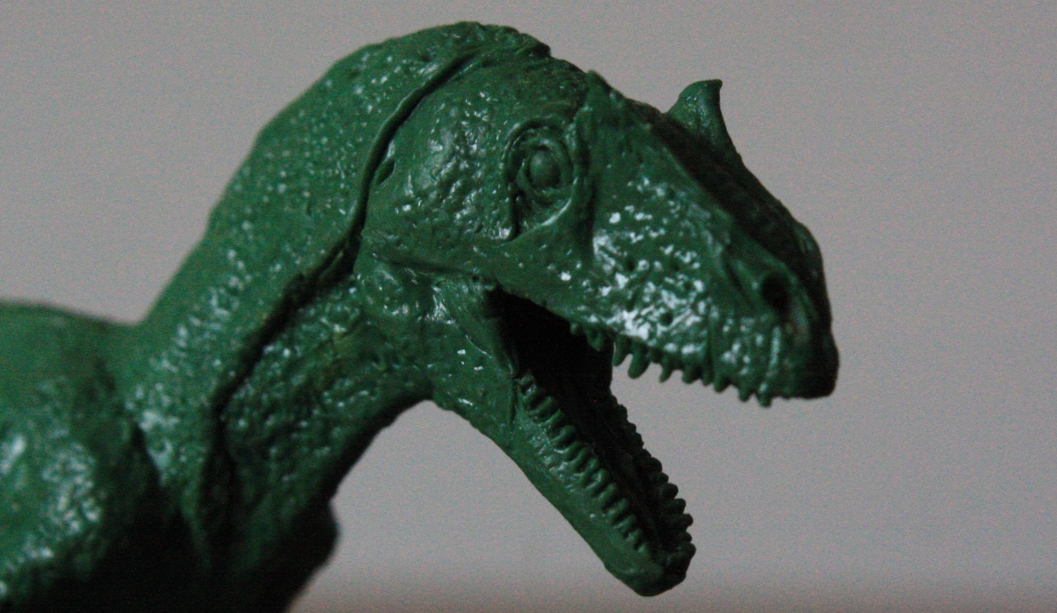
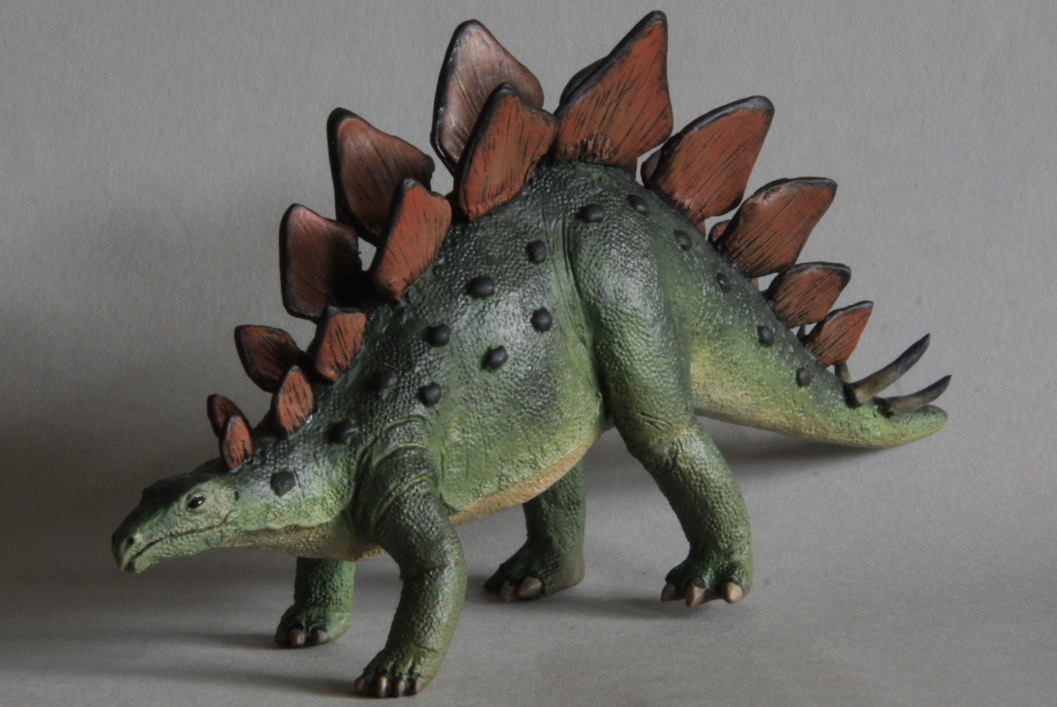
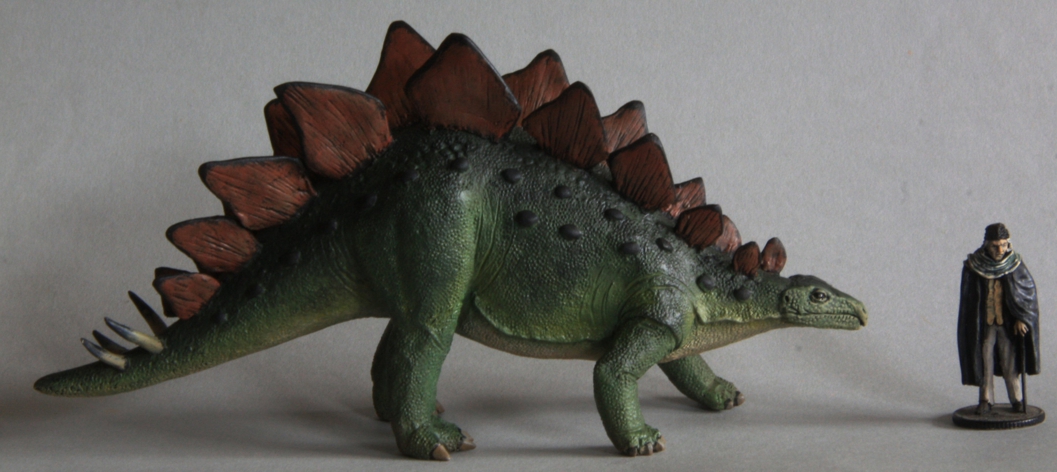
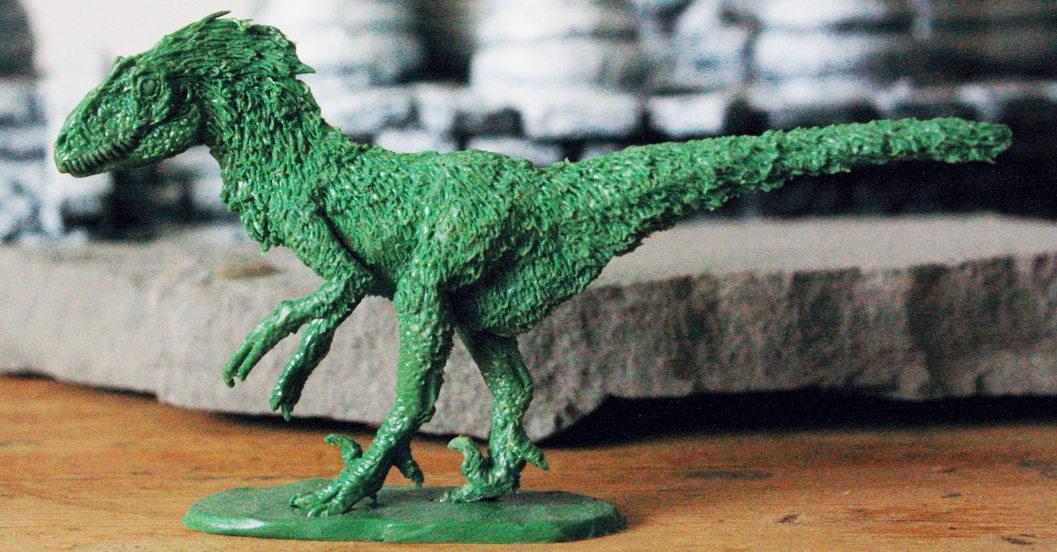
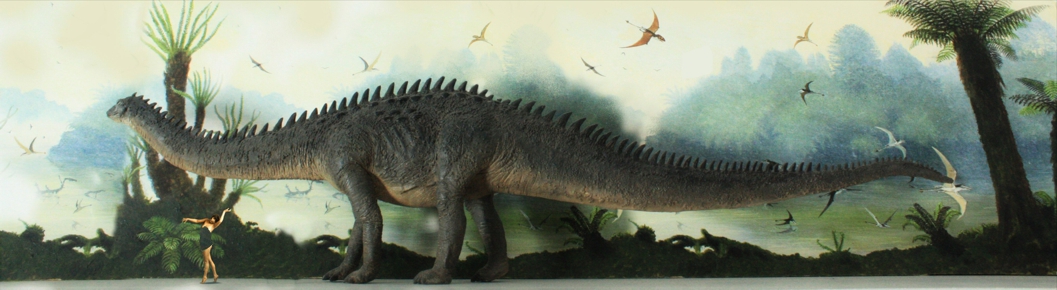
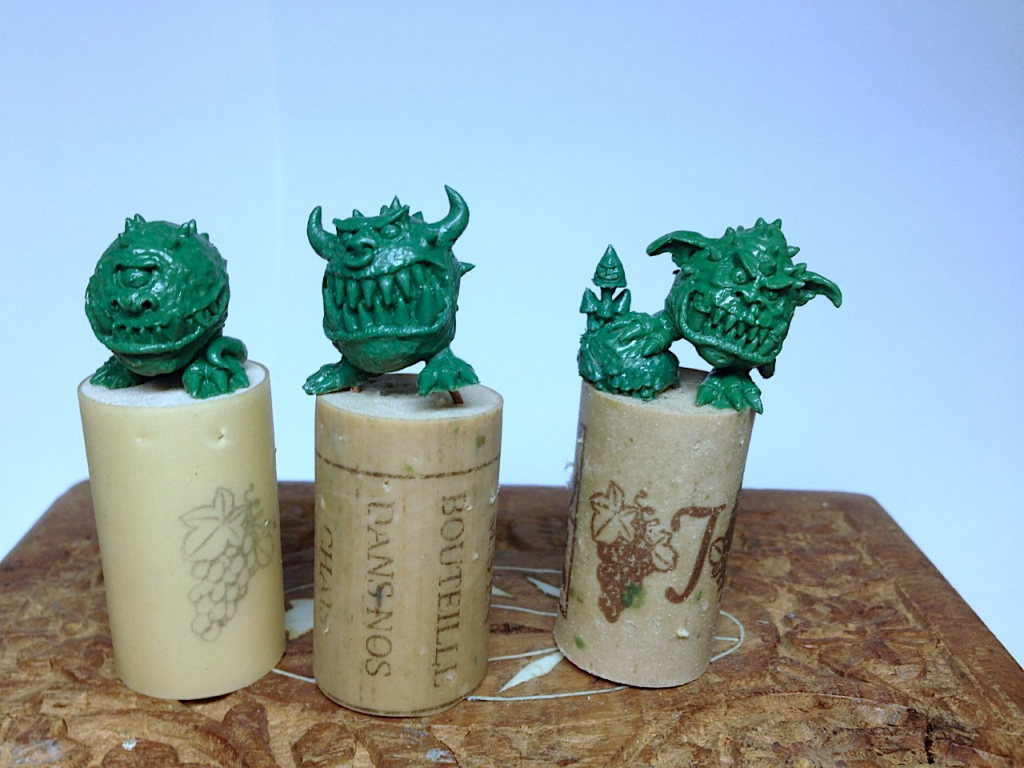
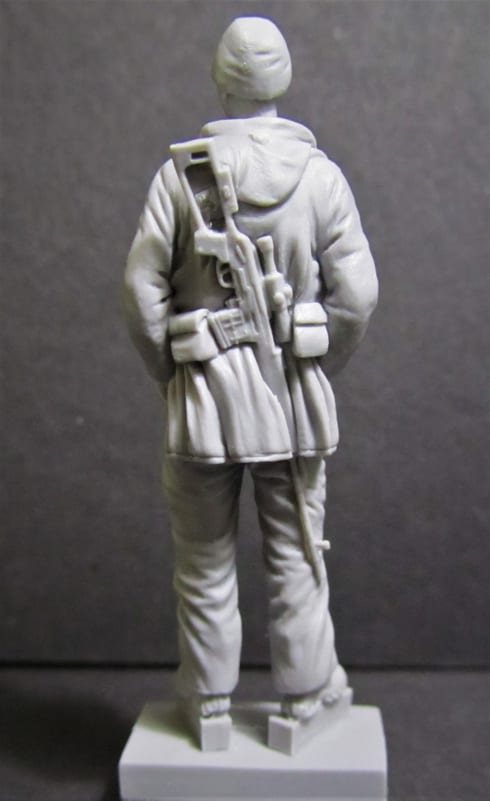
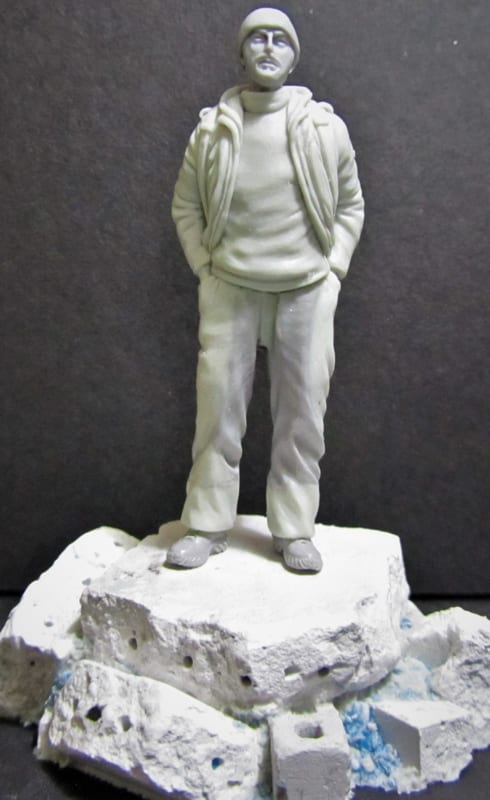
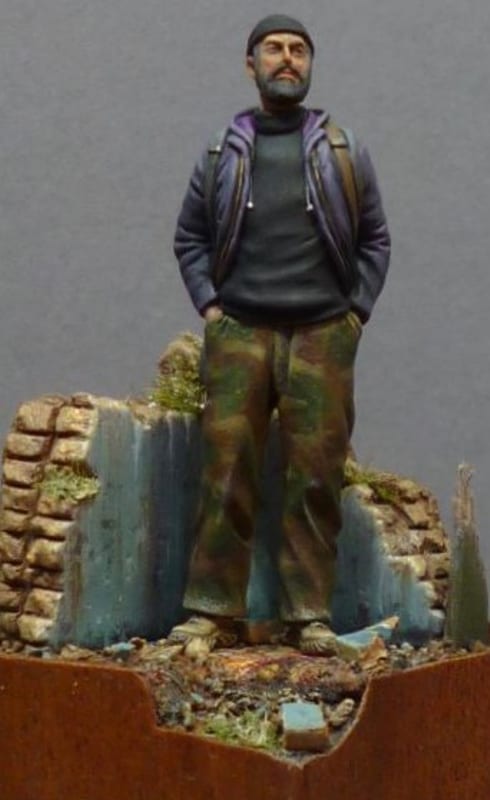
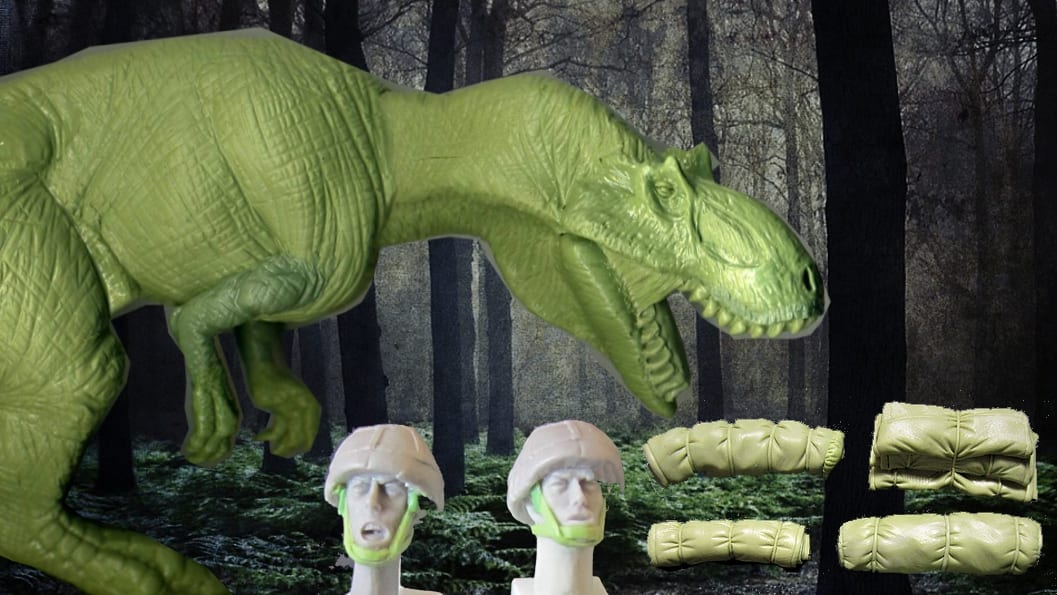
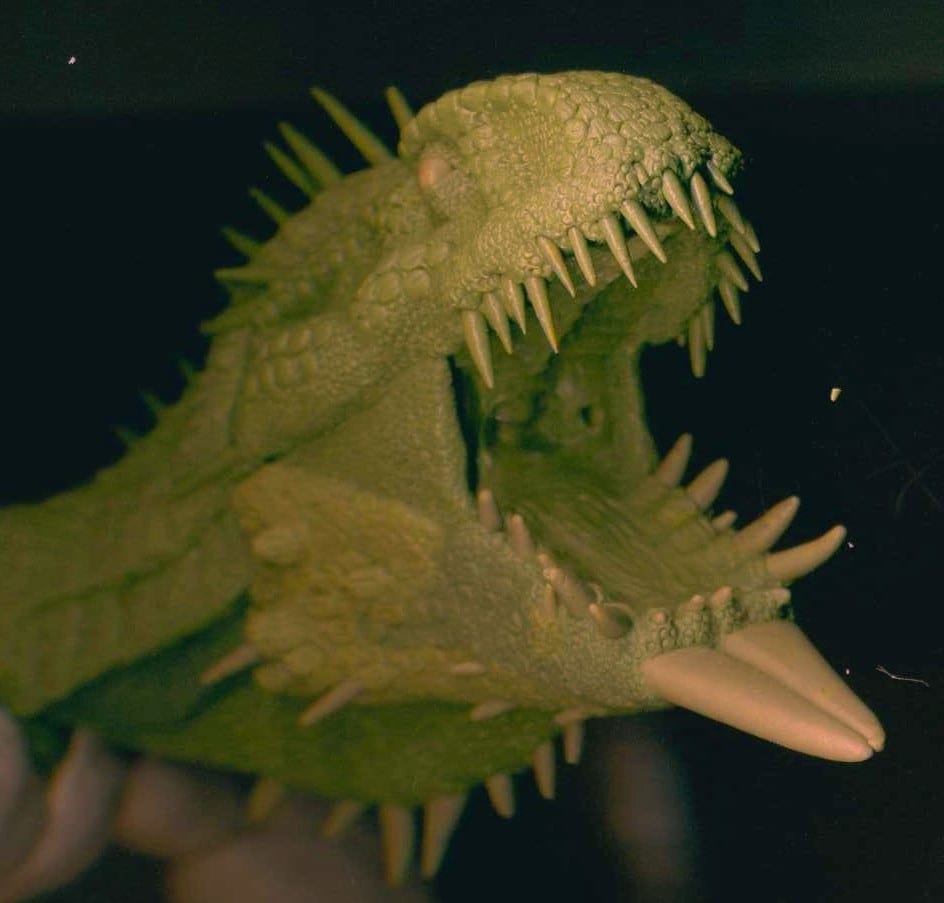
Green Stuff brings the dinosaurs and other long-vanished animals back to life… as models
Modelling in a heat wave: Tips for using epoxy putty in hot weather

Epoxy modelling putty – Your guide to model making & sculpting putties