Got wood? It is a question that we get asked on a semi-frequent basis here at SylCreate, although never quite as bluntly as that. And in any case, what our customers are talking about is a wood epoxy putty for use as a filler, an adhesive, in model making and in restoration. Or at least we think that is what they mean…
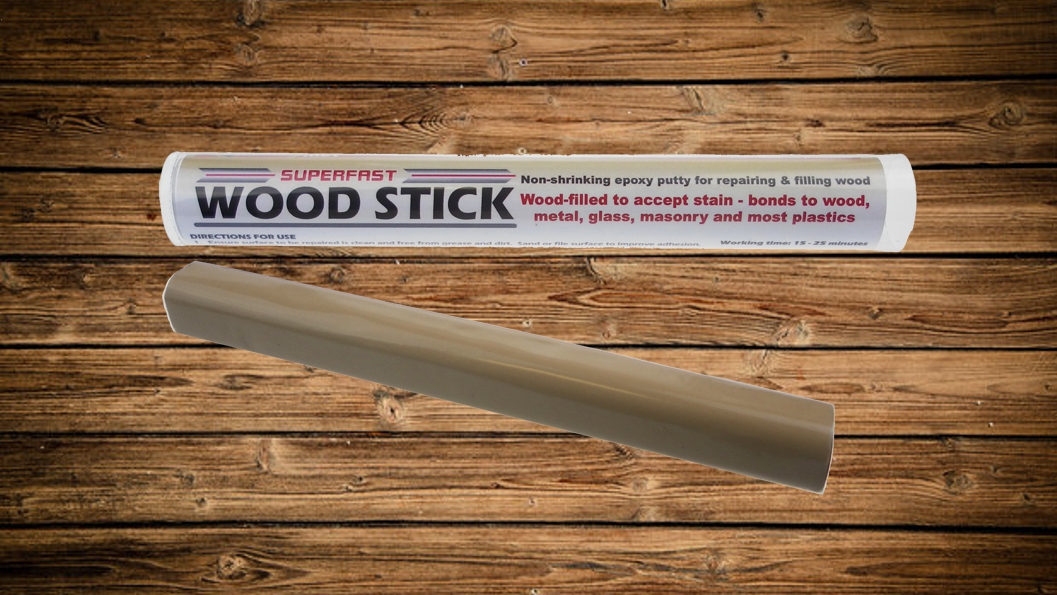
And the answer to the question is yes, we do. Superfast Wood Epoxy Putty Stick is one of our more versatile putties, suitable for creative and repair applications. It looks like wood. It had a hardness and density similar to wood. And yet it is not actually wood.
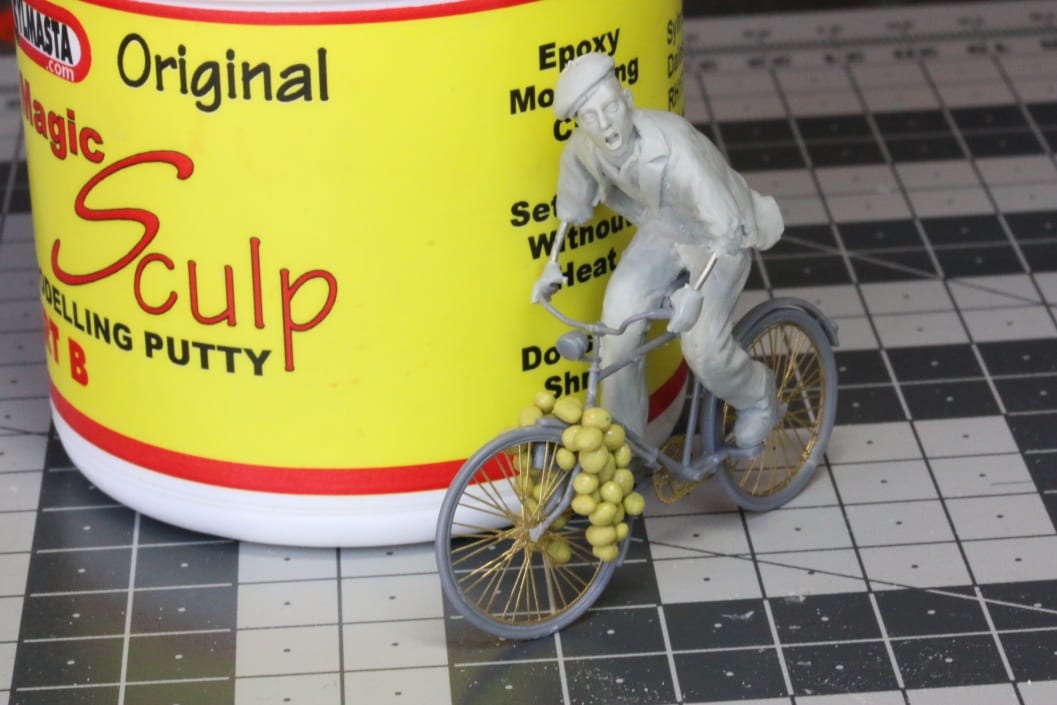
What each 114g stick does have though is wood running through it. Cut off the required amount of putty from the stick, kneaded it by hand so that the resin and the hardener mix until they become a uniform beige colour and you then have 25 minutes to do what you wish with the putty. Shape it, mould it, form it.
After one hour, Superfast Wood Stick will cure. Once set, it can be tapped, drilled, sawed, filed, carved, sanded, painted and stained. It does not rot or shrink and as well as wood, it bonds to metals, glass, masonry and most plastics.
That covers the technical details. But what we are really here to do talk about is what you can do with a specialist wood epoxy putty – and why you would want one.
Wood epoxy as a sculpting putty
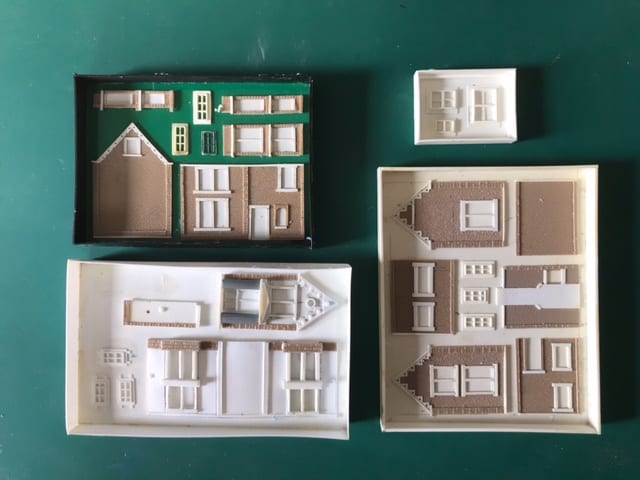
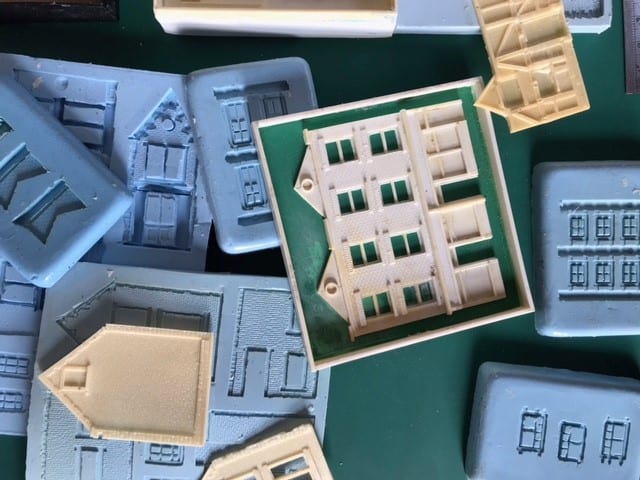
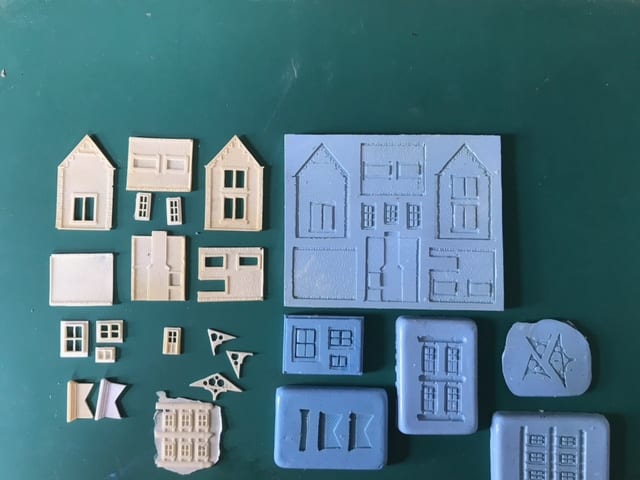
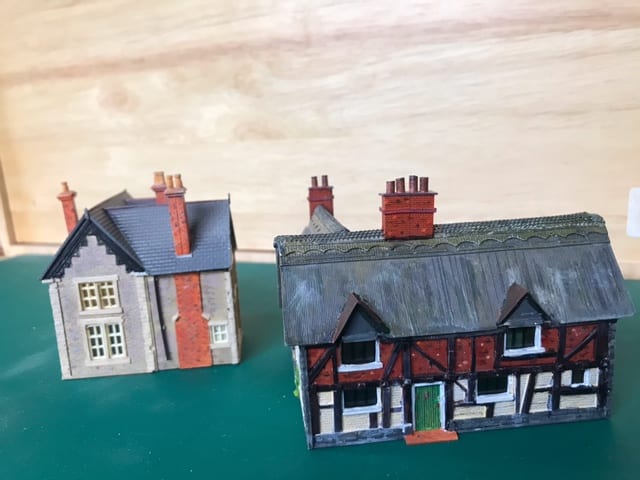
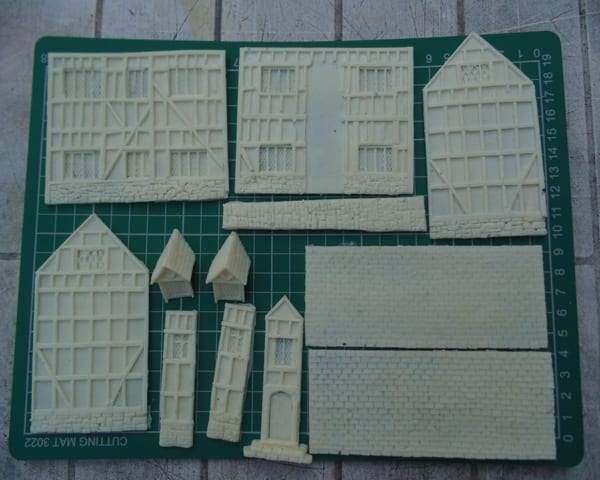
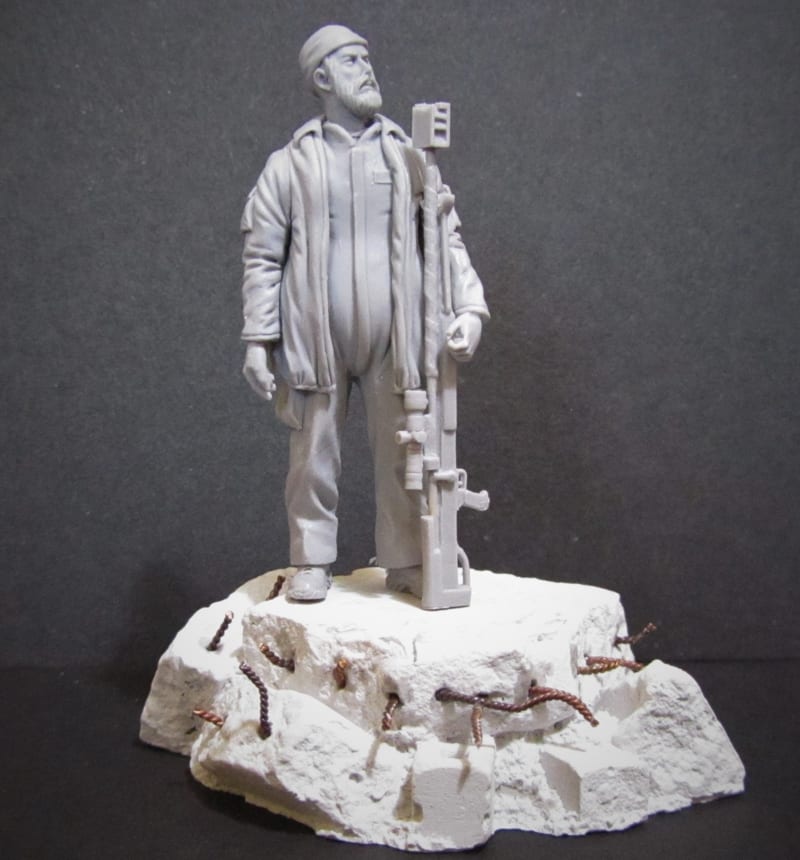
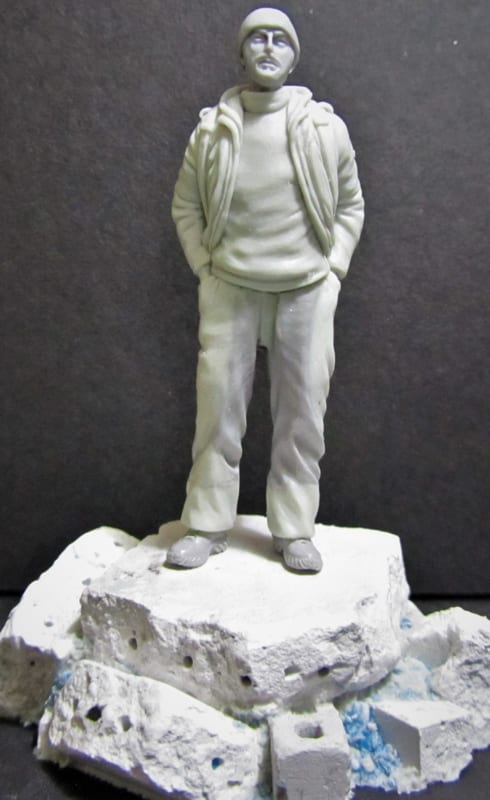
Whilst most applications involving wood epoxy will be filler repair and restoration, it can also be used a modelling or sculpting putty.
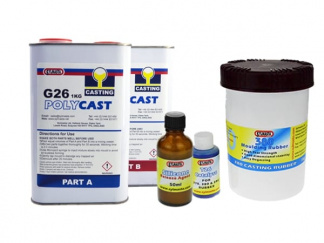
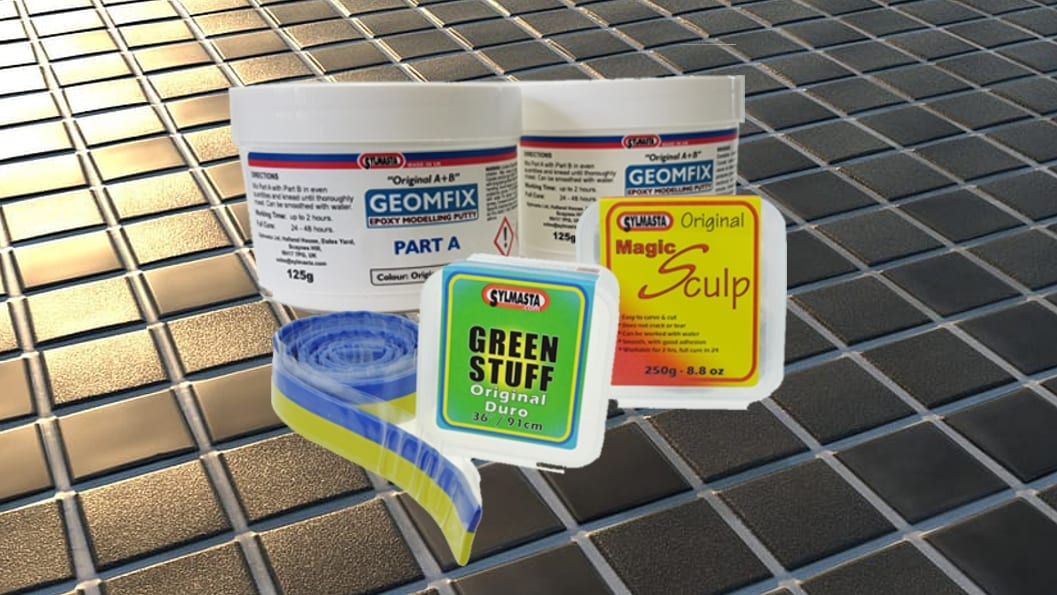
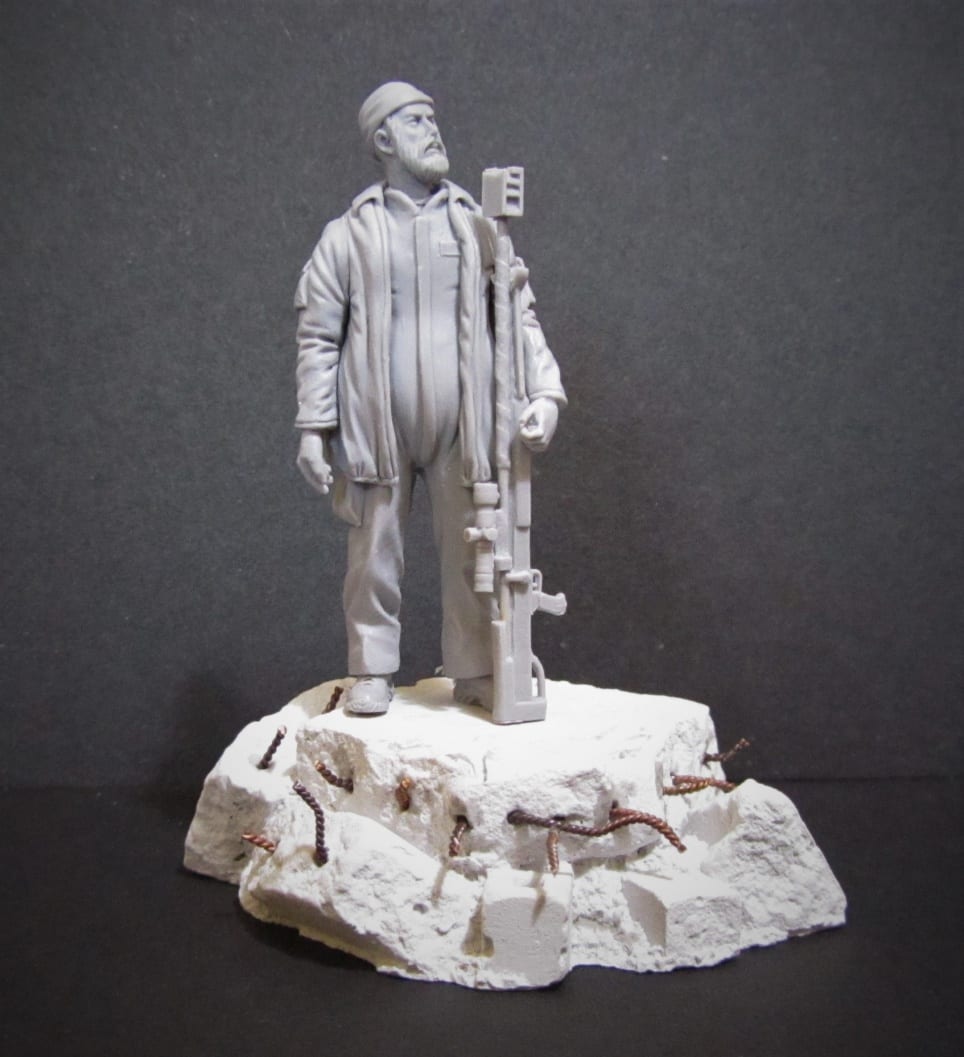
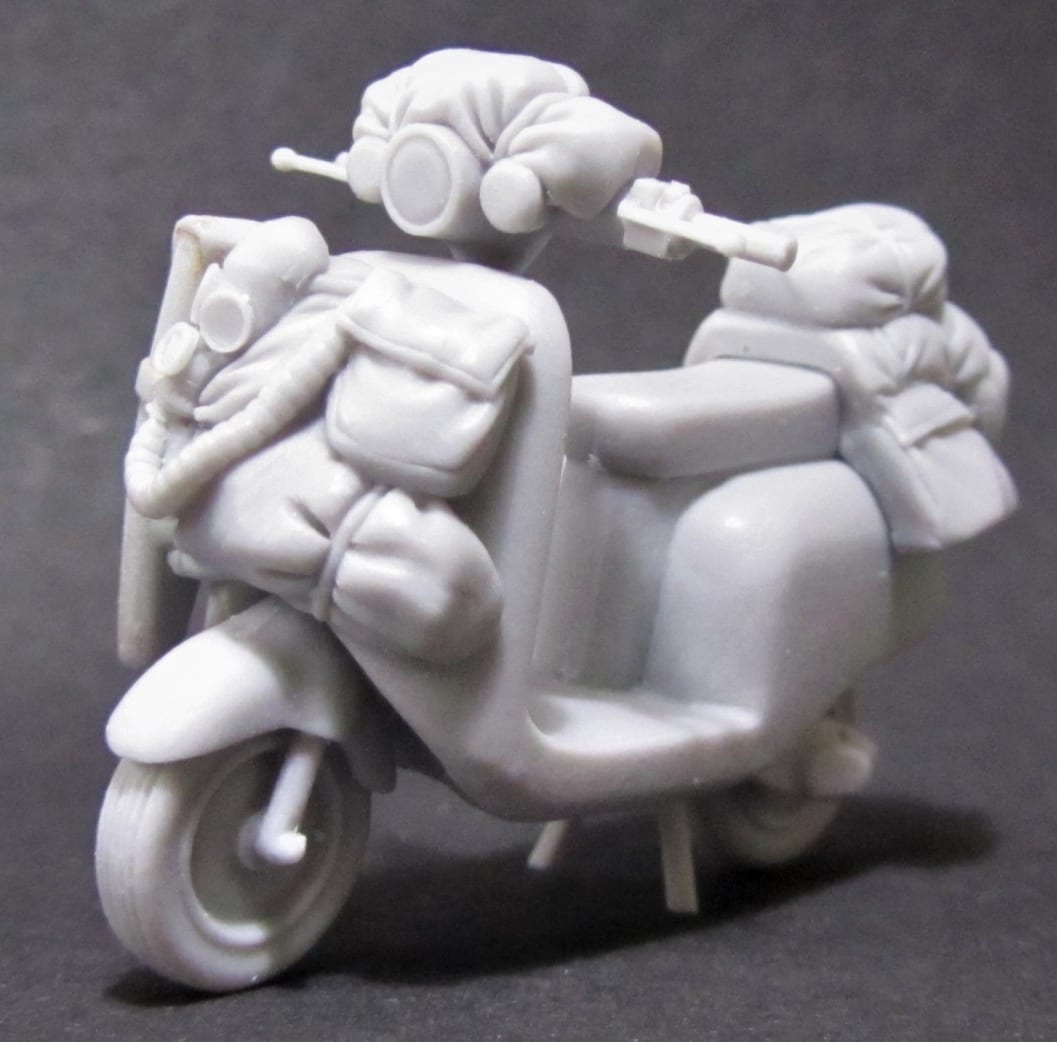
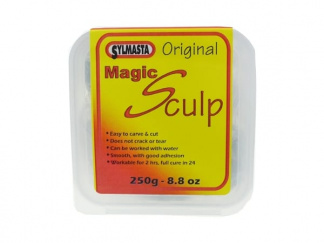
This is useful when the finished item requires a wood look or feel; you are creating something much closer to wood than by using a modelling epoxcy putty like Magic Sculp or Geomfix AB Original and then painting it to look wooden.
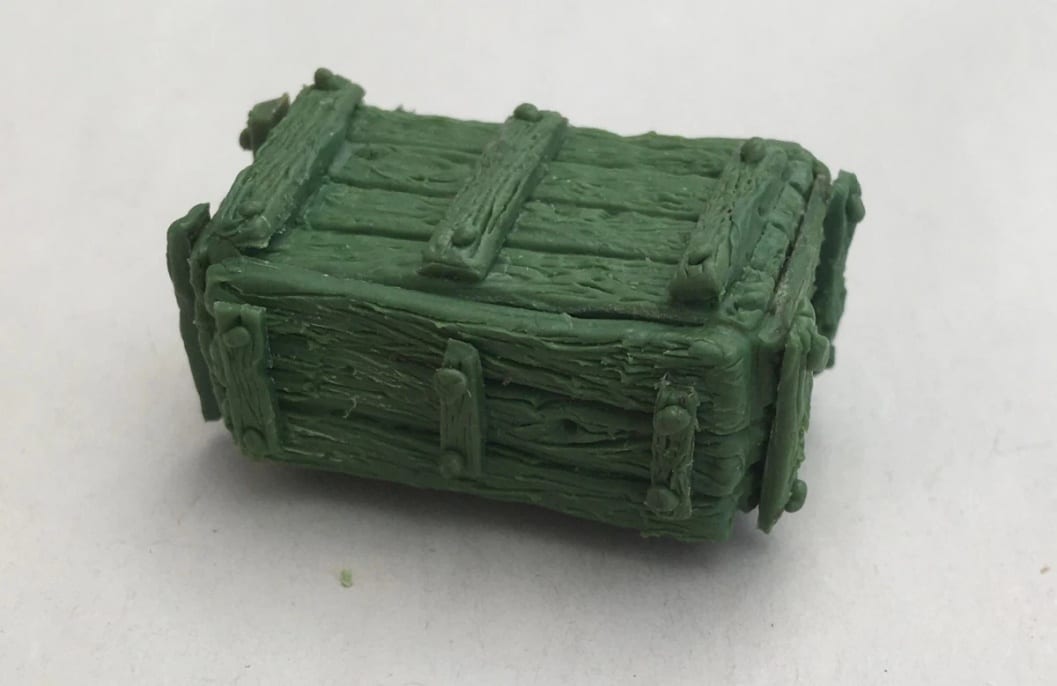
Small wooden-looking items can be carved and sculpted from Superfast Wood Stick, although you have to work quickly because of the relatively short cure time.
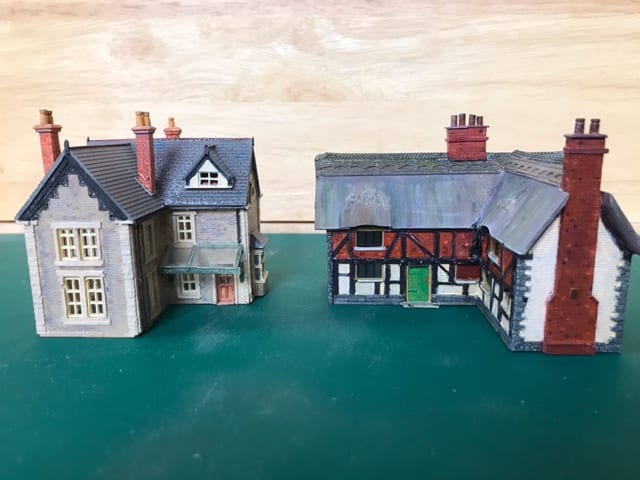
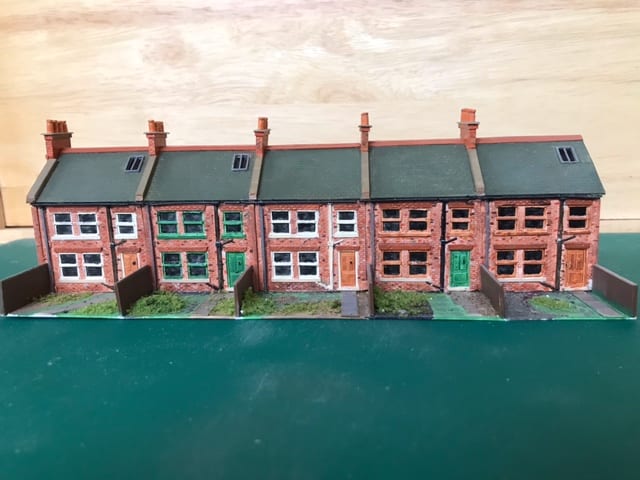
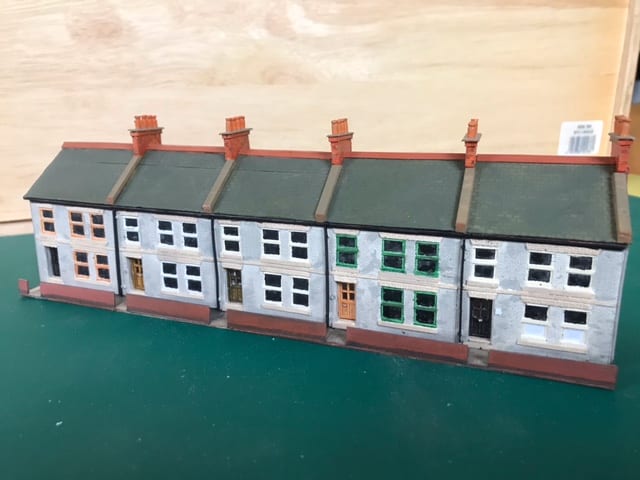
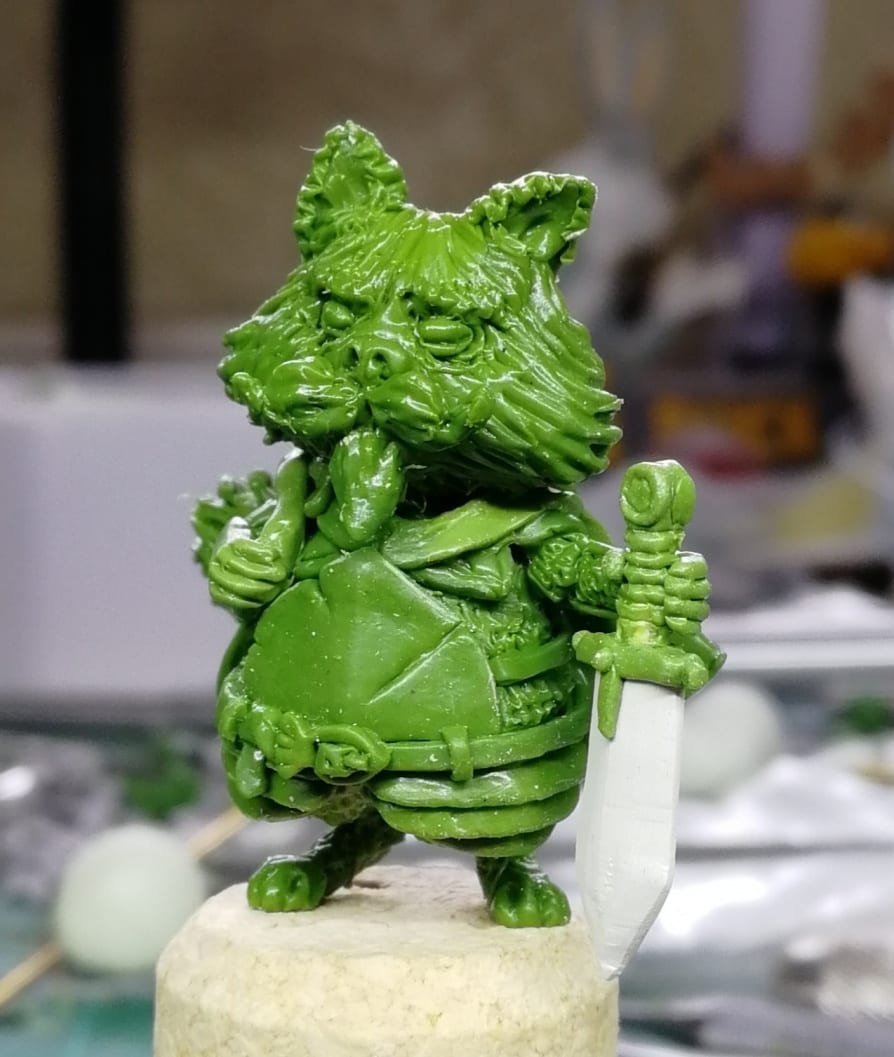
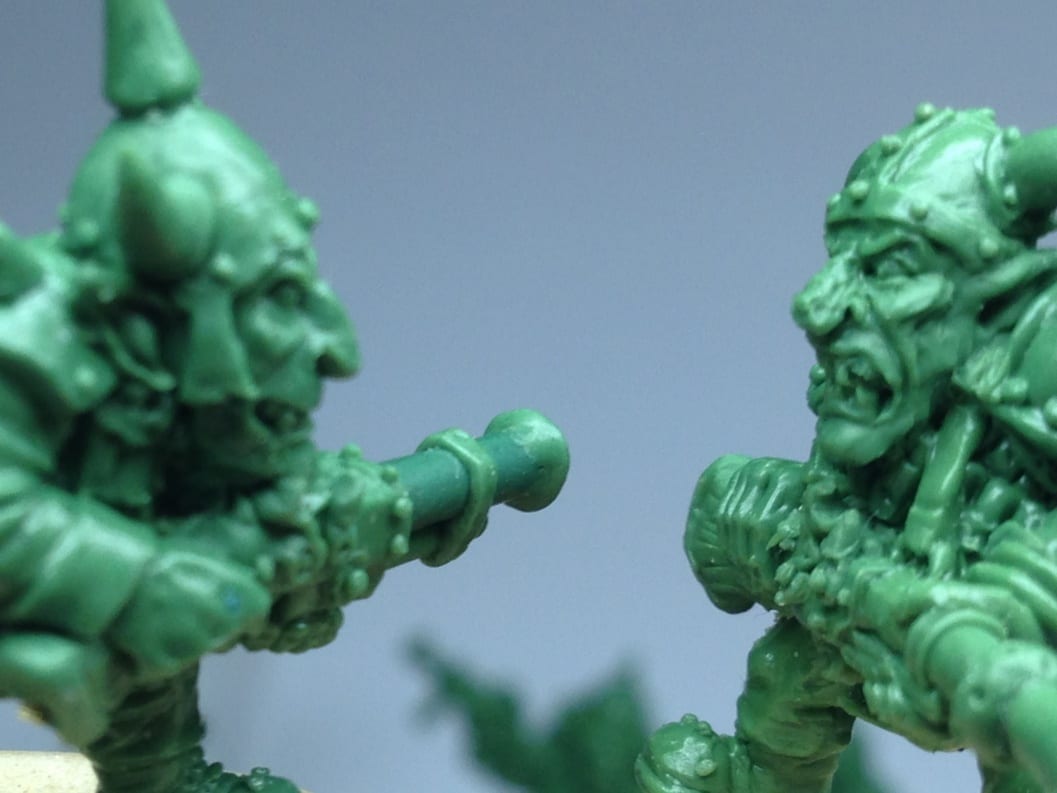
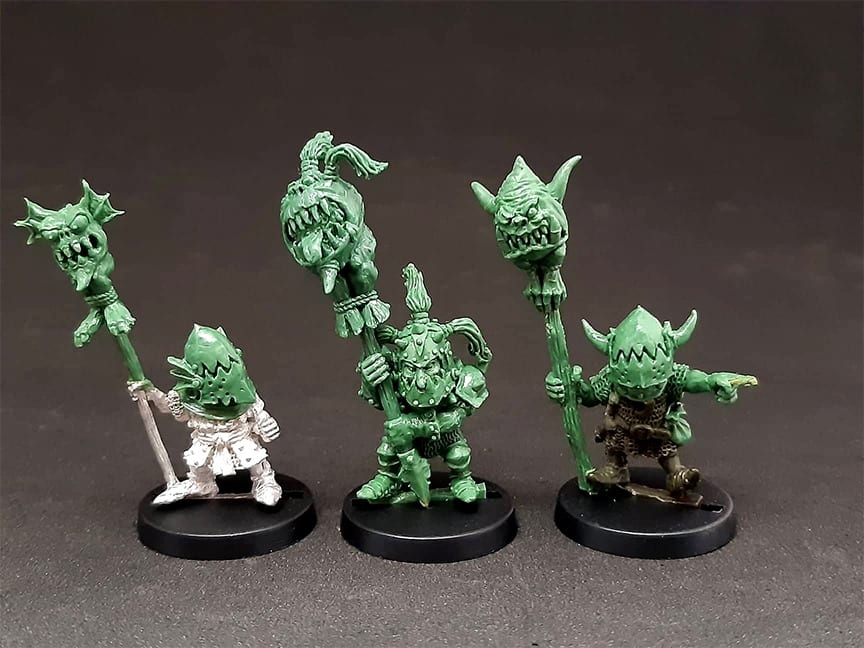
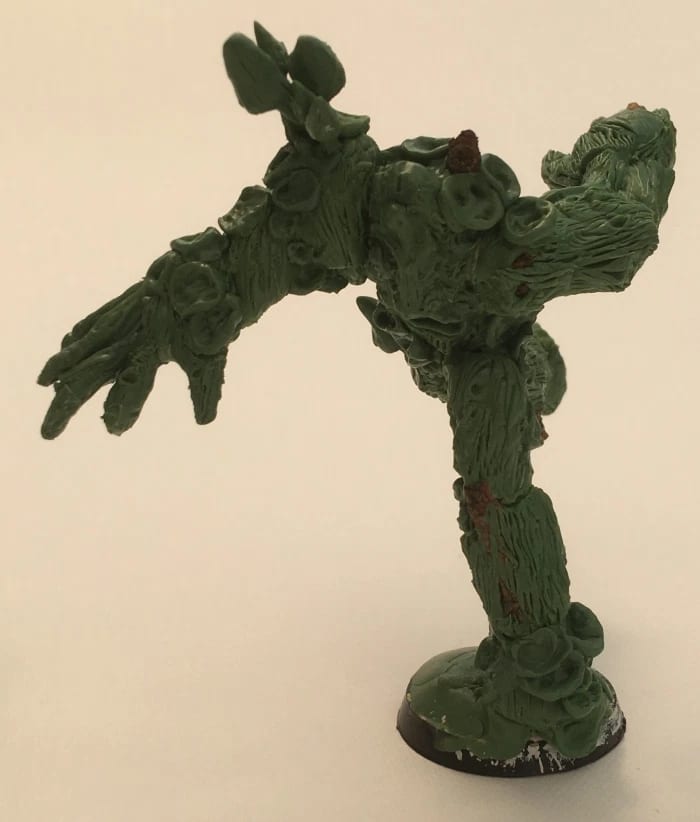
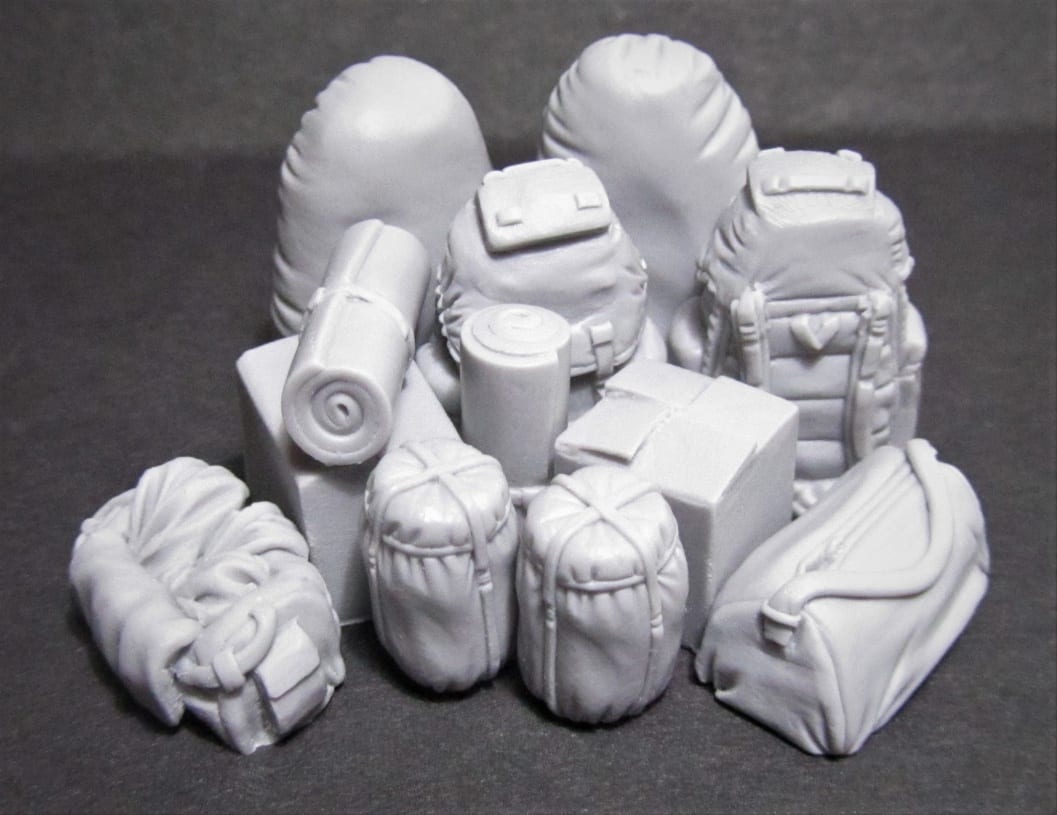
One of our clients created a set of chess pieces using Superfast Wood. Fantasy miniature enthusiasts combine it with Green Stuff to make wood-like creatures and accessories. The possibilities are extensive.
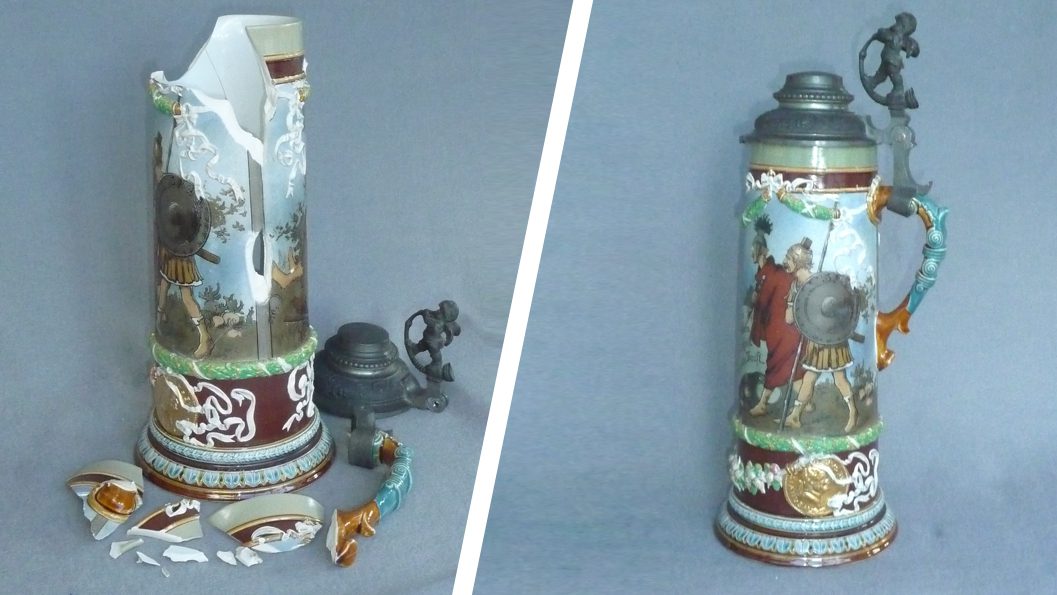
Wood epoxy for restoration
Wooden items and ornaments can become easily damaged over time. Pieces can chip or break off. Rot poses a real threat, especially to wood in exterior settings. When it comes to restoring and repairing wood, what you need is a material which is chemical, water AND rot resistant.
You can probably guess that Superfast Wood Stick is all of those things. That is what makes it such a popular putty with restorers working on items ranging from sculpture to furniture (we will have more on furniture in just a second).
Wood Stick can be moulded or shaped and then used to repair or restore missing or damaged parts. The fact it shares the same density as wood means it carves in a similar manner, allowing it to blend seamlessly with the item undergoing repair.
Wood epoxy for bonding
Ever had a favourite wooden chair which has fallen apart through overuse – or, in the case of your author, too much strain from Christmas weight gain?
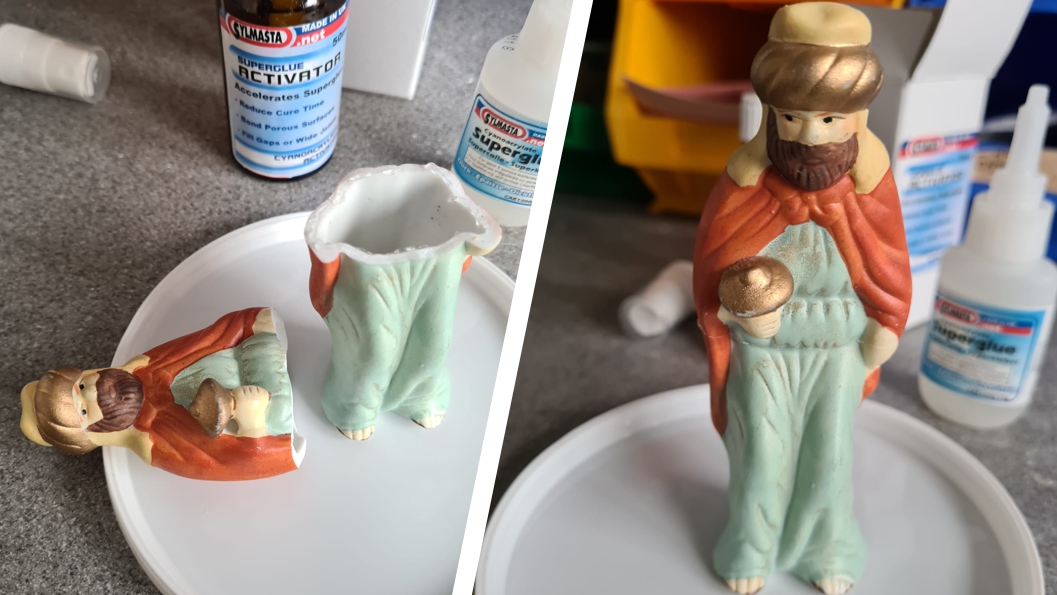
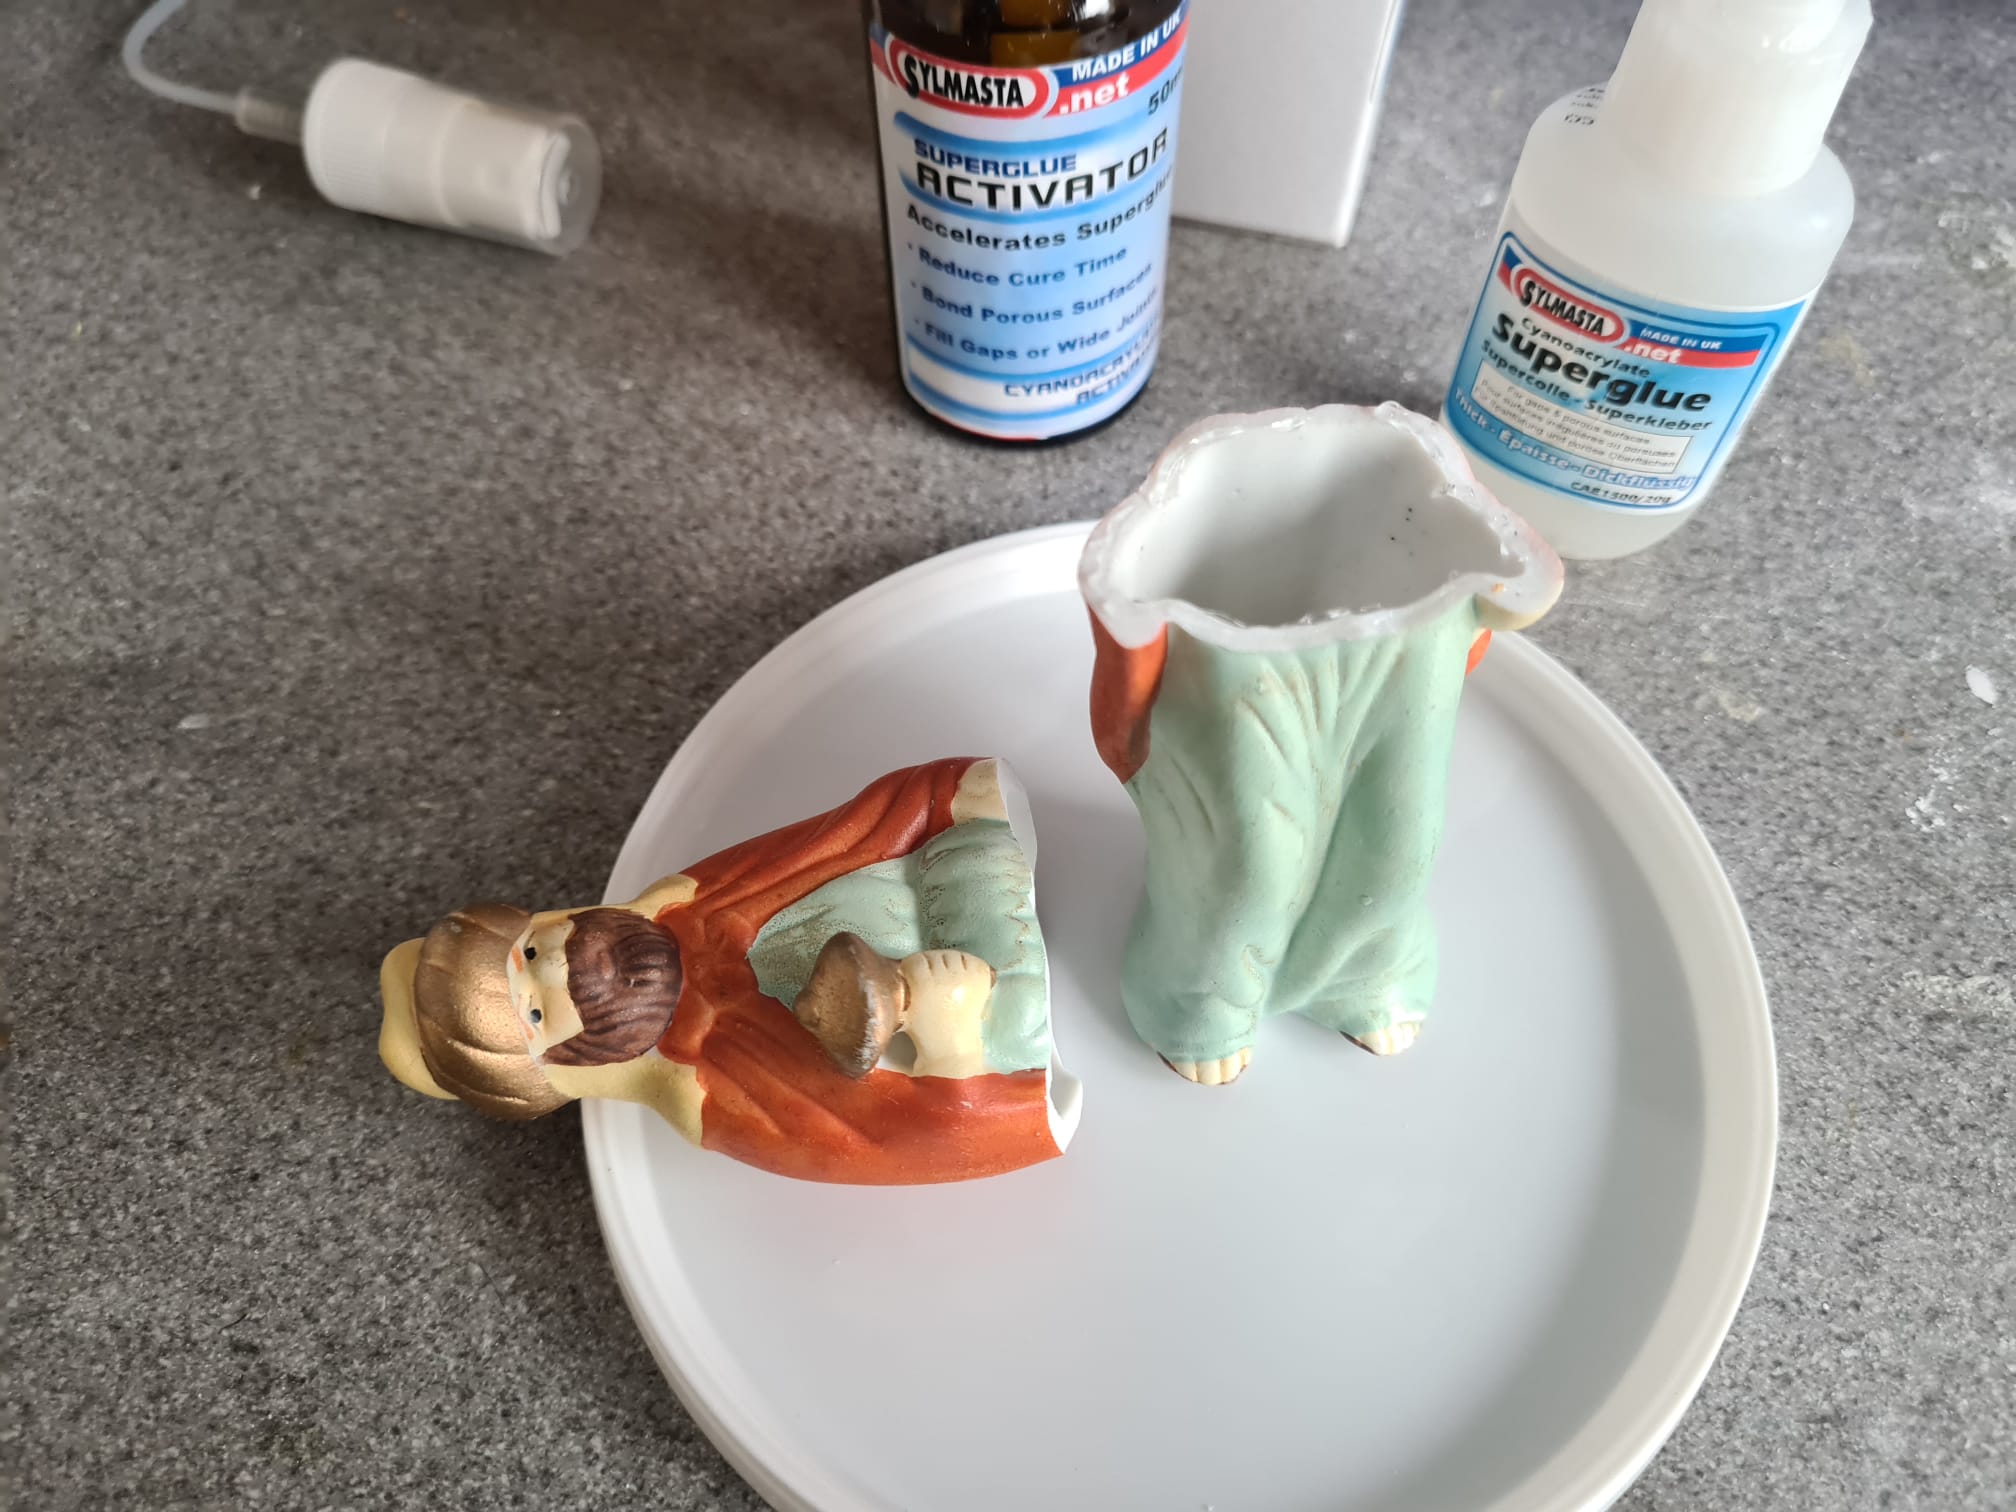
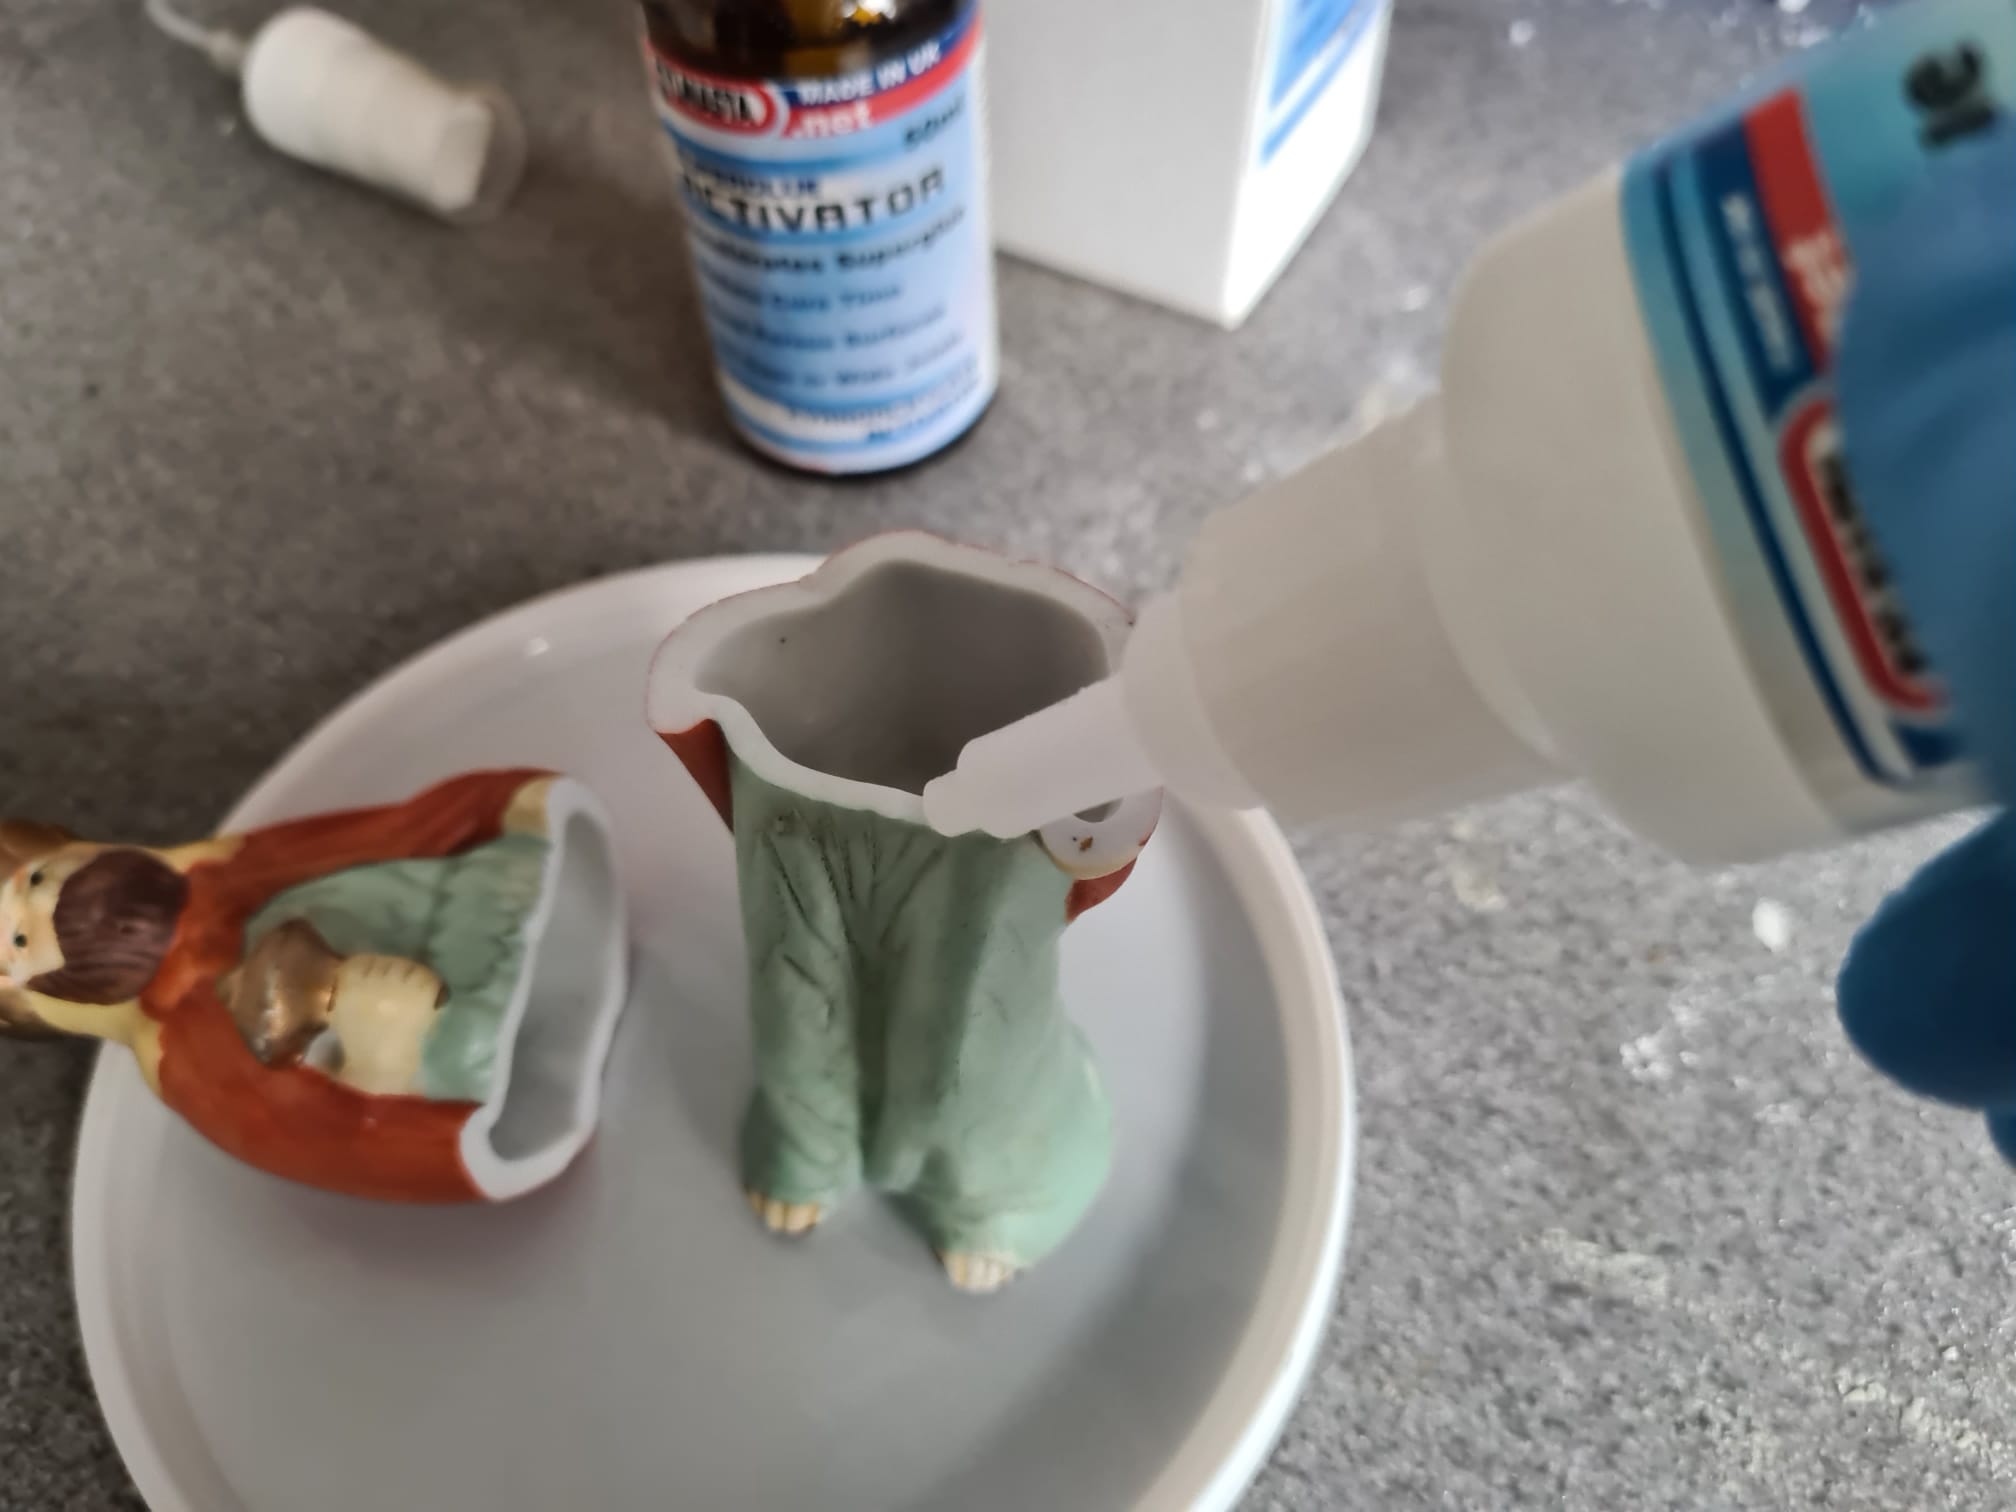
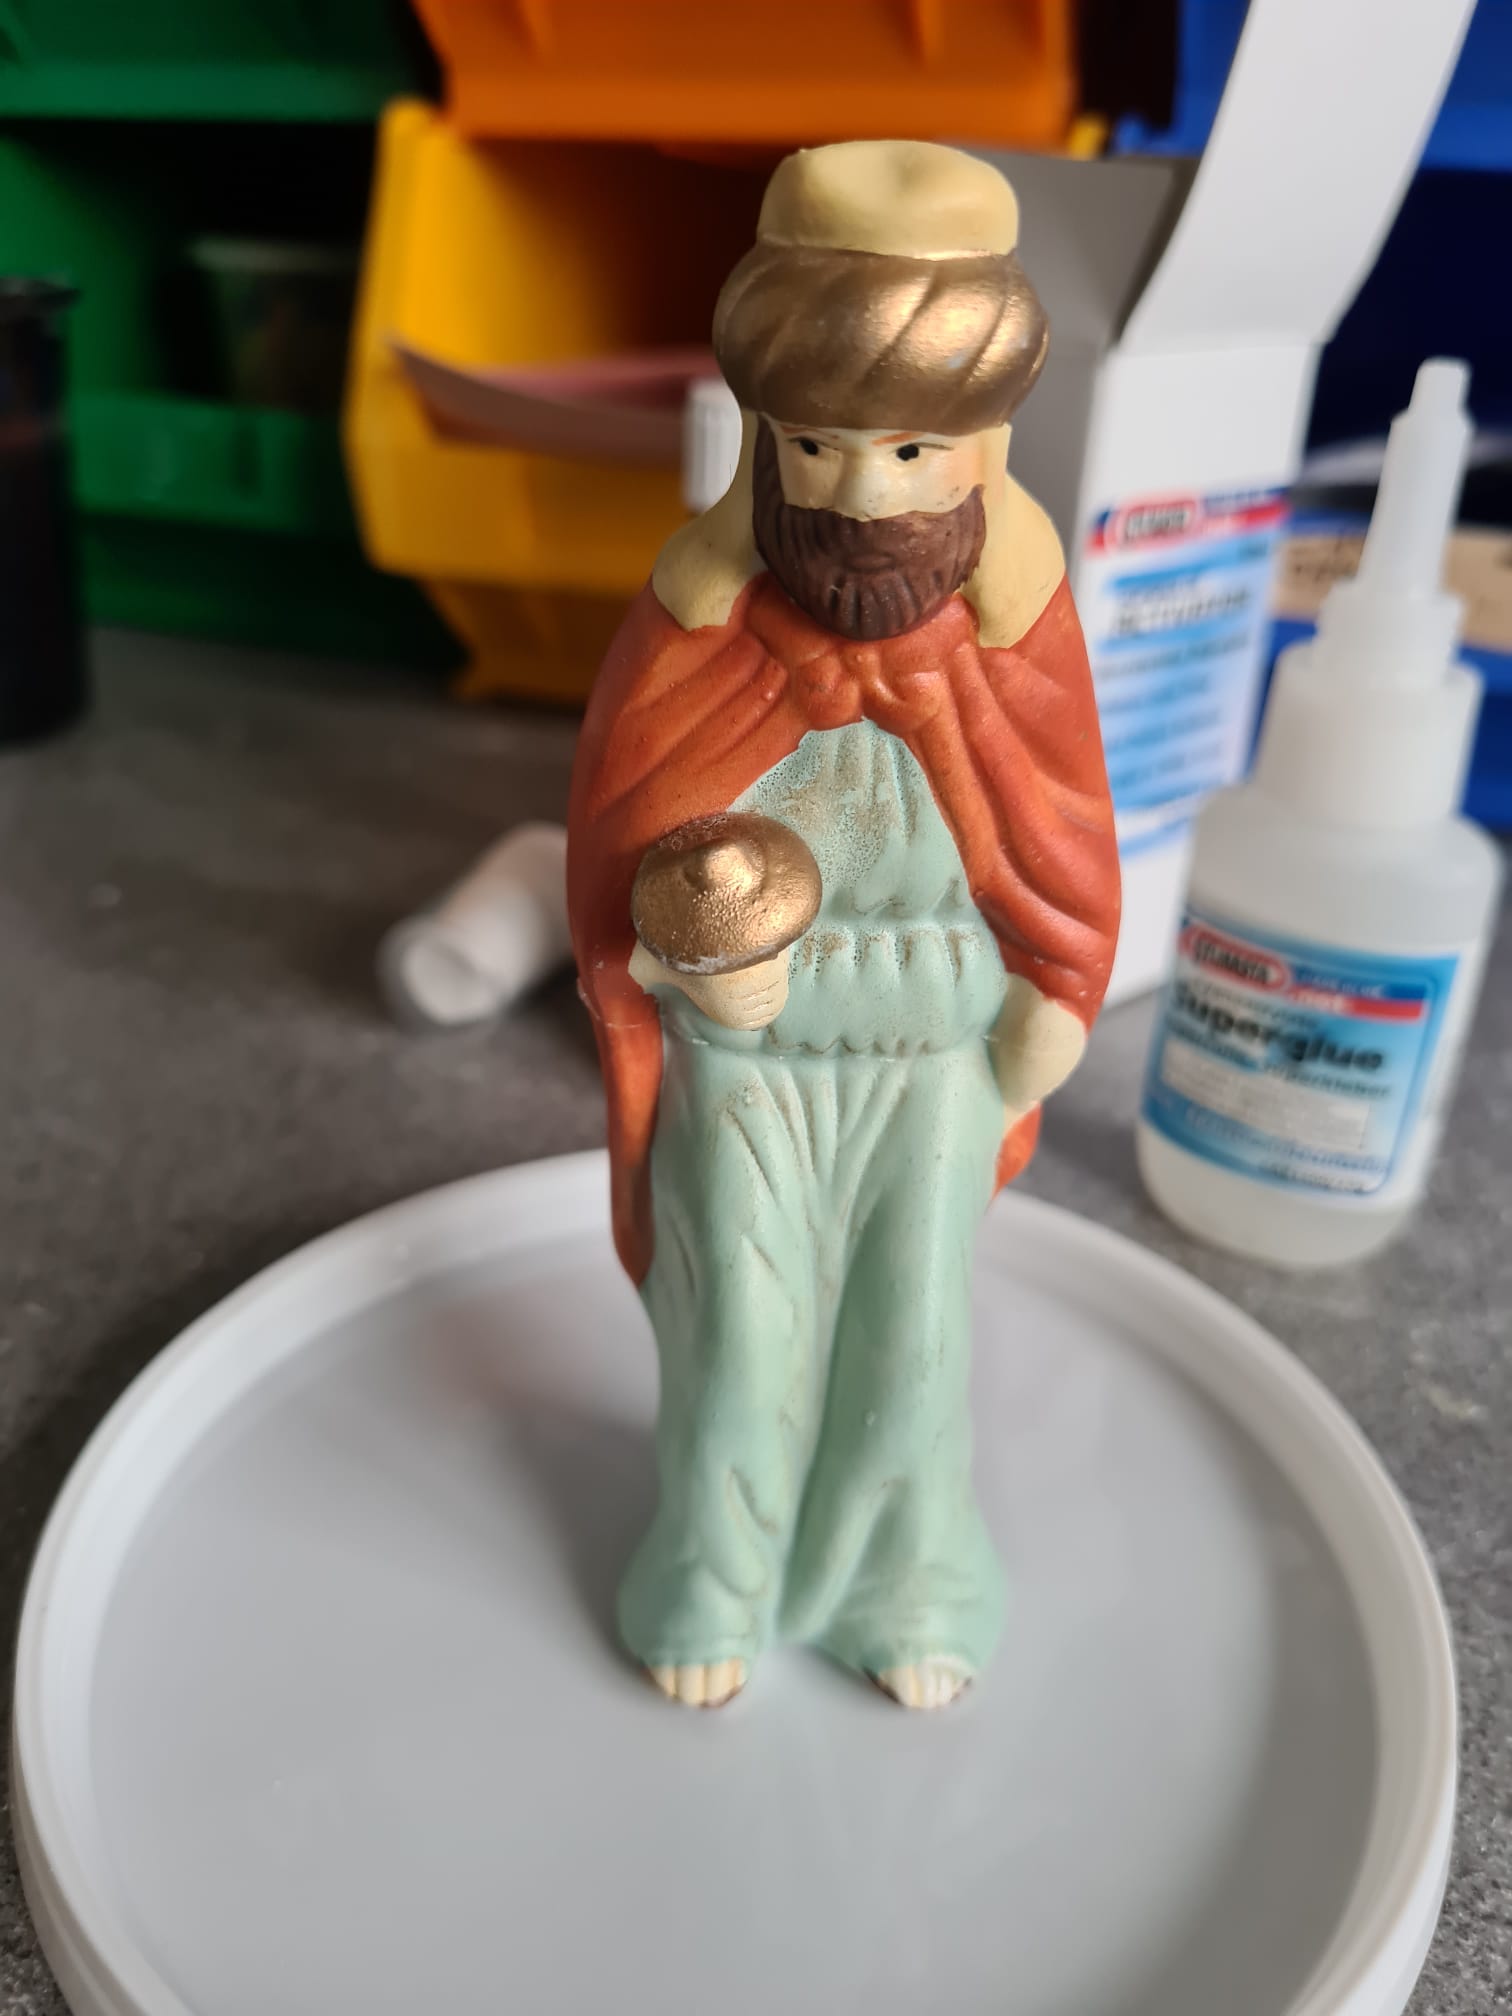
Superfast Wood is the perfect material to bond broken wooden parts back together. It blends to the existing wood, unlike superglues or epoxy adhesives which may stain or leave a mark.
Not only is it often unnoticeable, but Superfast Wood also bonds with a range of other materials. Jewellery and craft makers looking for a way of bonding glass or ceramic to wood use Superfast as a friendlier way of doing so than other types of adhesive.
Wood epoxy for filler applications
One of the most common uses for a wood epoxy is as a gap filler. Wooden door or window frames which have become damaged by rot and are suffering from cracks and holes can be repaired by filling those gaps with Superfast Wood Stick.
Making an epoxy filler repair to wood is often the most cost-effective solution available. 95 percent of the wooden item or structure might be absolutely fine; why rip the whole thing out at considerable expense when you can fill in the damaged 5 percent?
Money is only part of the reason why making a wood filler repair is preferable. Superfast Wood Stick works in under one hour compared the drawn-out process of replacing entire wooden parts, which could simply have their damaged areas replaced.
Other filler epoxy putties
So, we have established that we do indeed have wood. But what of other epoxy repair putties? Say for example the item requiring restoration or repair is made from concrete or stone?
The good news is that Superfast Epoxy is available in seven different formulations other than wood – including Superfast Concrete Stick for concrete filler repair to statues, ornaments and, well, anything made of concrete.
You can browse the full Superfast Epoxy Putty range over on Sylmasta.com.
Buy Superfast Wood Stick and other Epoxy Modelling & Restoration Putty today
-
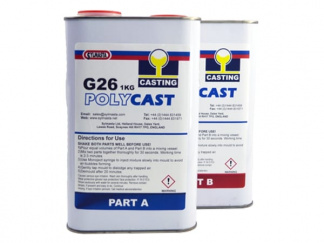
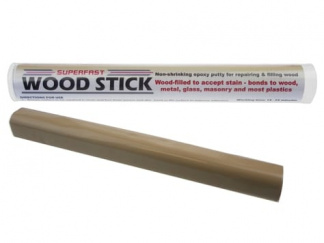 Superfast Wood Epoxy Putty Stick£13.27 inc. VAT
 -
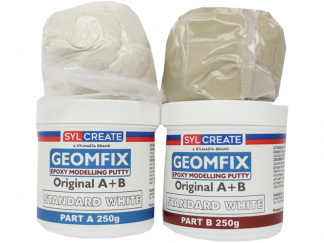 Geomfix Original A+B Epoxy Modelling PuttyPrice range: £12.62 through £505.98 inc. VAT
 -
 Milliput Turquoise Blue£7.55 inc. VAT