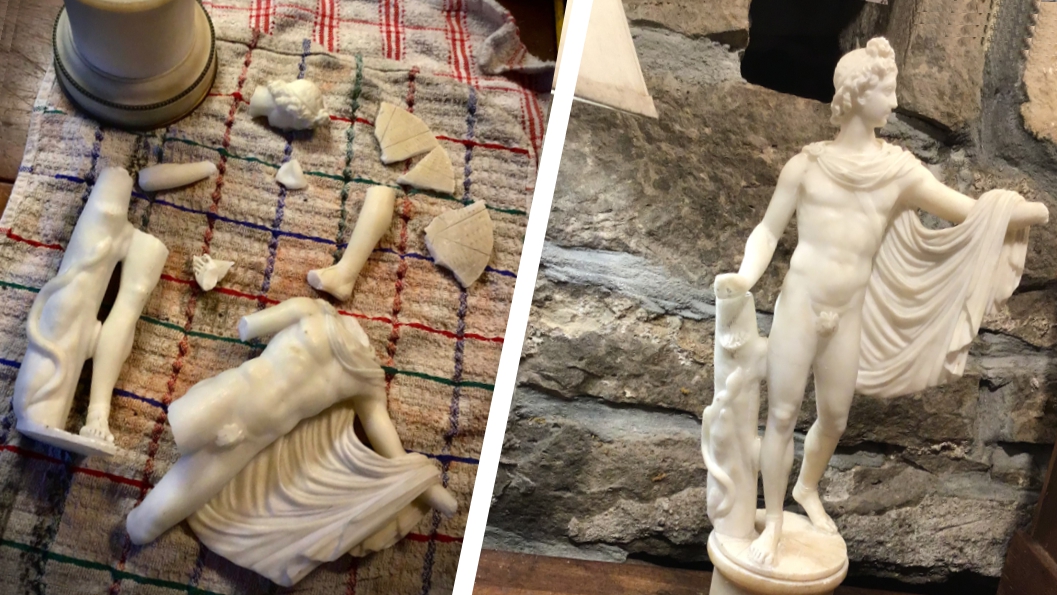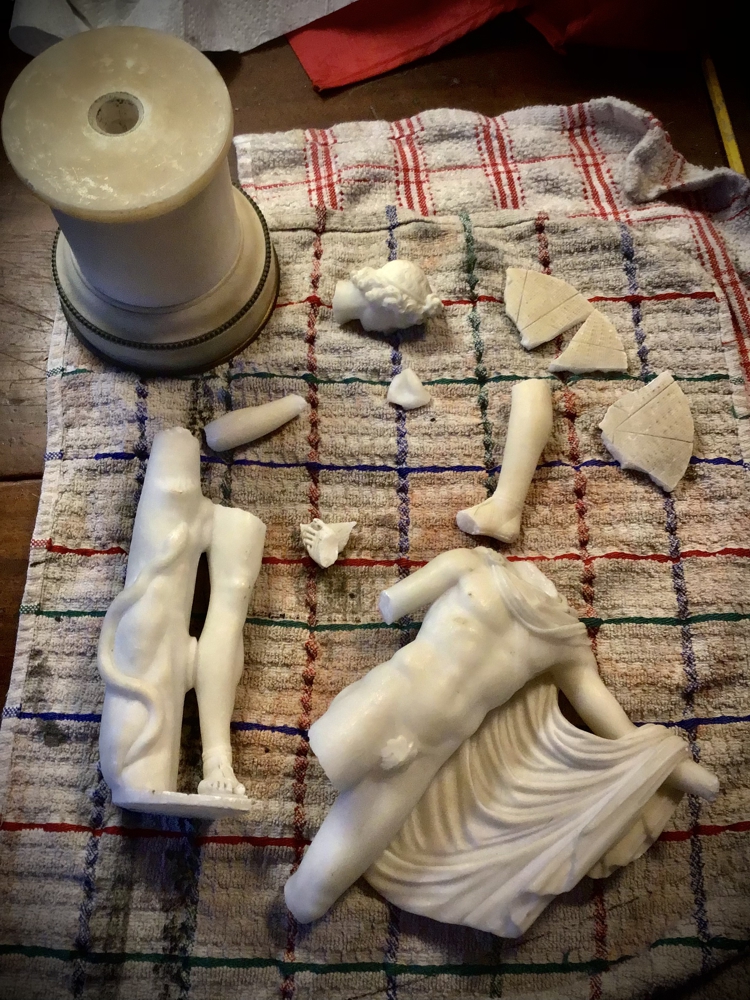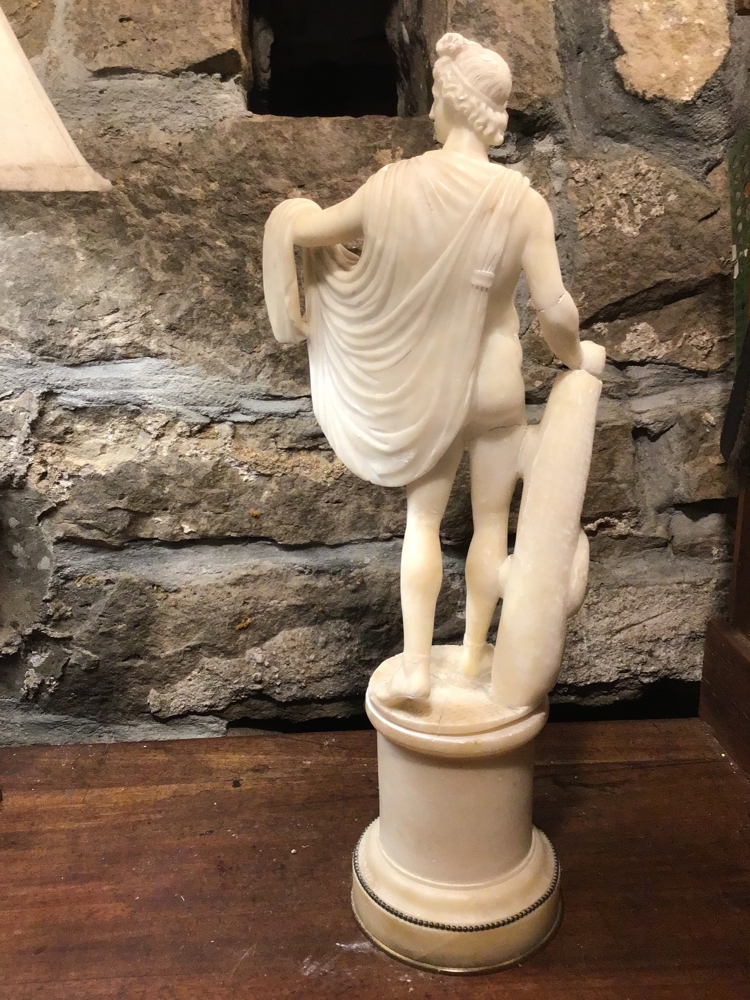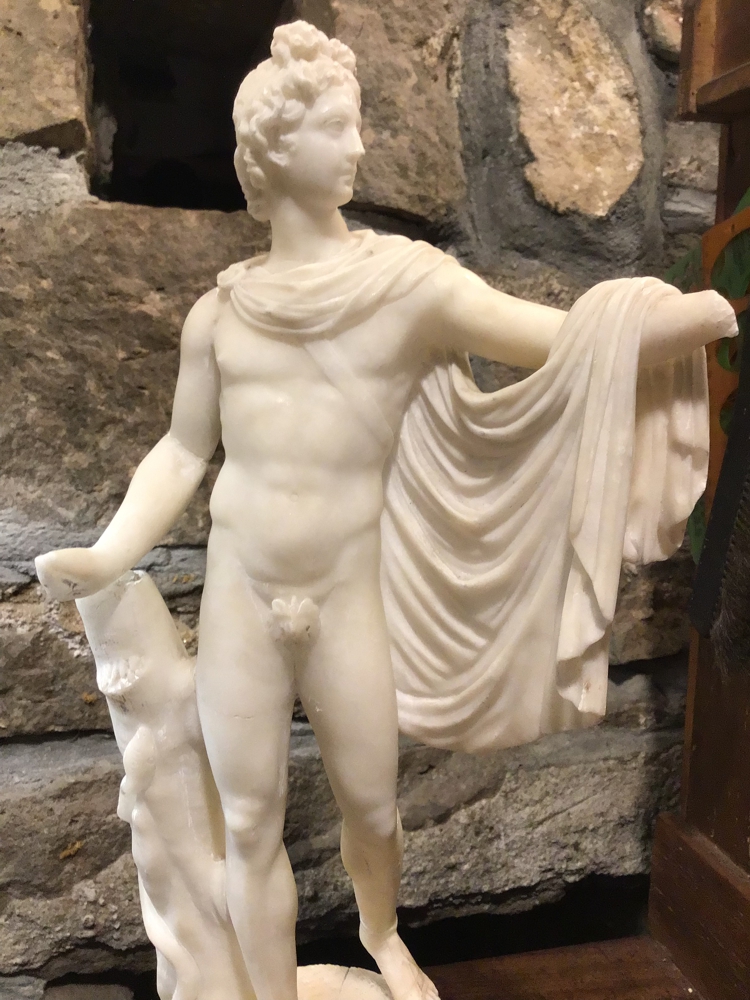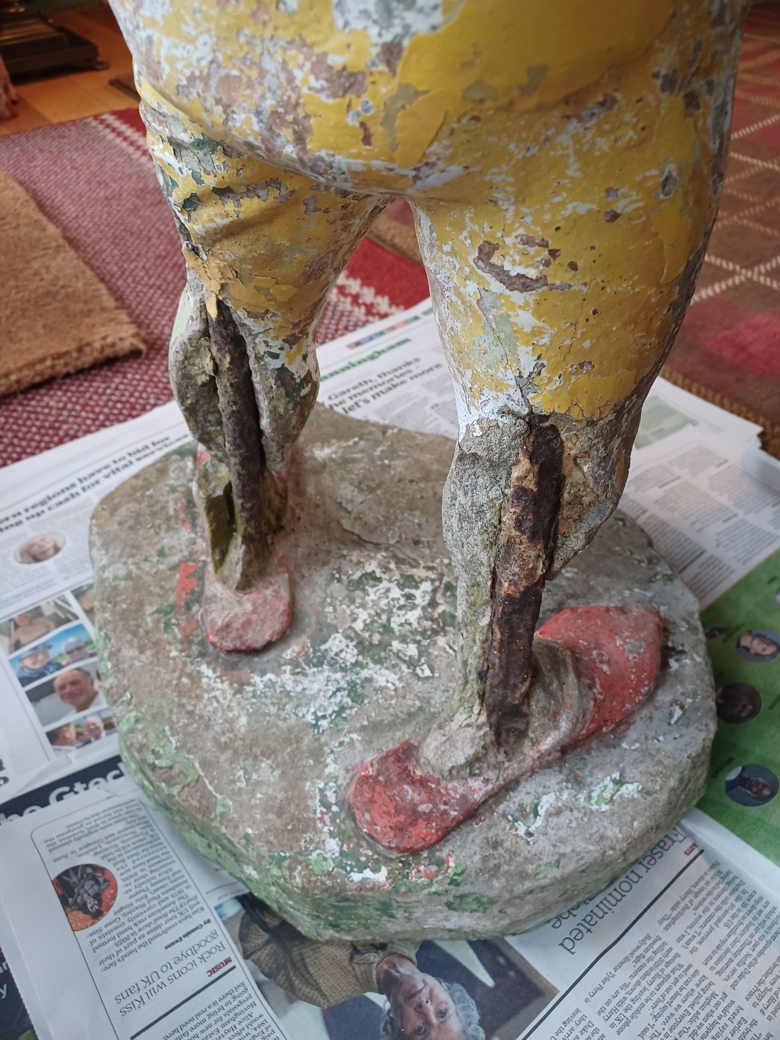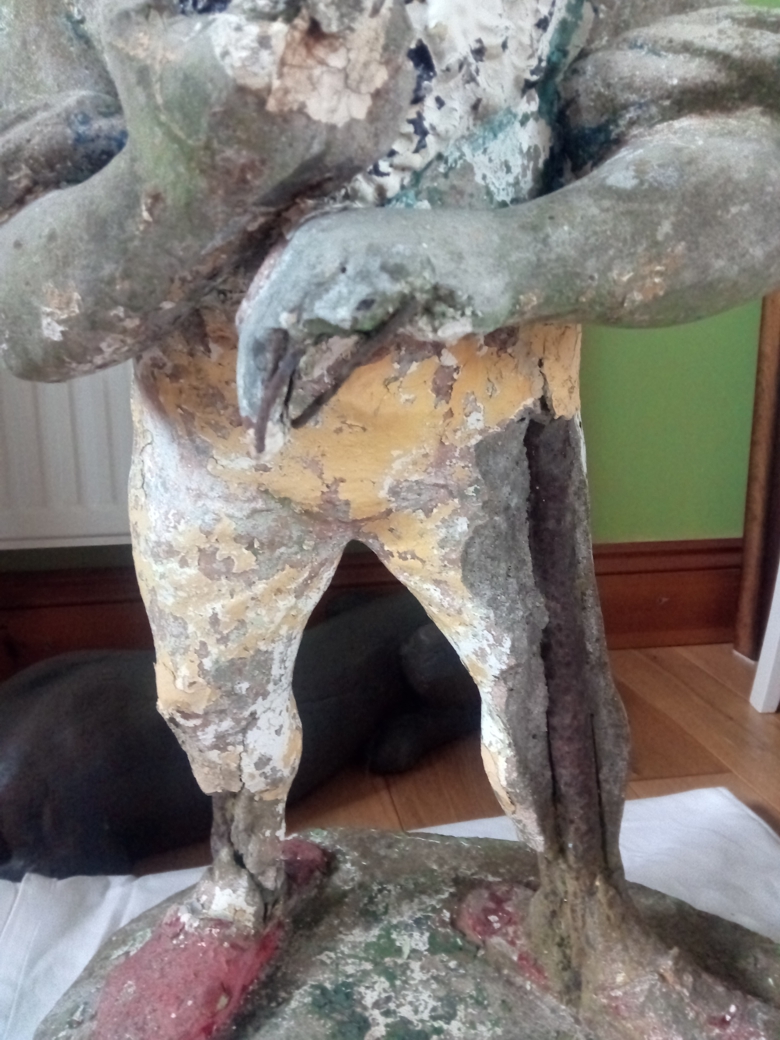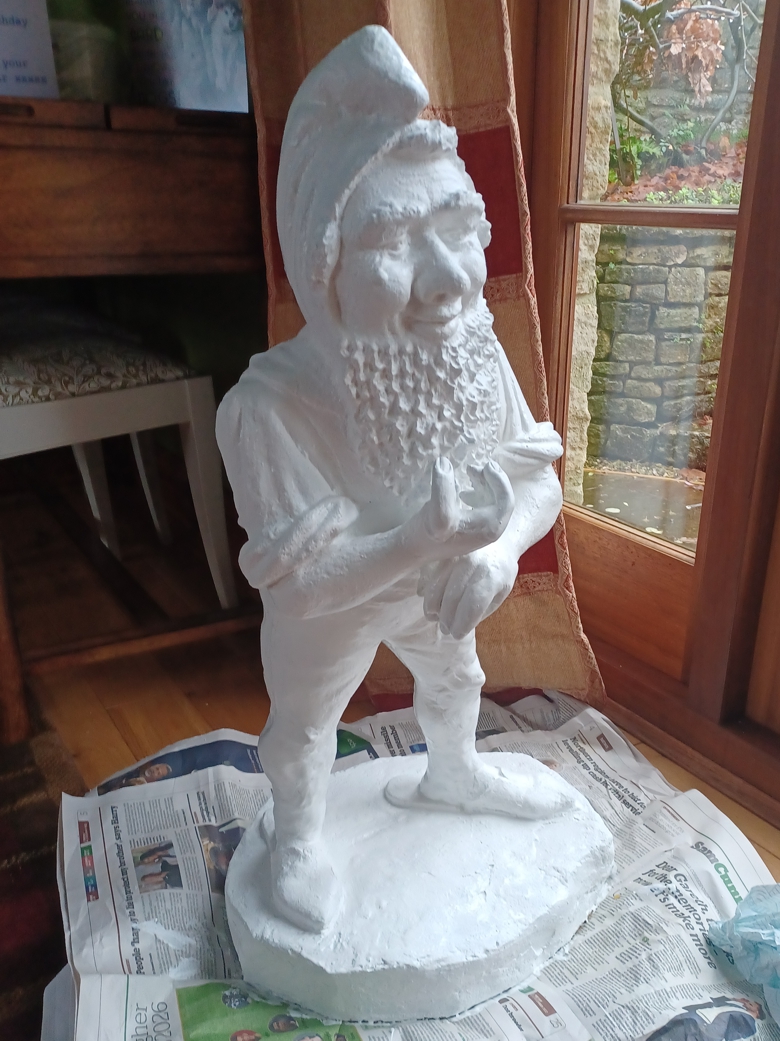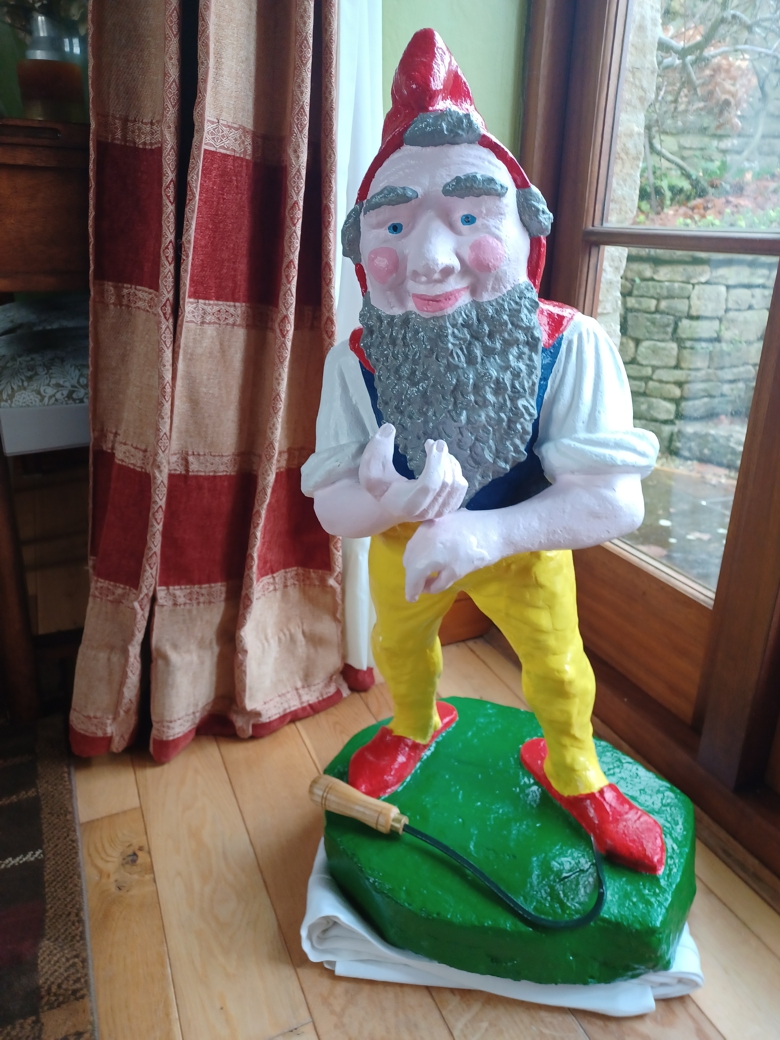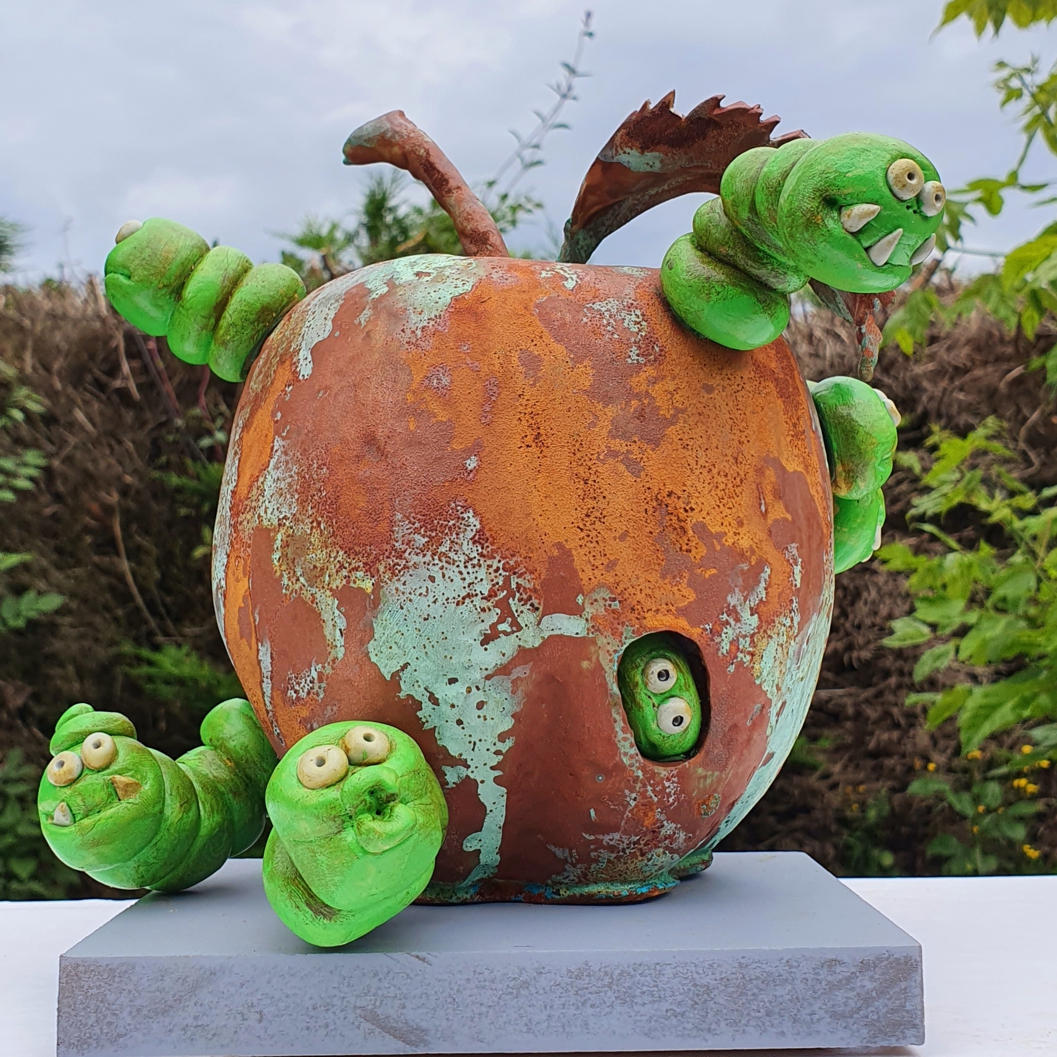
For many fans, Doctor Who is more than a TV show – it is a universe which can be brought to life by sculpting figure miniatures of Time Lords, Daleks, Cybermen and Sea Devils using a mix of Green Stuff Modelling Putty and ingenuity. One model maker who has delved deep into Gallifrey and beyond to create his own unique collection of figurines and dioramas based on the Doctor’s adventures through time and space is Andrew Trenear-Harvey.
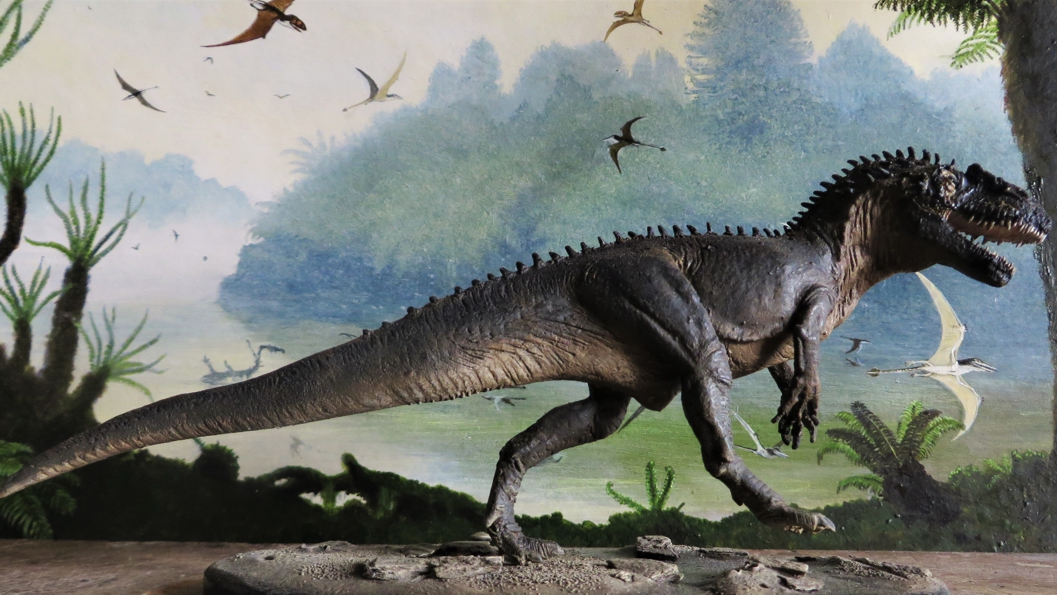
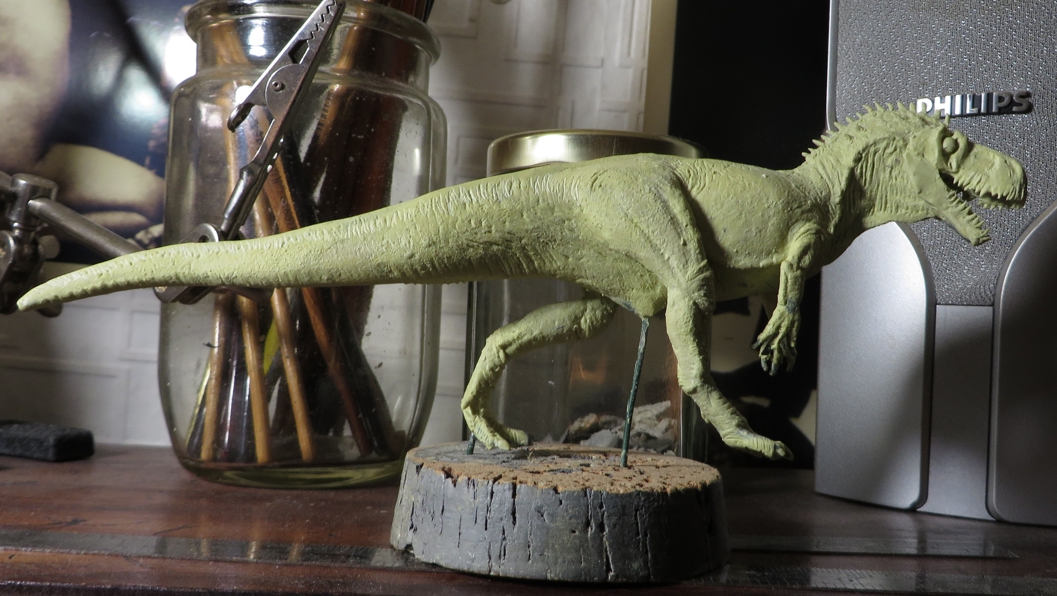
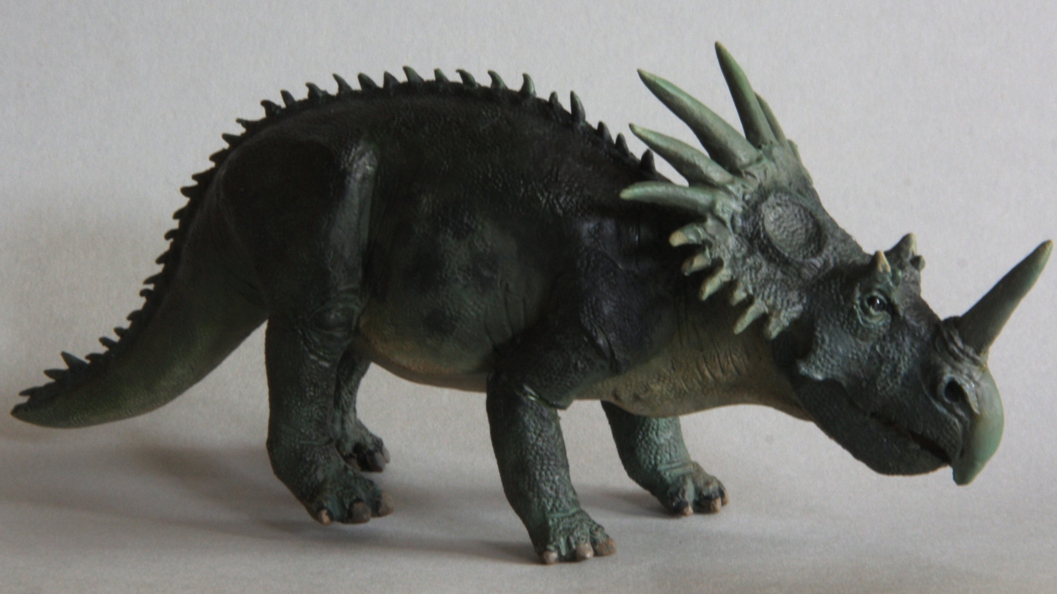
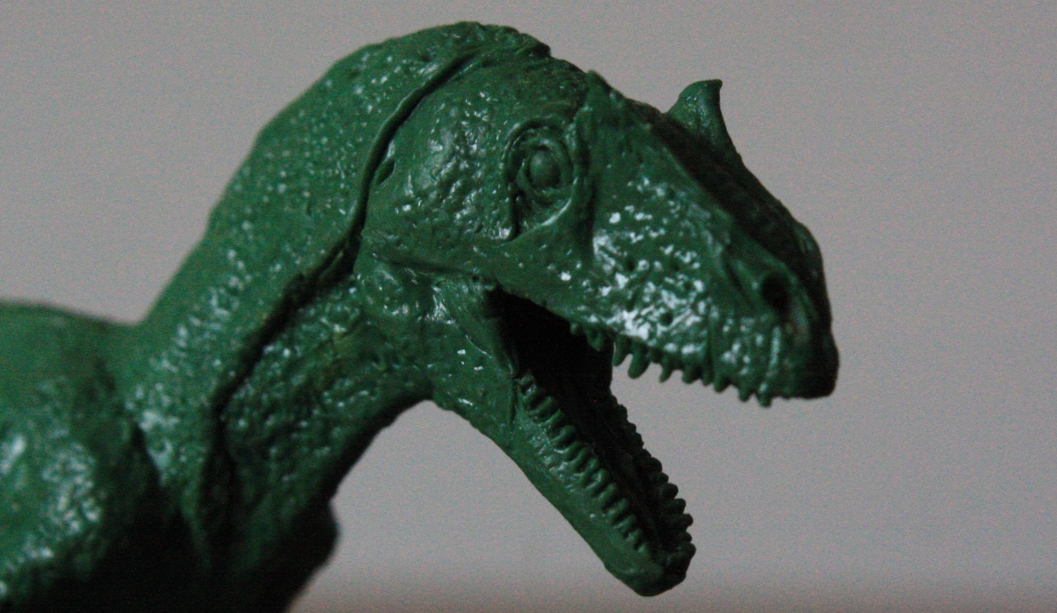
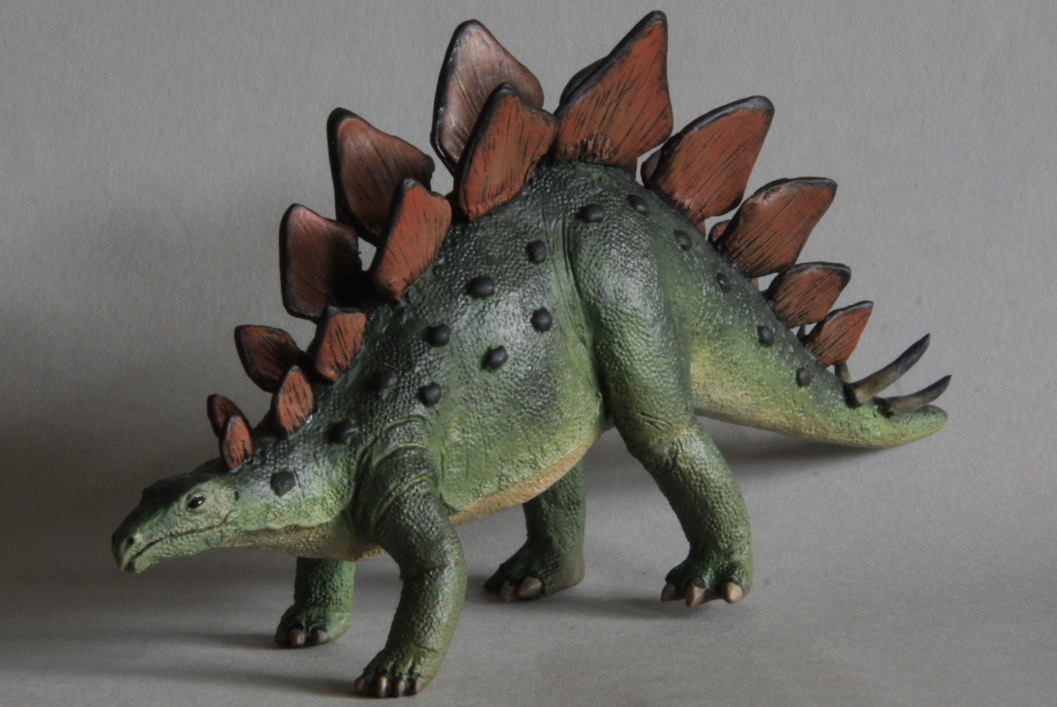
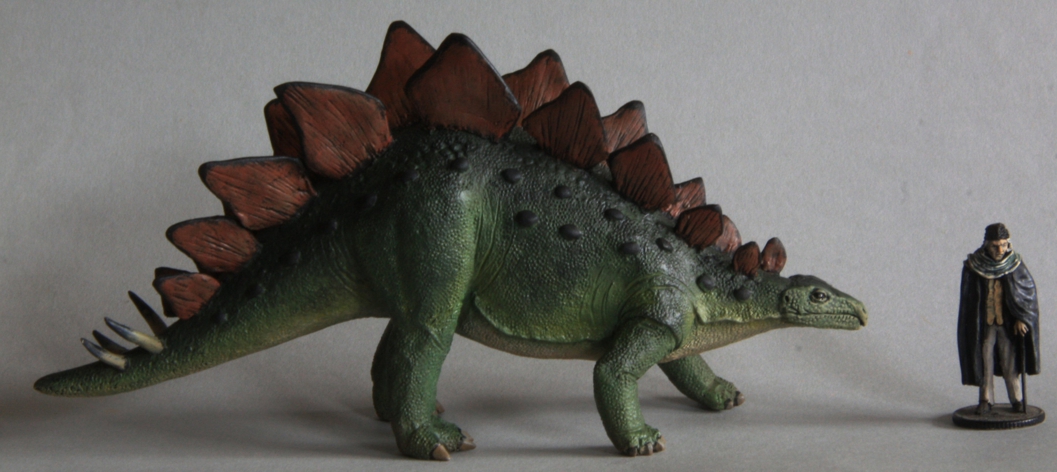
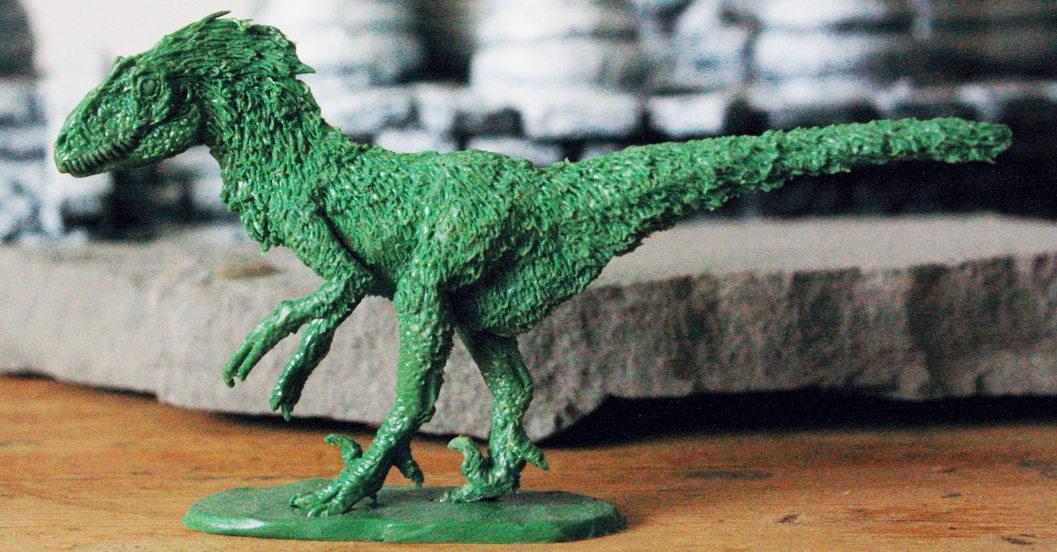
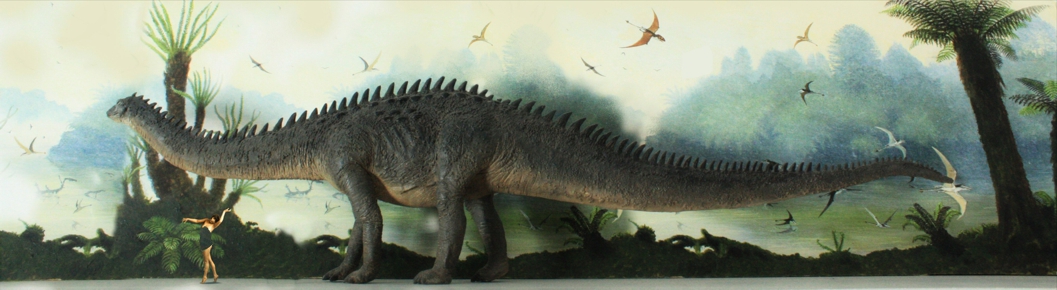
Regular readers of our SylCreate Showcase section may remember Andrew. We previously featured another of his projects, which involved using Green Stuff to recreate dinosaurs.
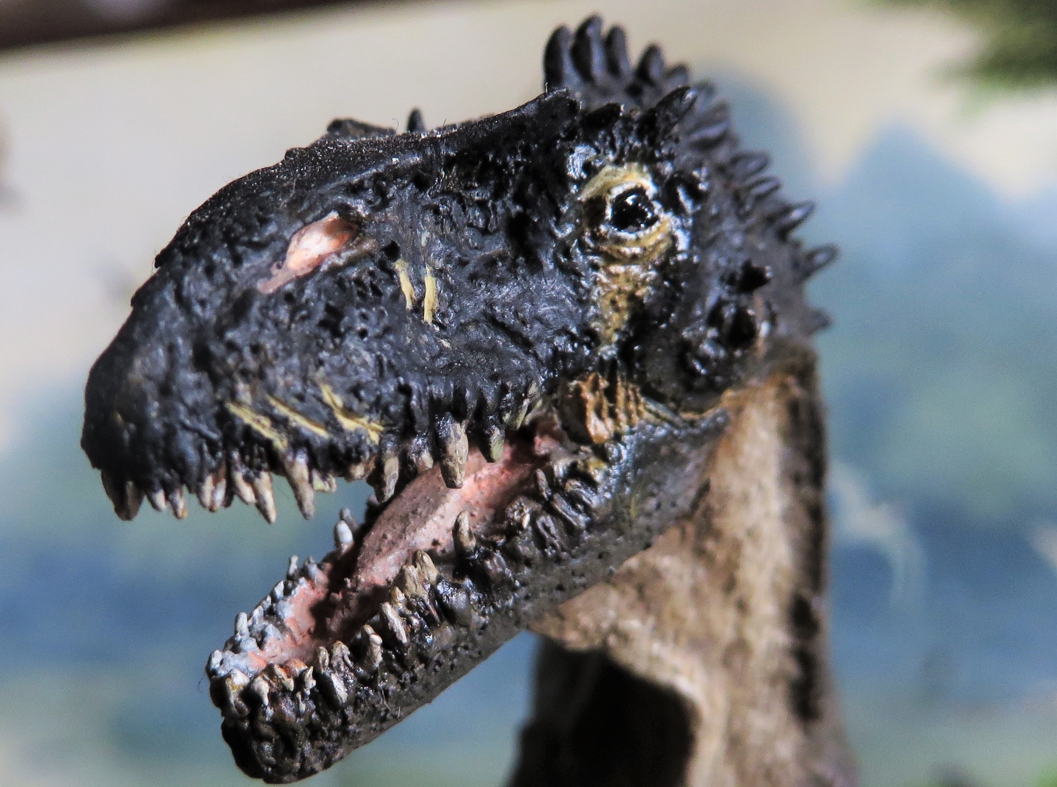
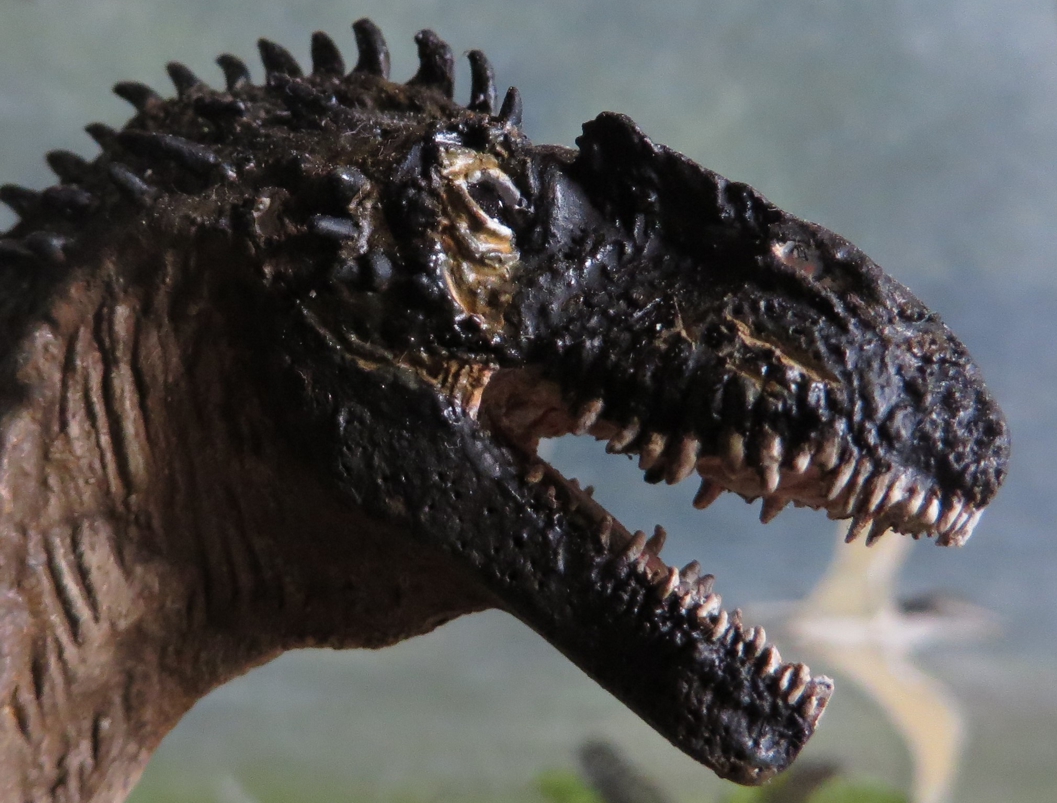
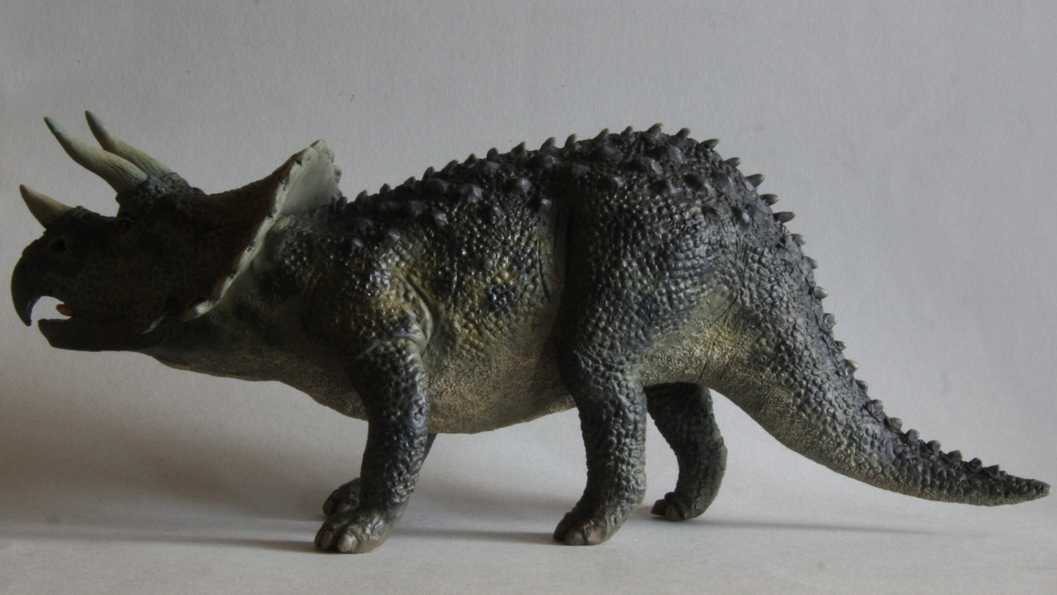
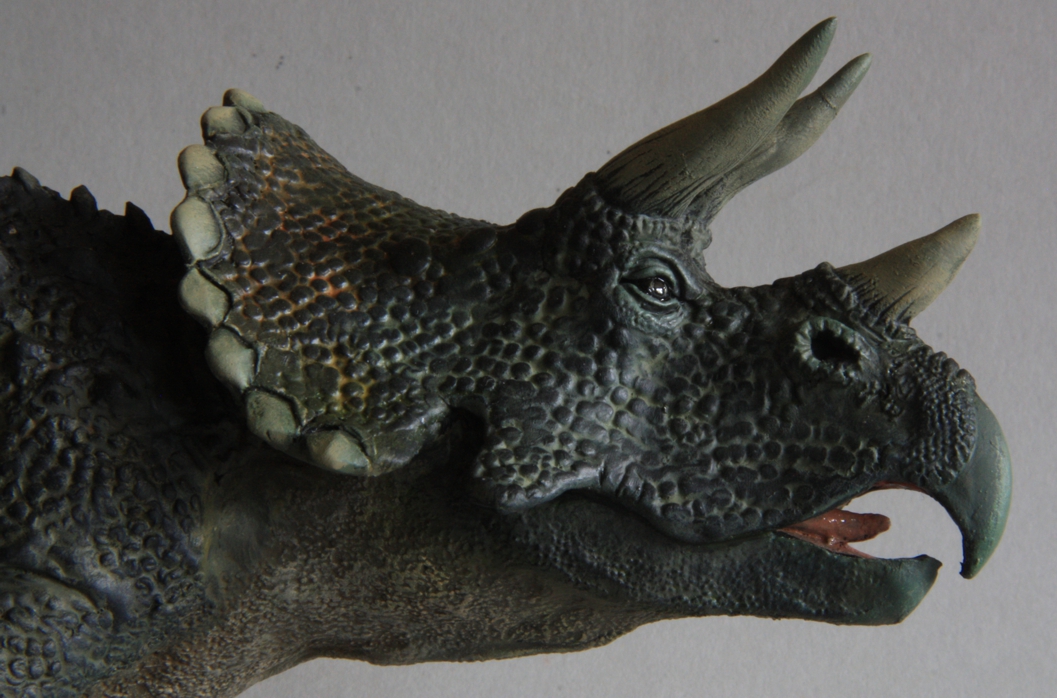
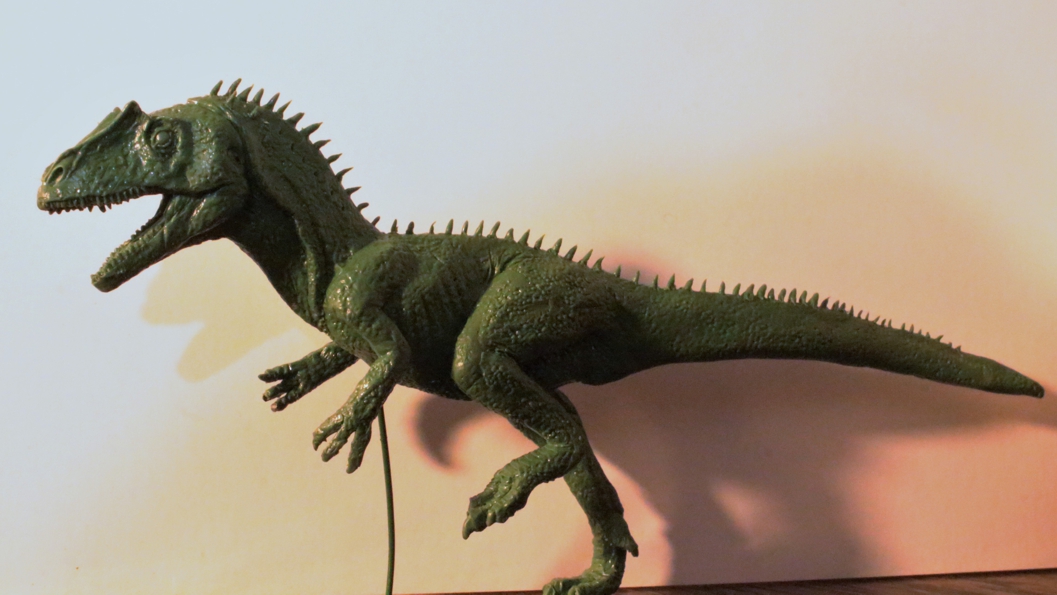
“I just love dinosaurs and any other long vanished animals,” said Andrew when we spoke to him about sculpting Triceratops and Velociraptor. “Apart from watching the birds in one’s garden, art and model making are really the only way we can see them as they once were.”
The beauty of sculpting dinosaurs is that it allows you to reflect changes in what we know about these fascinating creatures. Models can be adapted when new knowledge is gained; for example, the 2004 discovery in China of a tyrannosaur with fossilised feathers.
Scientists now believe every member of the tyrannosaur family had feathers, including the mighty Tyrannosaurus rex. Whilst the original 1993 Jurassic Park movie is never likely to undergo a reedit covering the Tyrannosaurus rex in feathers, Andrew can modify his existing models of the dinosaur or sculpt new ones to make them more accurate.
Fans of Doctor Who from William Hartnell to Ncuti Gatwa, Tom Baker to David Tennant, Sylvester McCoy to Jodie Whitaker can no doubt see how model making’s ability to adapt an existing figure might come in useful when dealing with an alien capable of regeneration.
Making Doctor Who – and enemy – figure miniatures from Green Stuff
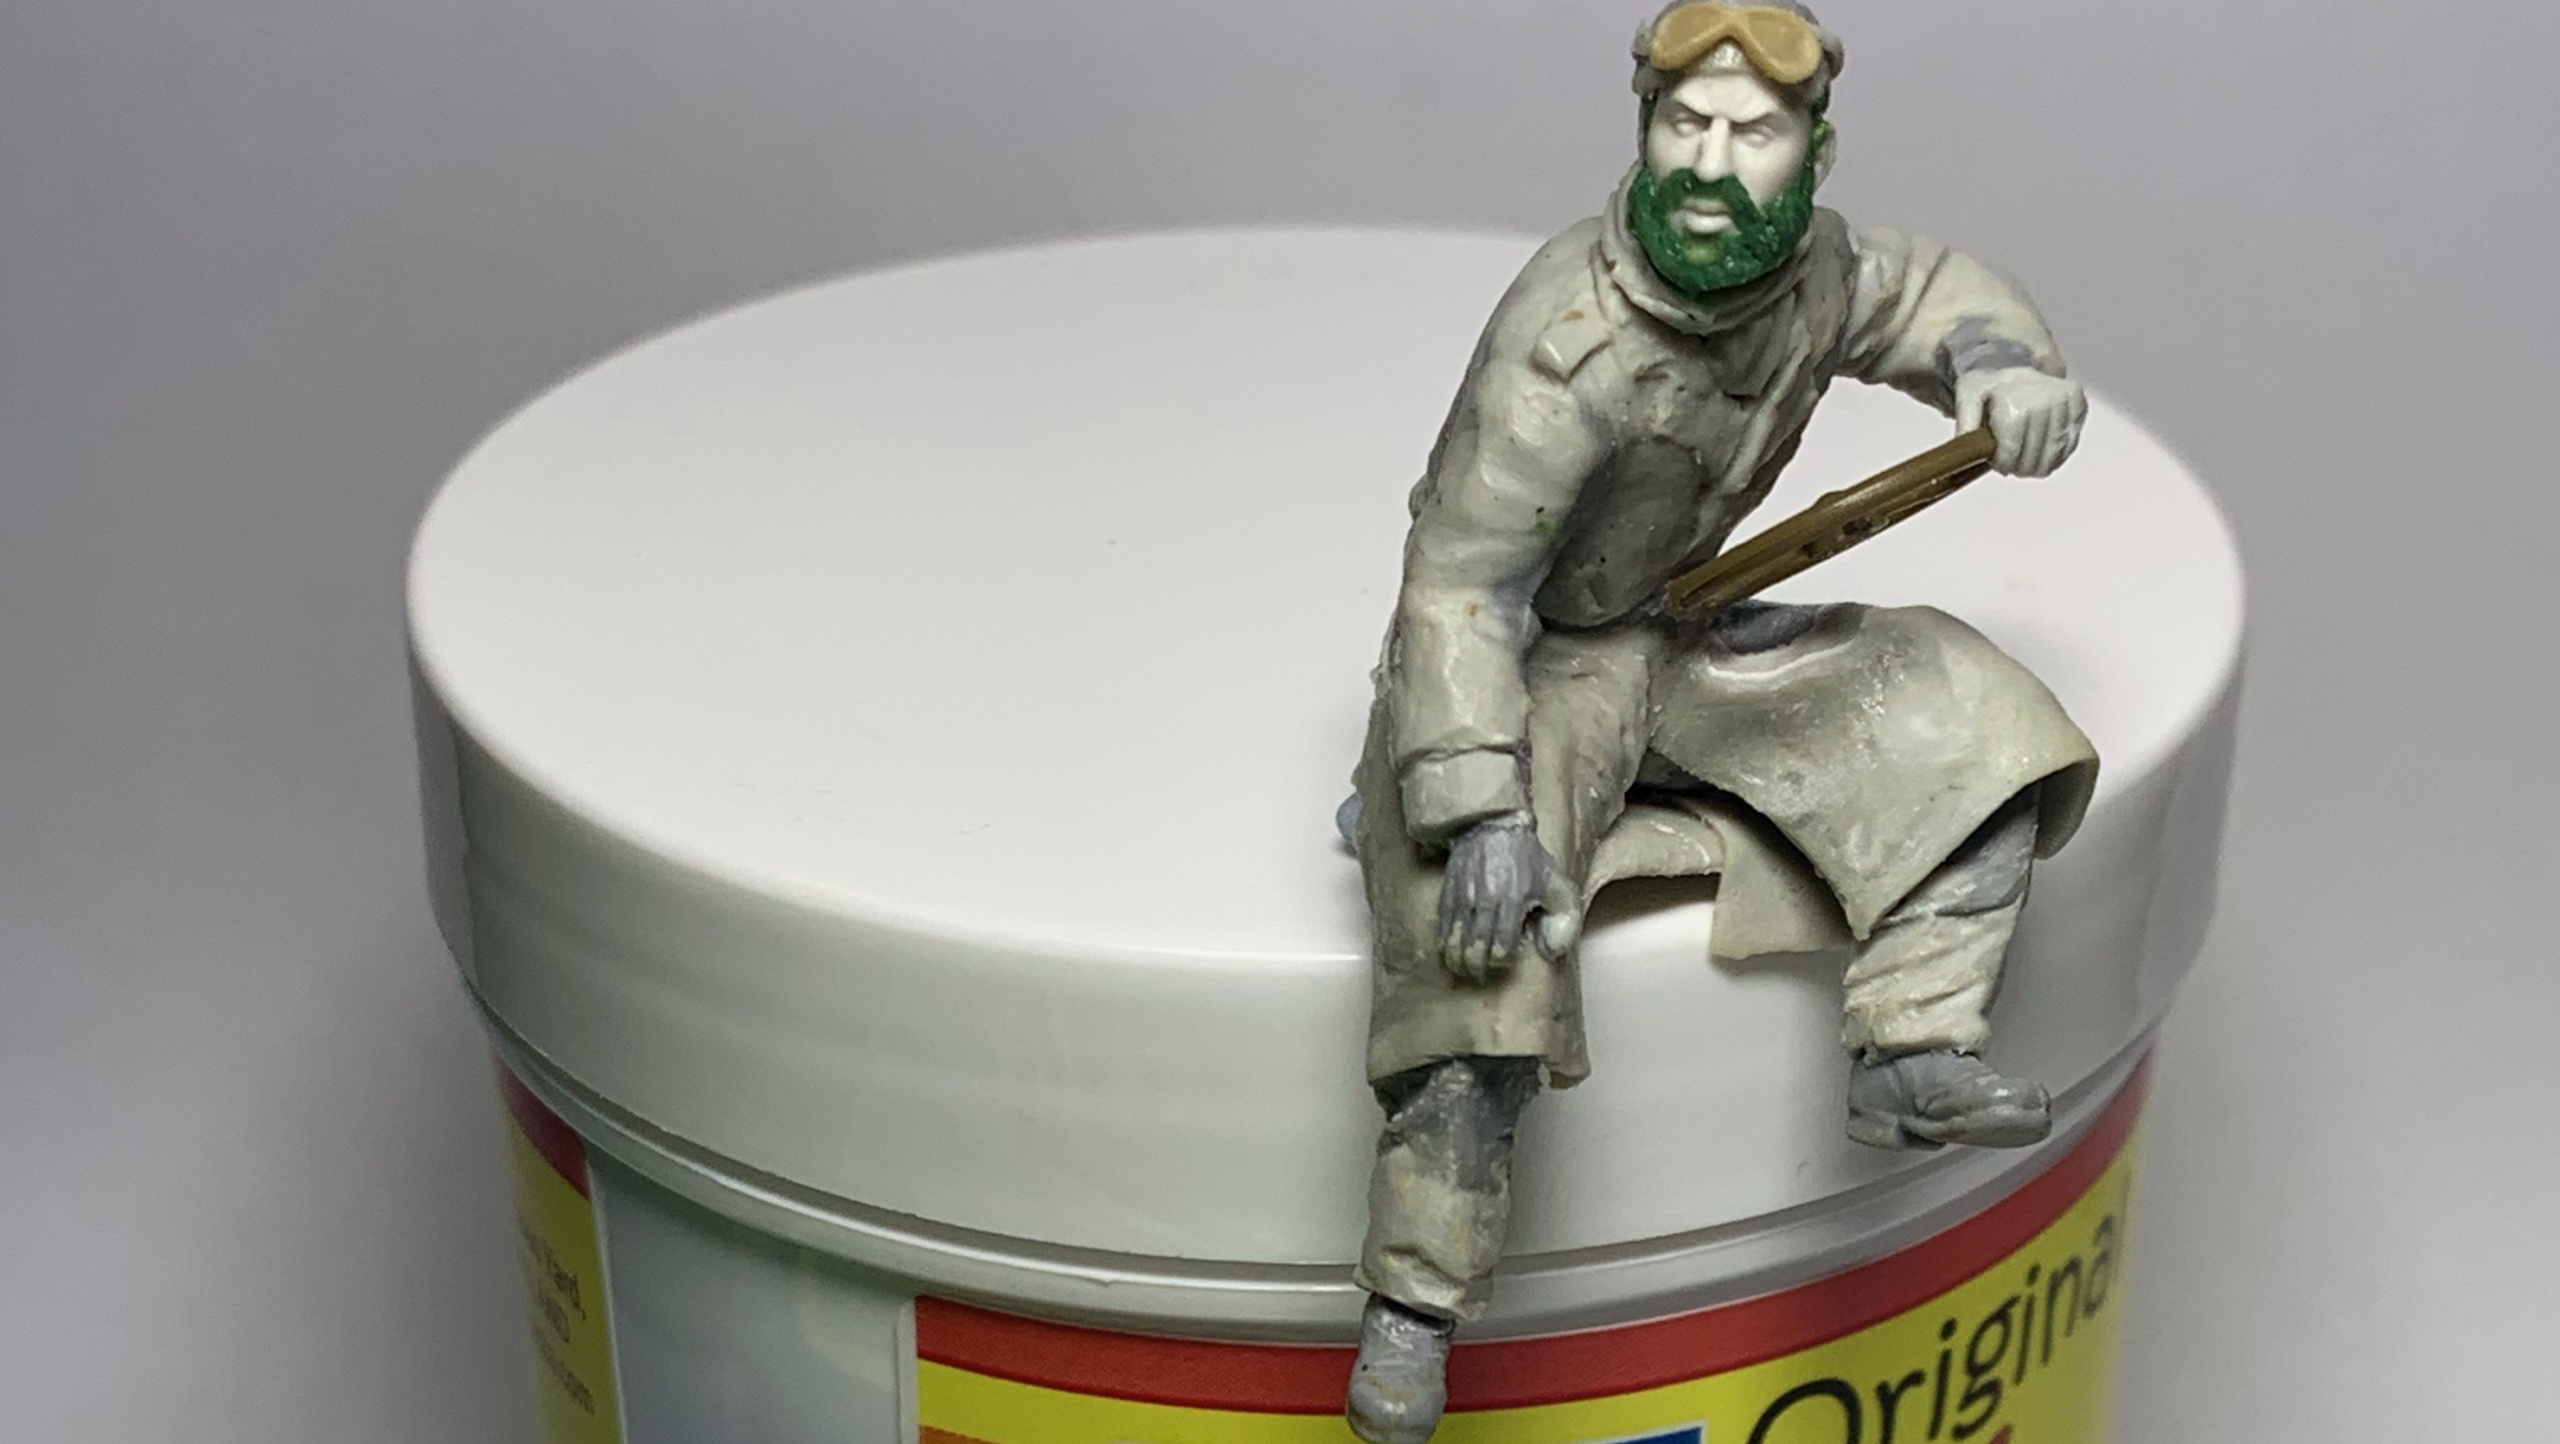
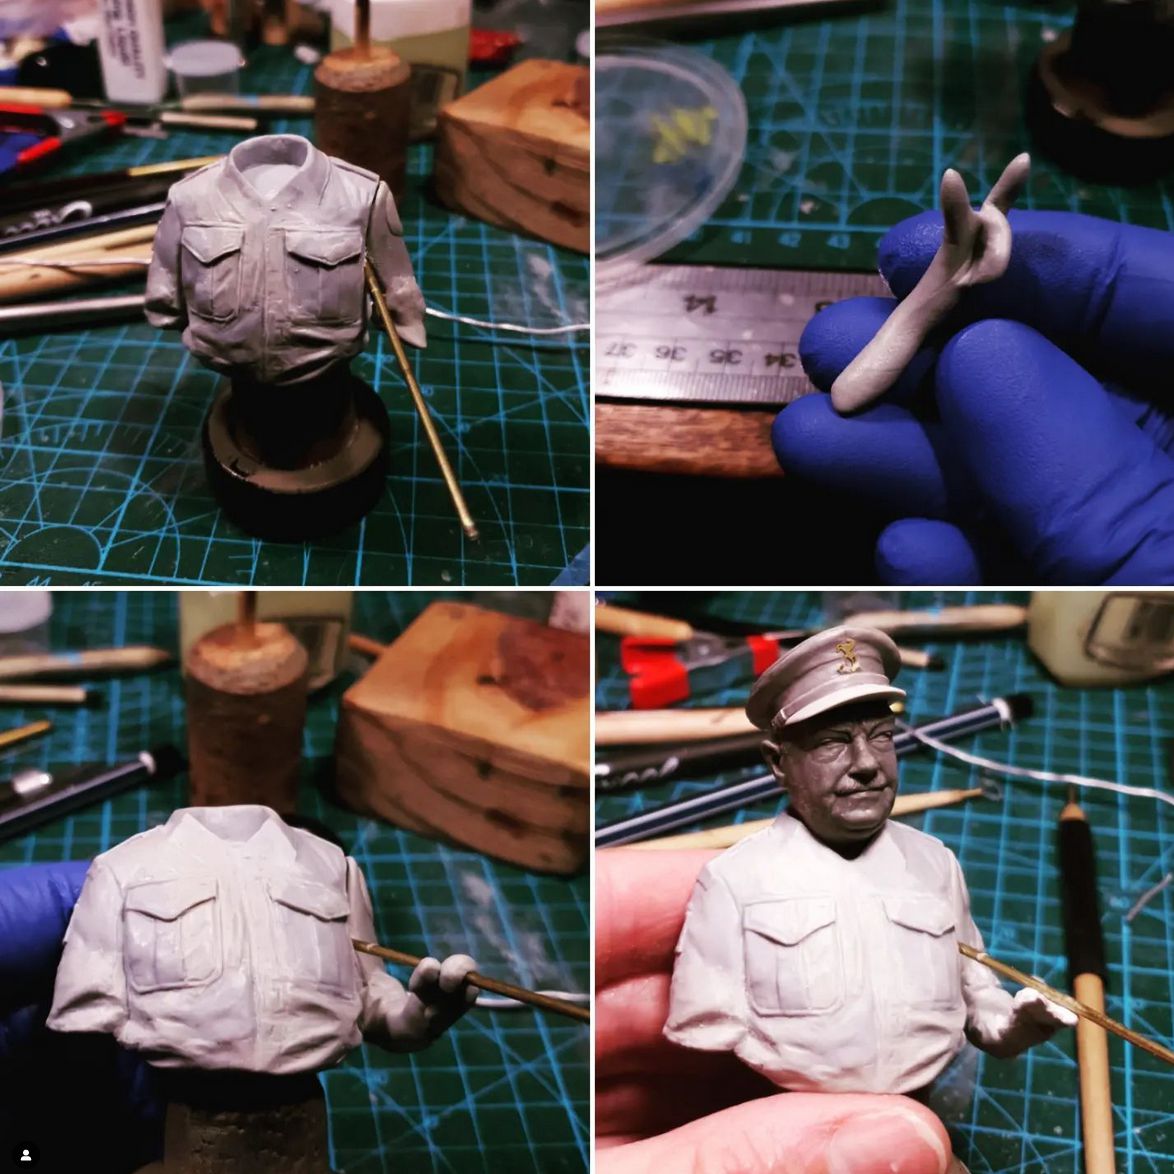
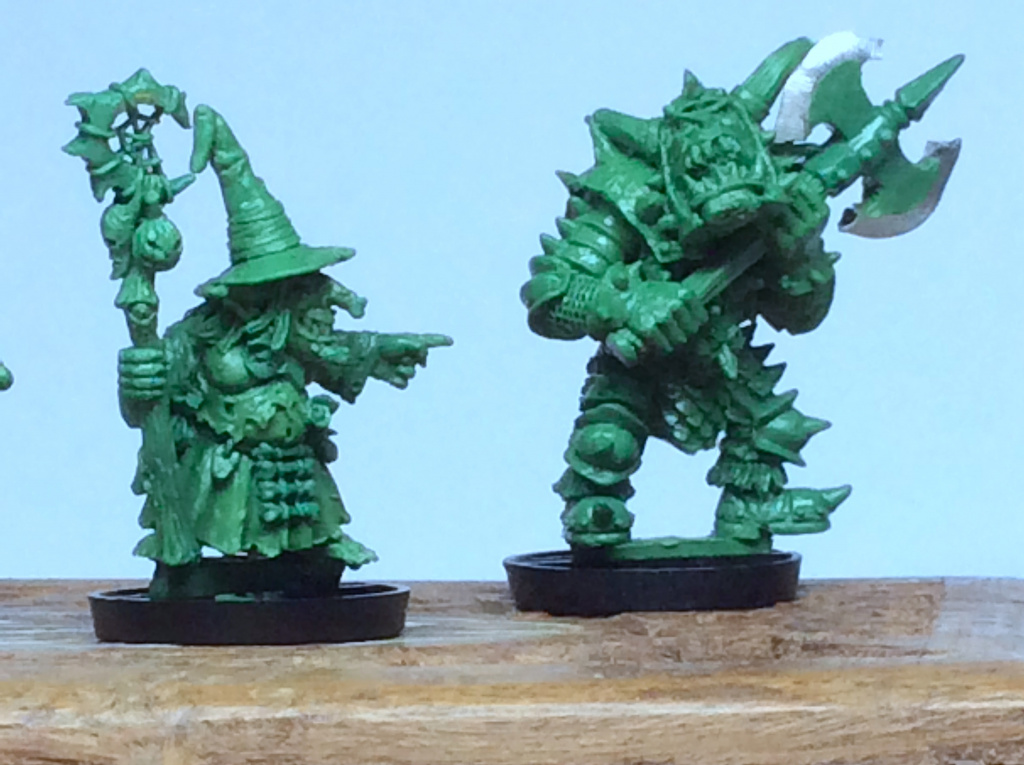
Andrew uses Green Stuff on wire armature to create a master Doctor Who figure. These base figures can then be converted into whichever of Doctors 1 through 15 (plus the War Doctor, Fugitive Doctor, etc) Andrew feels like making at any given time. Not to mention whoever takes over the role once Ncuti Gatwa leaves…
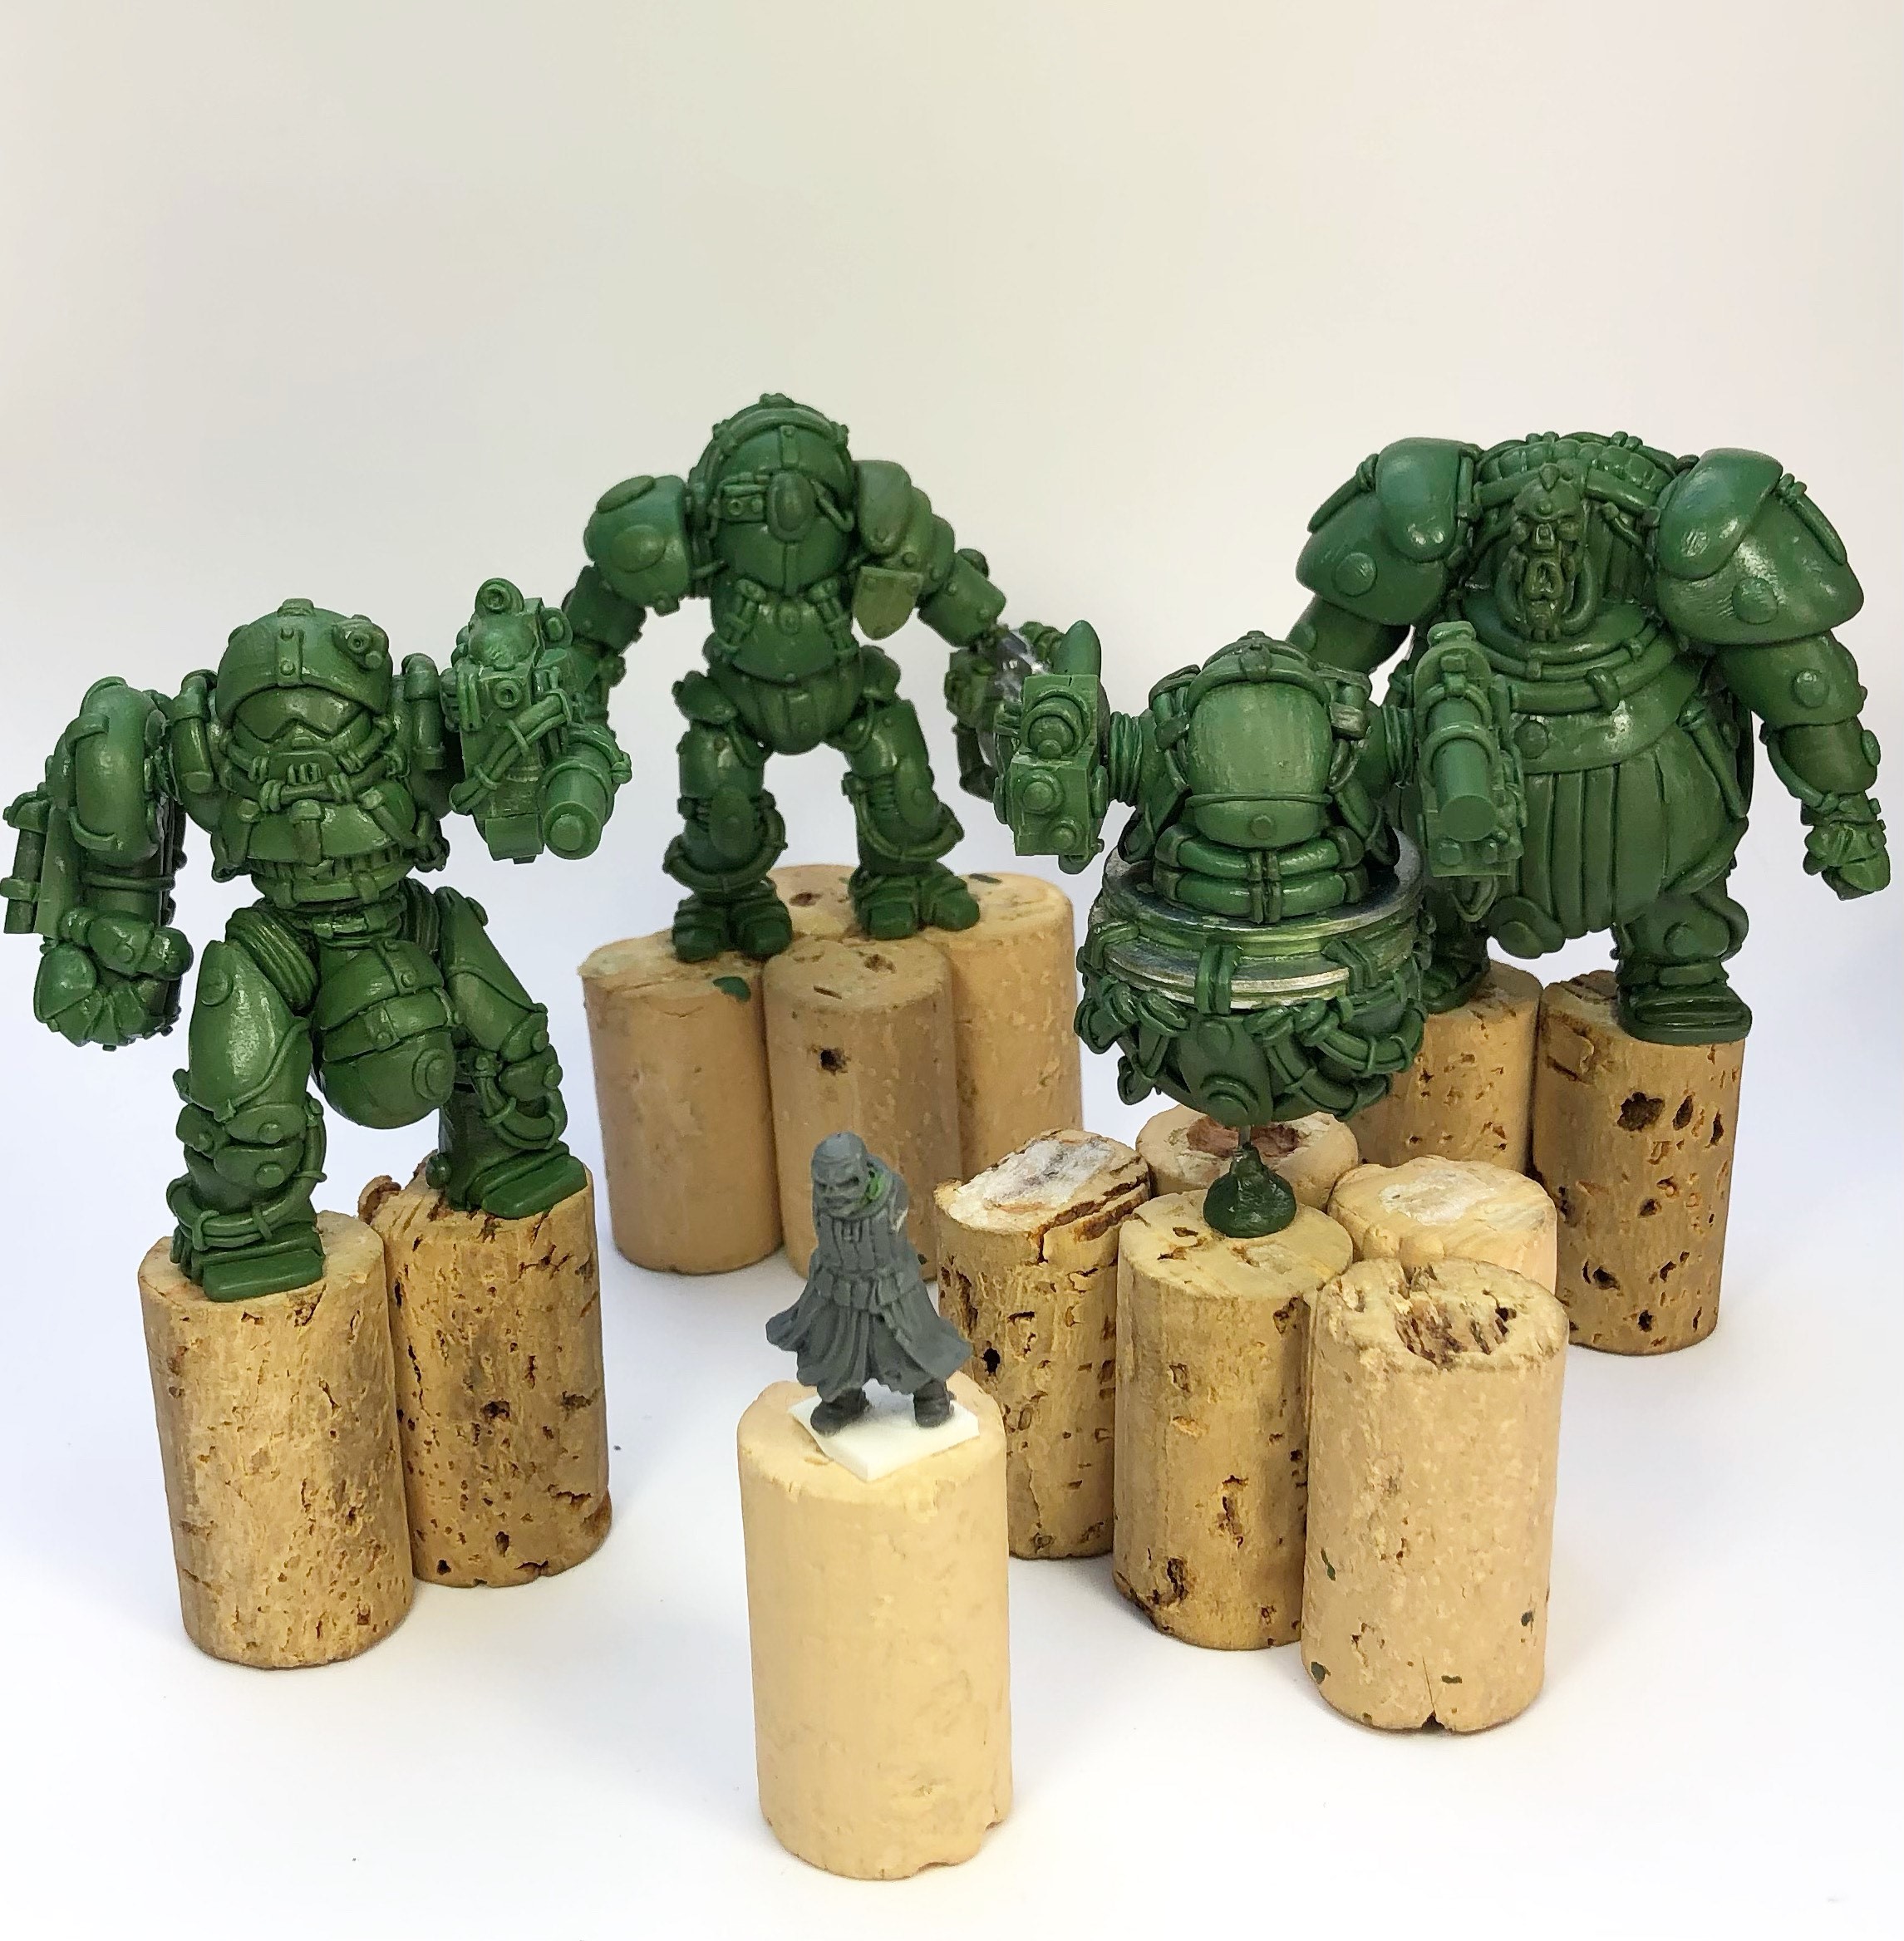
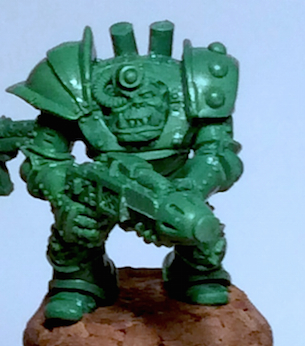
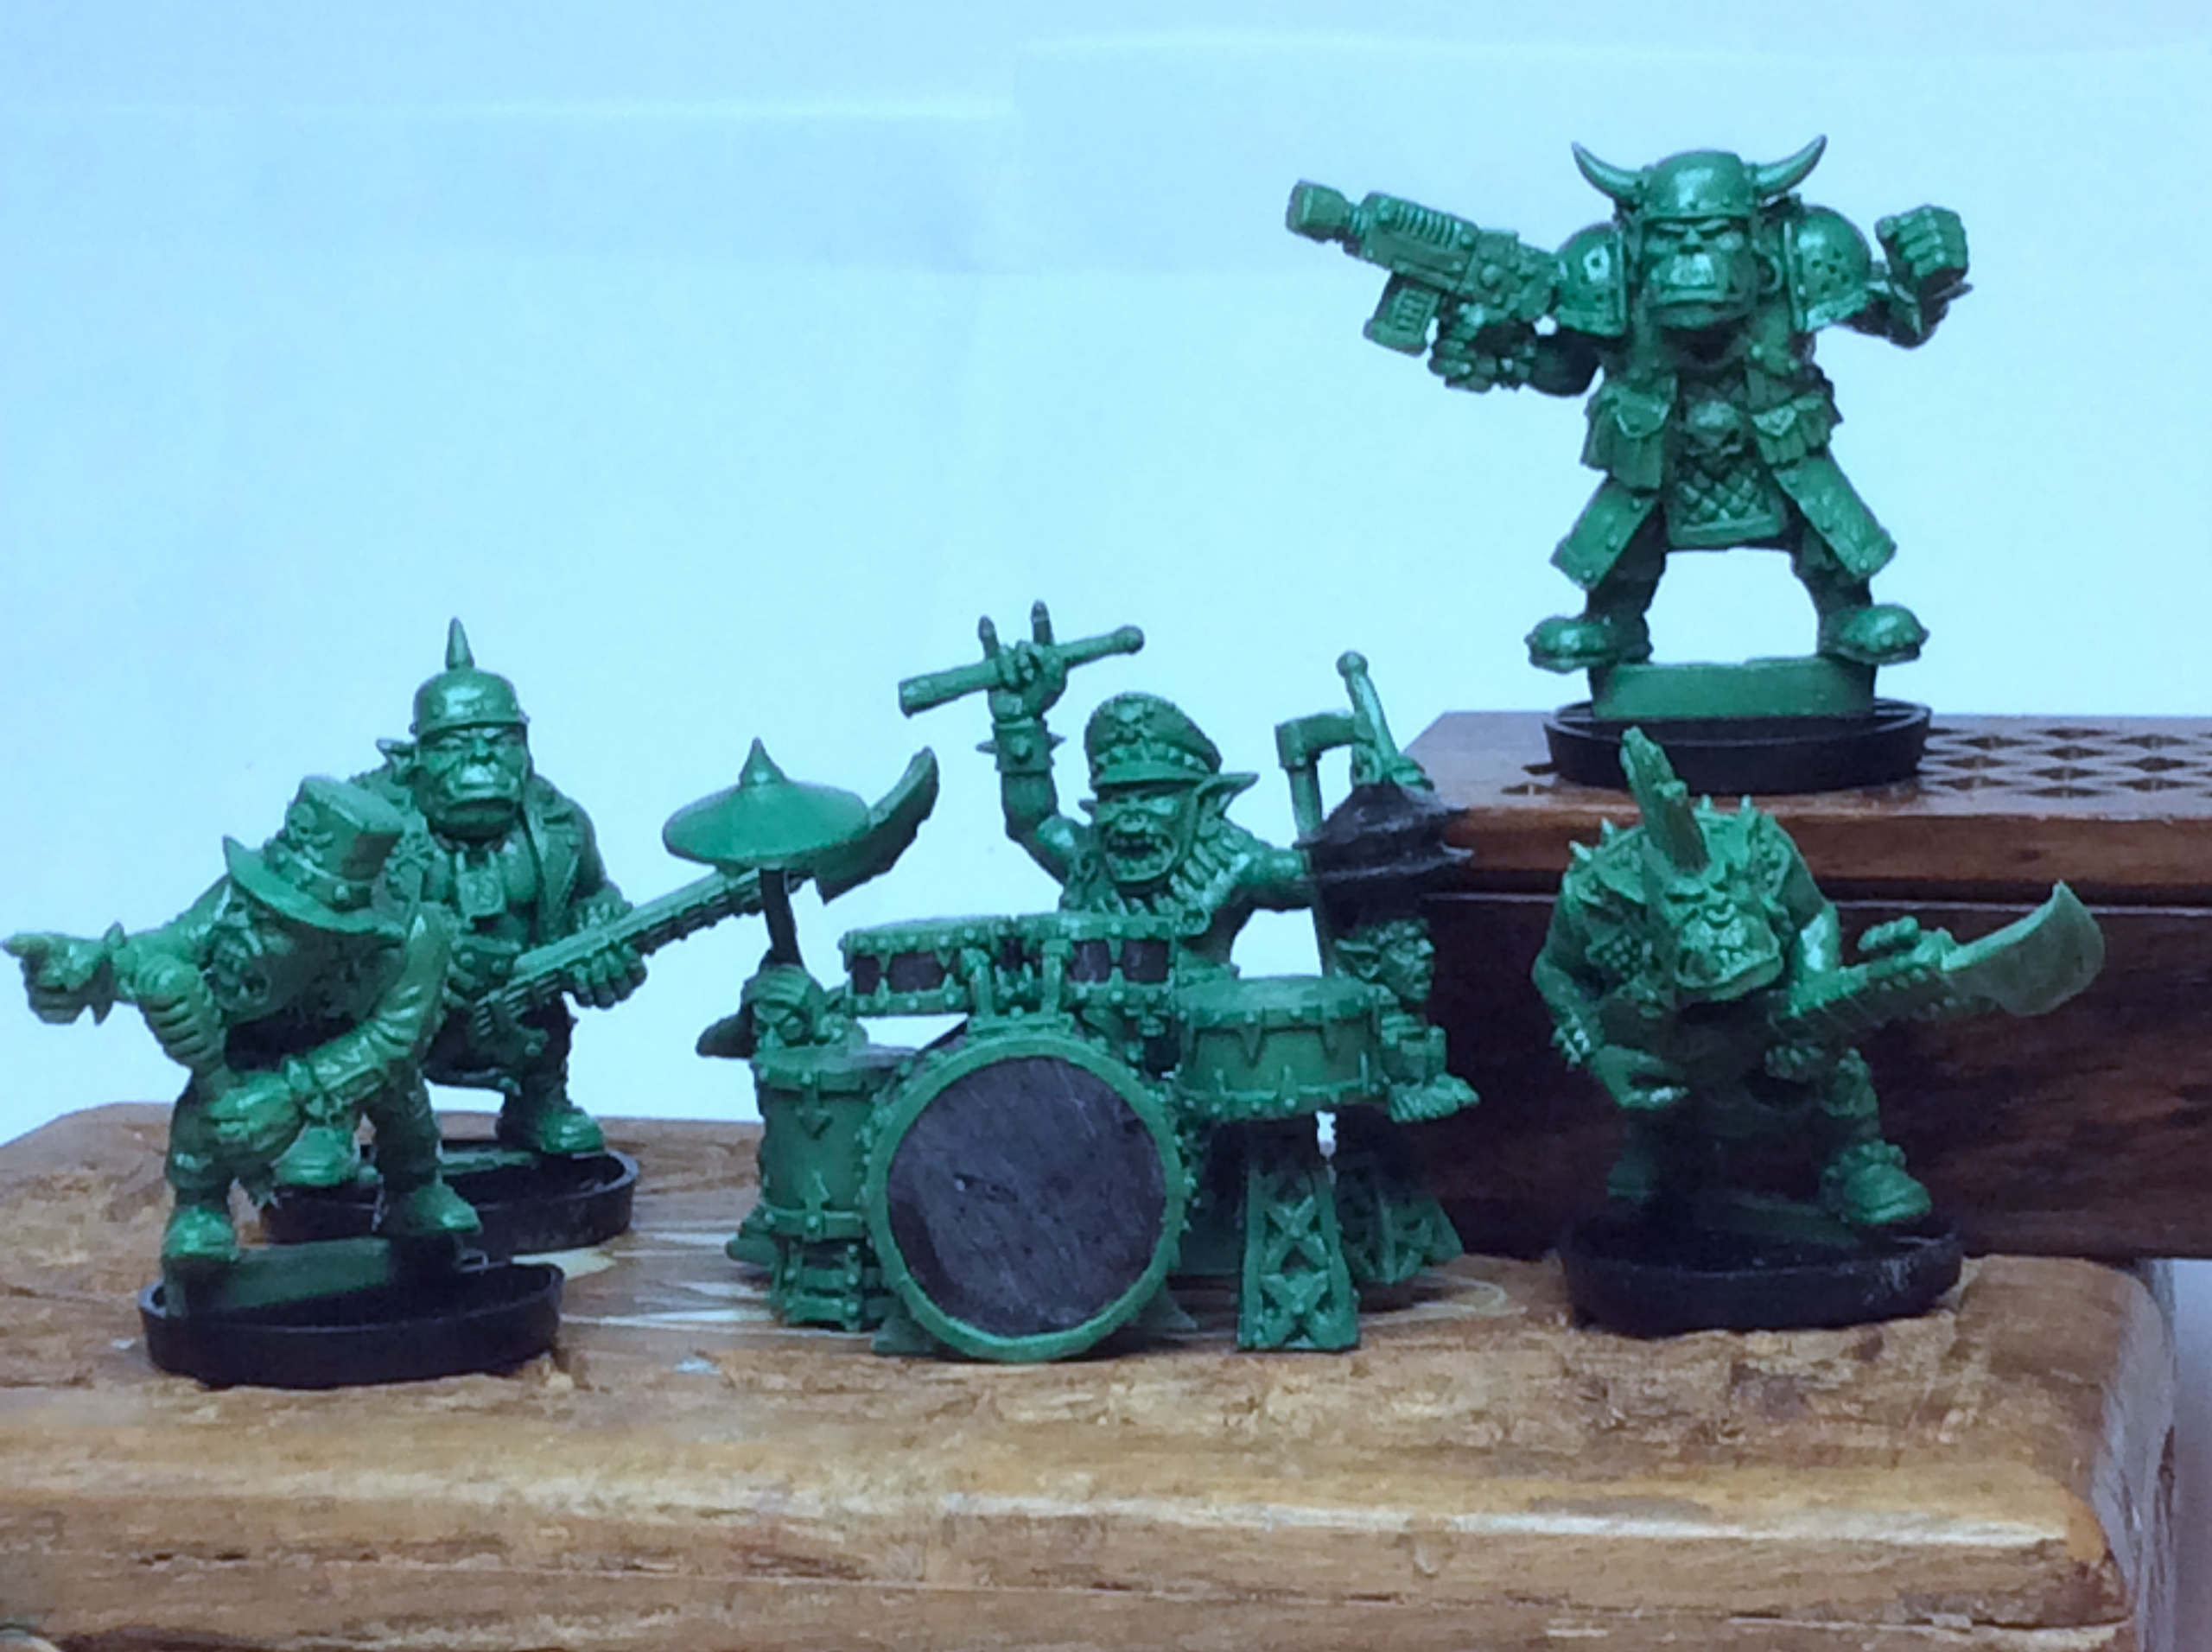
Green Stuff is stickier than other putties, remains slightly malleable when set and holds really fine details. It is popular with war gamers for sculpting goblins and other intricate creatures. And it is also well-used by military modellers for tiny pieces of insignia and other conversions.
Every regeneration has its own quirks and details which need to be accurately captured to recreate the true essence of that Doctor. Which makes Green Stuff the perfect modelling putty for any Doctor Who miniature figure.

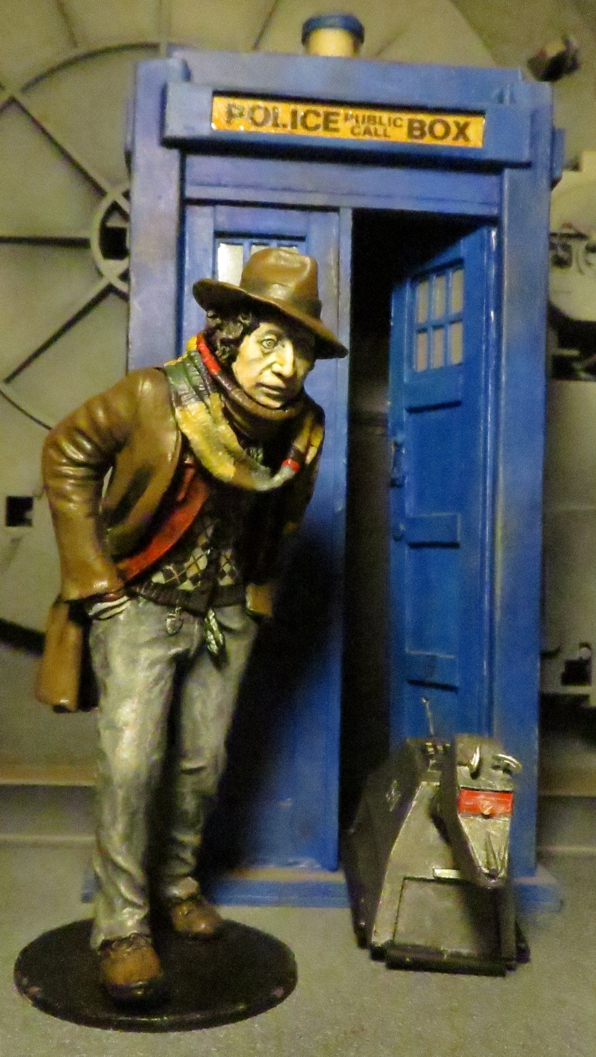
Andrew has tackled Tom Baker with his distinctive hair and scarf, alongside companions Sarah Jane Smith and K9. William Hartnell and his hat. Patrick Troughton complete with handkerchief falling from pocket.
Jon Pertwee is Andrew’s favourite Doctor to sculpt. “Pertwee had such an interesting face. A gift to an artist or sculptor.” Alongside the Third Doctor, Andrew also made a figure of companion Jo Grant.
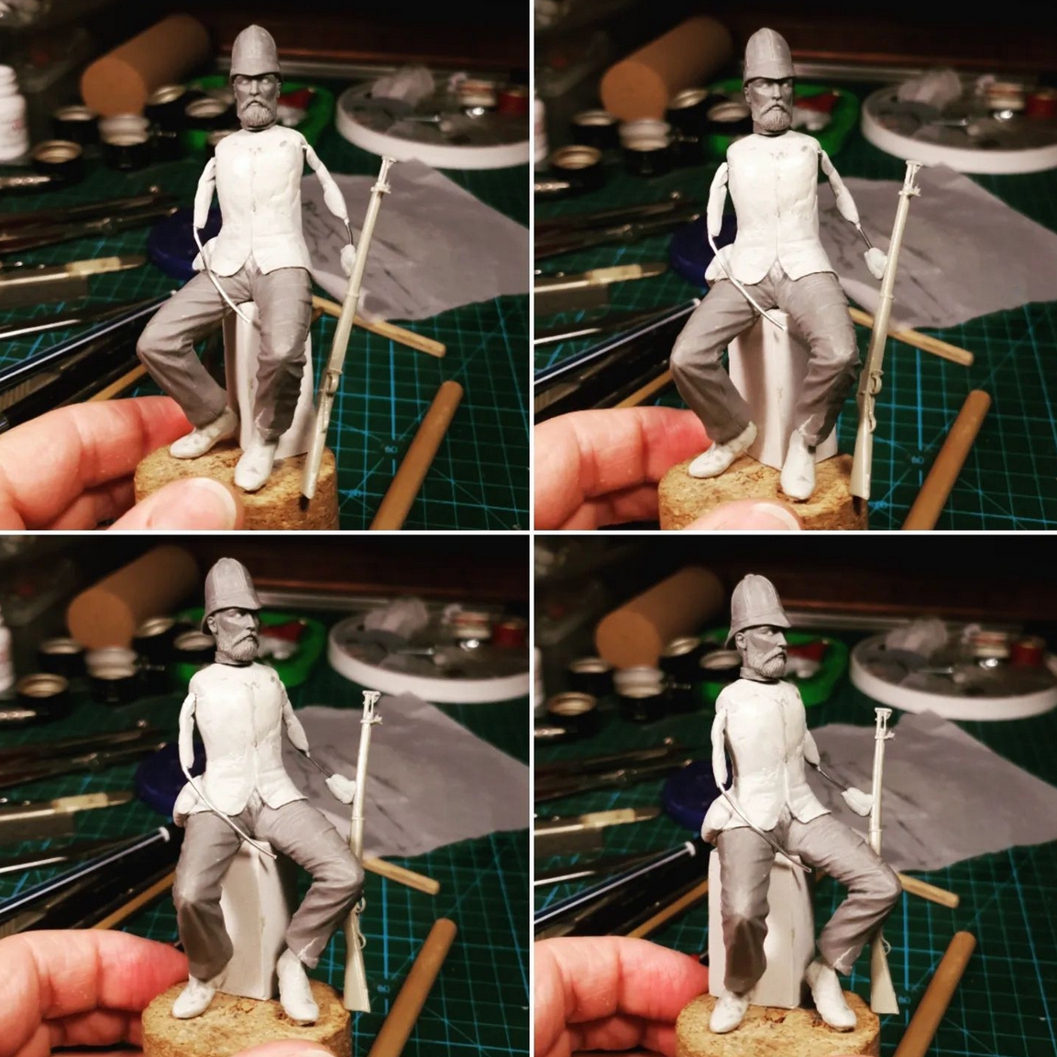
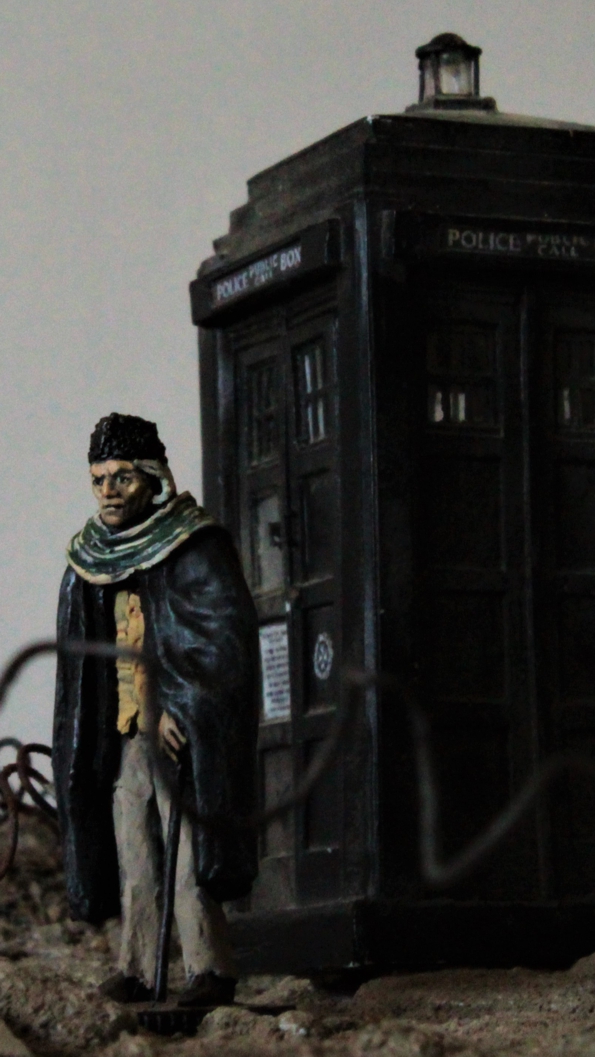
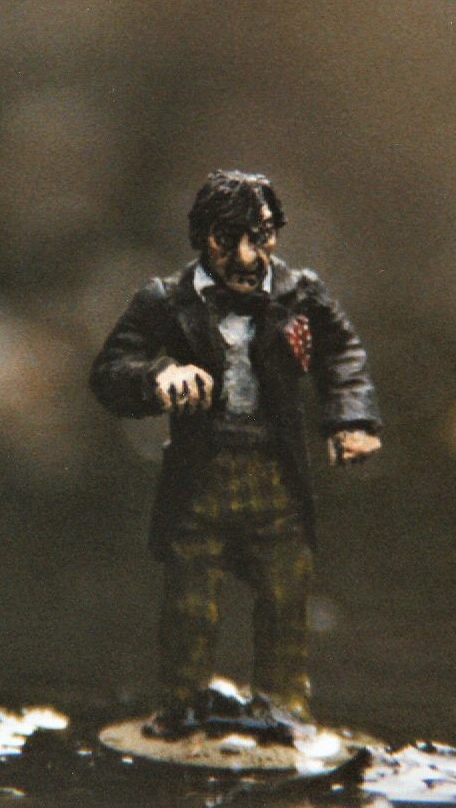
Included in Andrew’s collection is a Doctor fans will not recognise. A future regeneration, perhaps? Or a Doctor from the past forgotten by incarnations 1 to 15, as the Fugitive Doctor was before running into the Thirteenth Doctor? Who is it?
“I have used my own face as a sort of ‘any-old-Doctor’ on a couple of them, a middle-aged man in Victoria clothes,” explains Andrew. “More for the amusement of myself and my friends than anything else. Although I might use them for a comic strip down the line.”
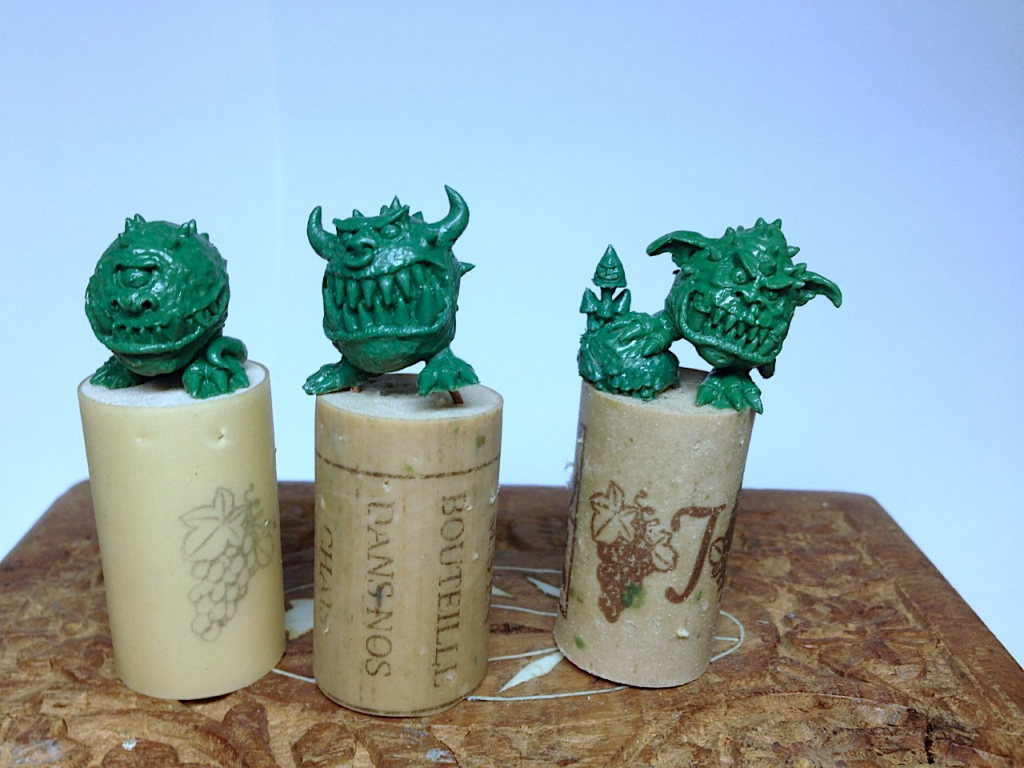
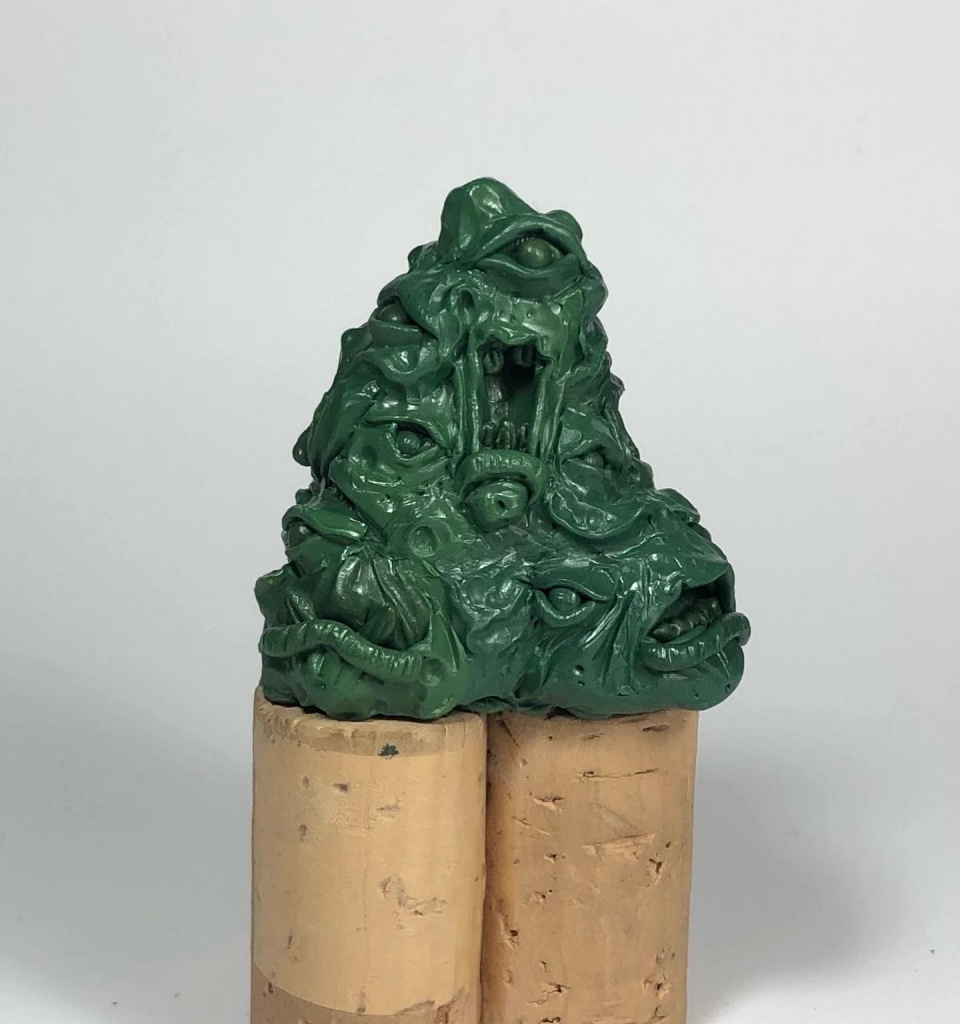
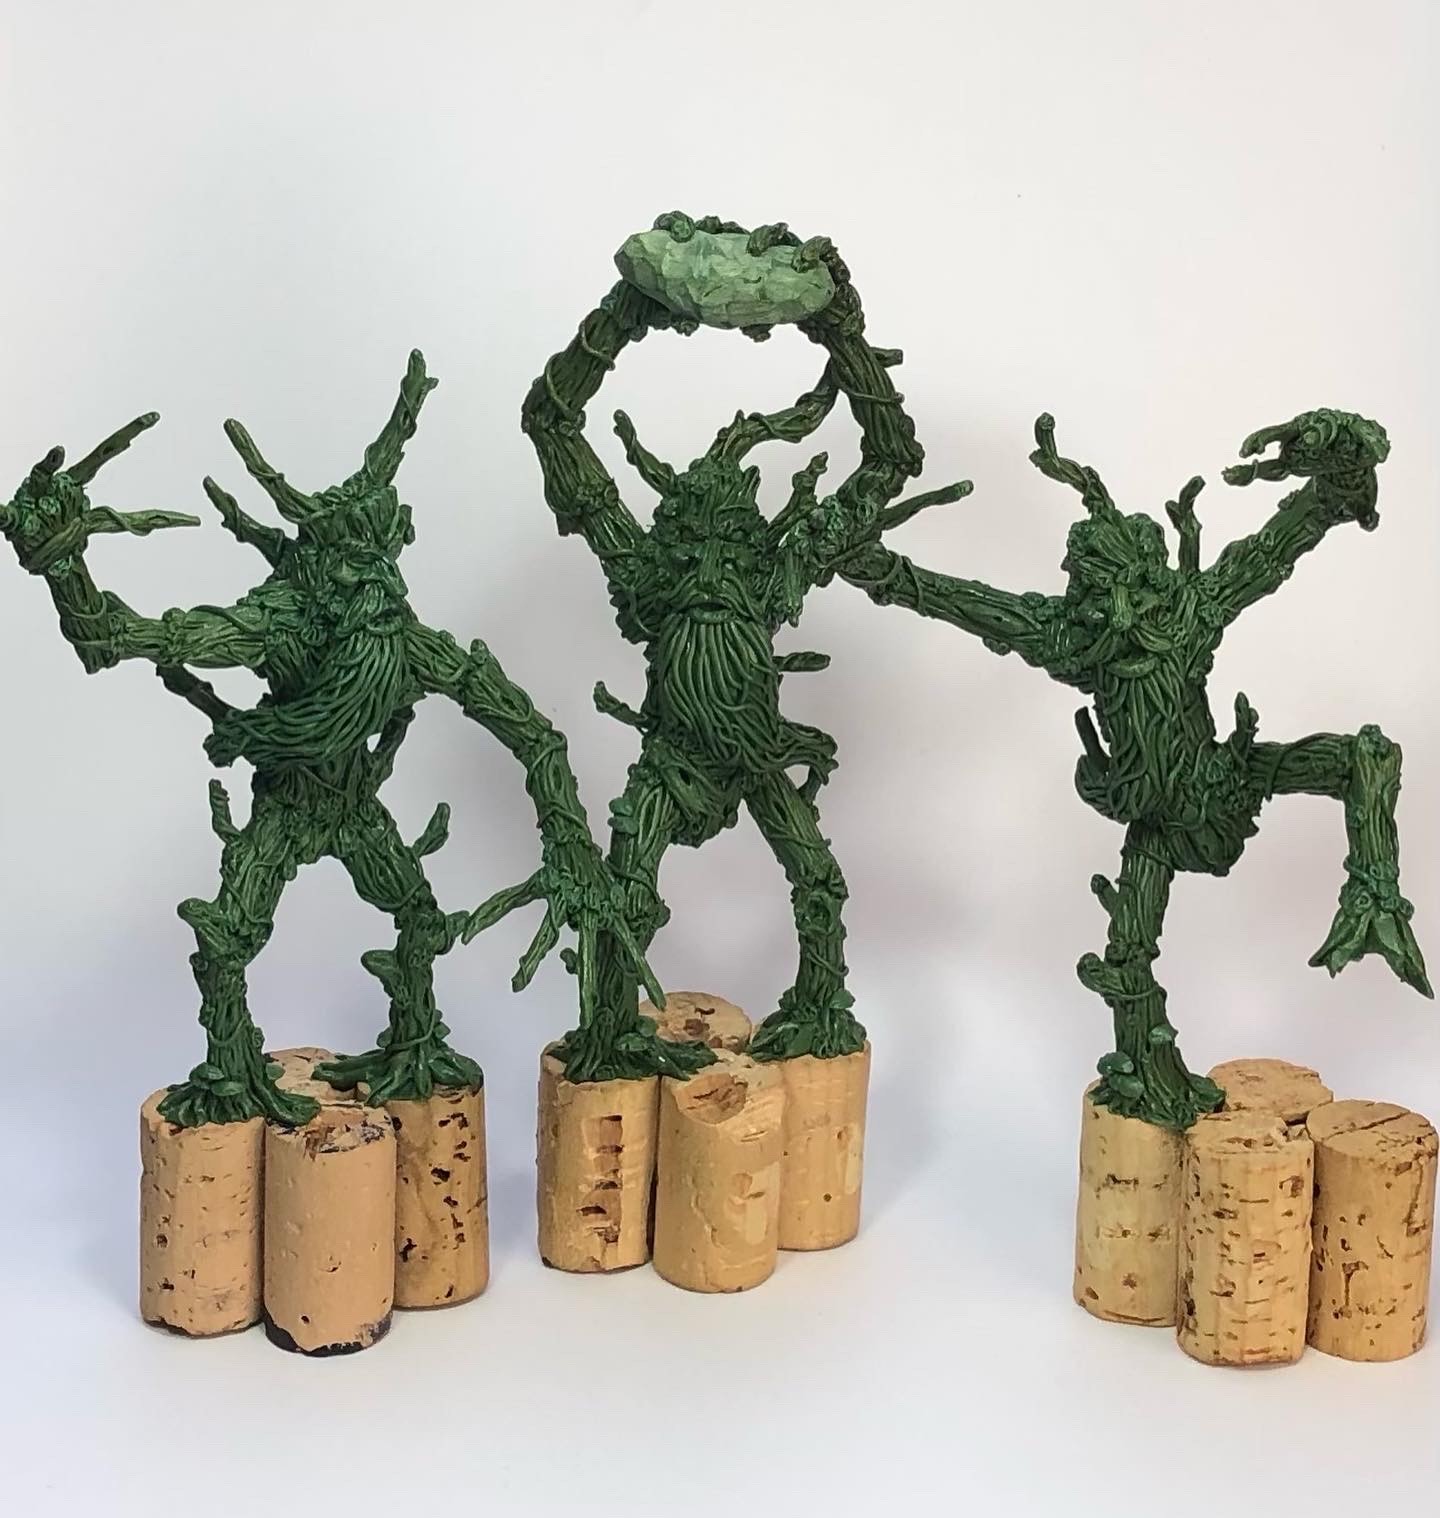
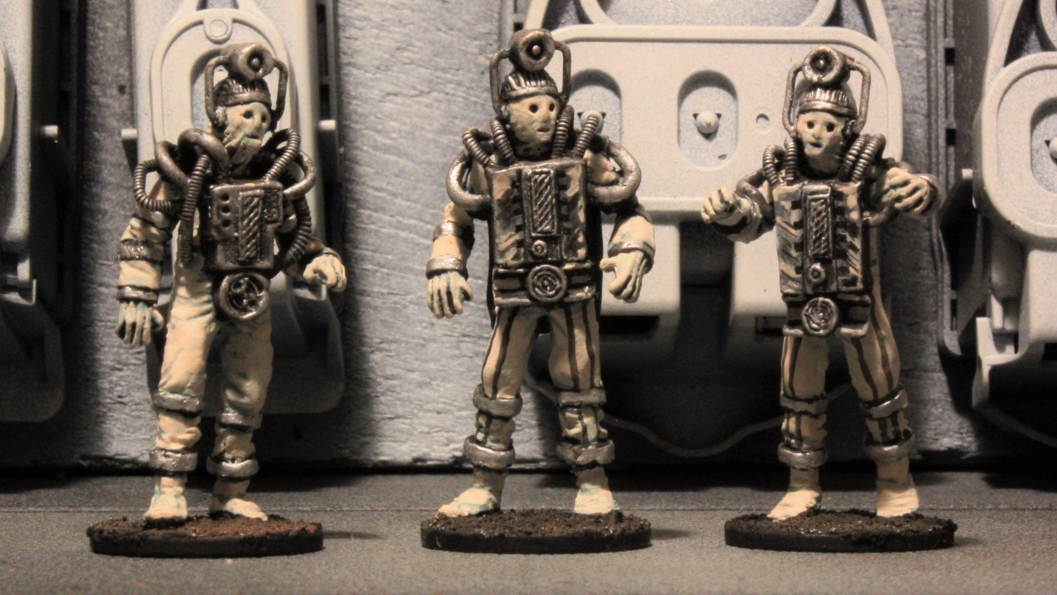
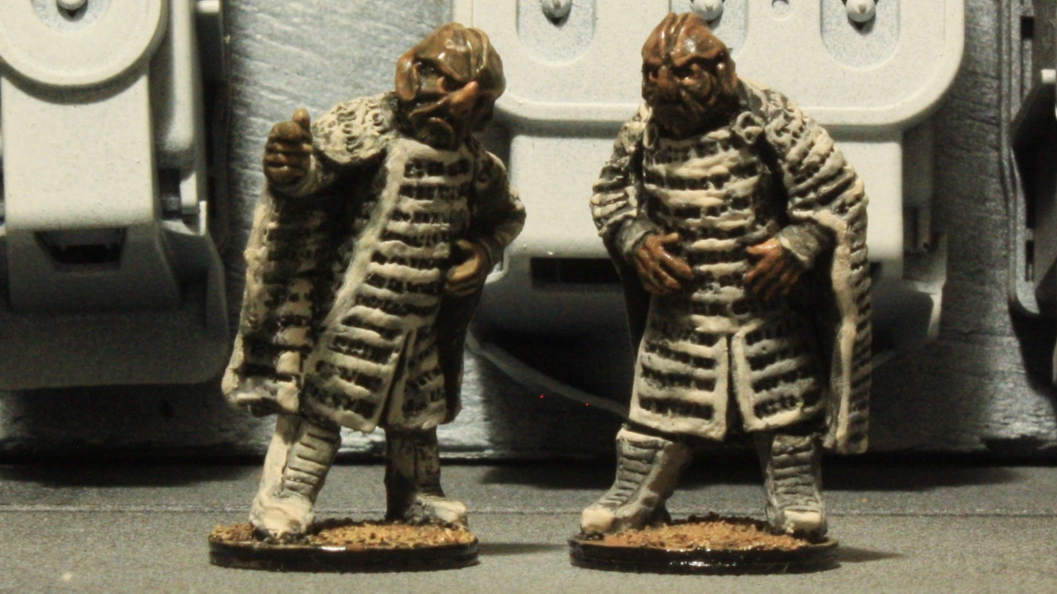
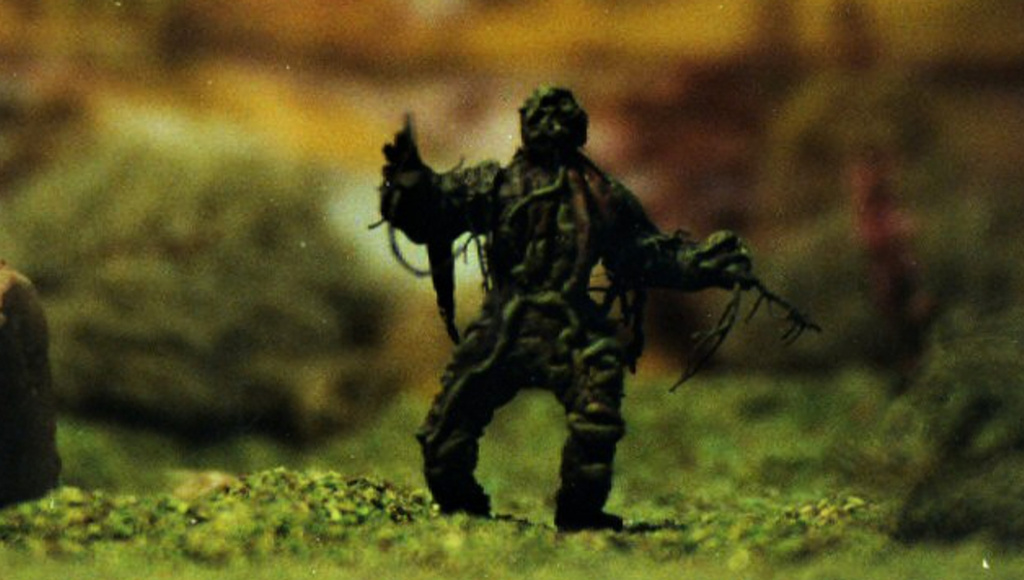
The Doctor would be nothing without his enemies, of course. Andrew also makes Cybermen, Sea Devils, Kraals and Krynoids in 1/48th scale. One particularly challenging sculpt saw him recreate lichen, responsible for wiping out human colonists on a planet visited by the Seventh Doctor and Ace.
“I once saw an illustration of a Silurian riding a dinosaur in a Doctor Who book. One day, I would like to recreate that,” Andrew says. And no Doctor Who collection could be complete without the greatest foe of all…
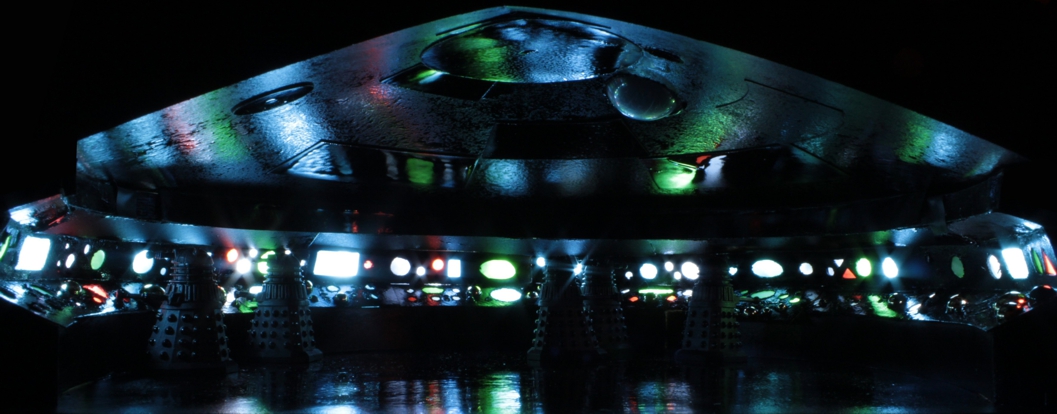
Daleks, the time vortex… and ashtrays
Befitting the race whom the Doctor fought the Time War against, the Daleks get their own spaceship. Built out of card, Andrew included a string of white Christmas lights and puffed cigarette smoke inside before photographing the finished creation. The effect is chilling.
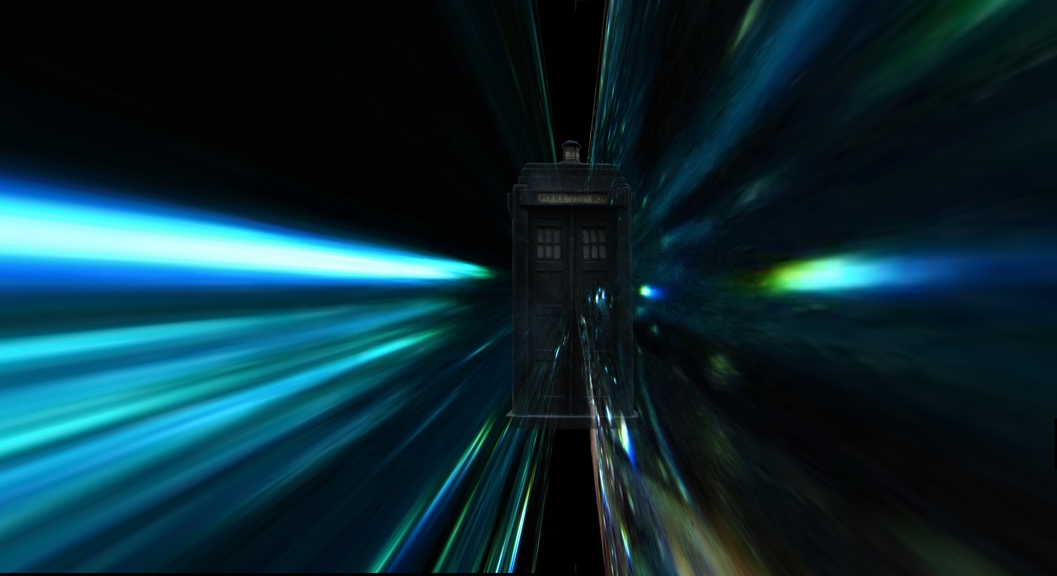
Beyond figurines, Andrew experiments with creating time vortex backgrounds as the TARDIS flies from one planet and century to another.
“My friend has a table made of resins with different coloured dyes. I use it to take close up photograph with the TARDIS, which come out really well. Another trick is to use a coloured ashtray I have with oily translucence.”
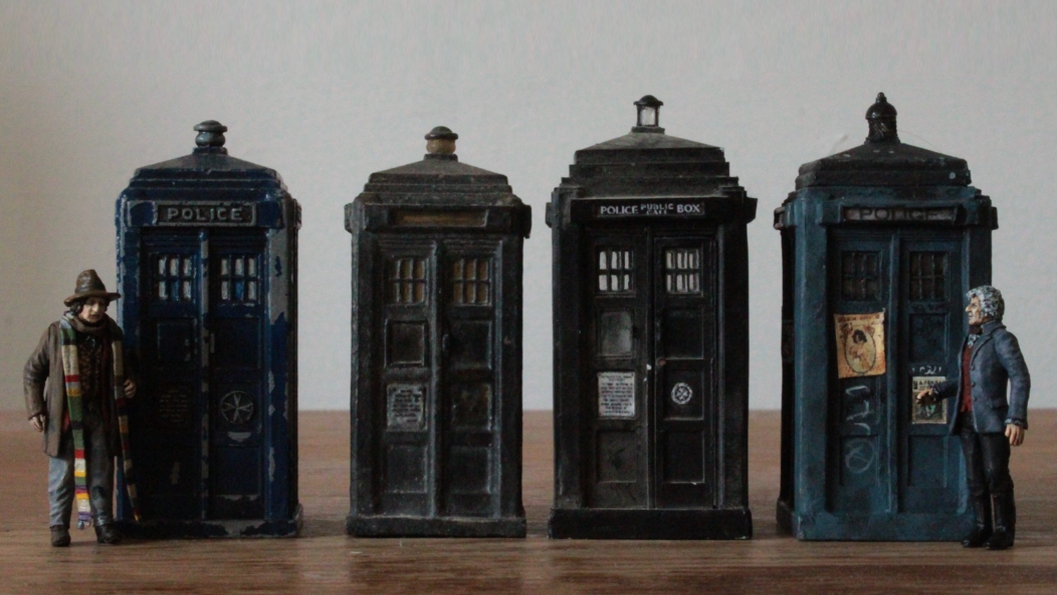
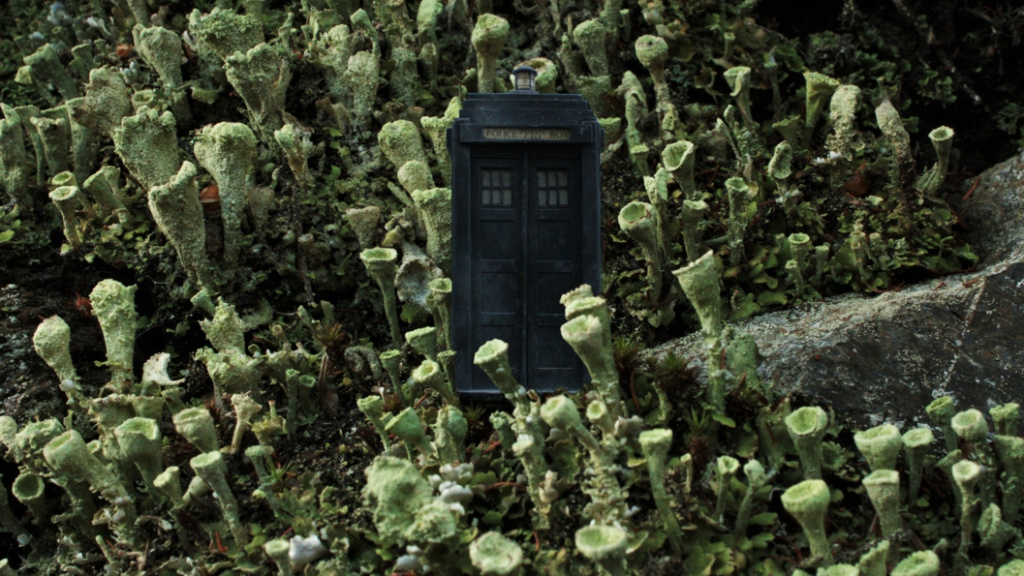
The Doctor’s TARDIS
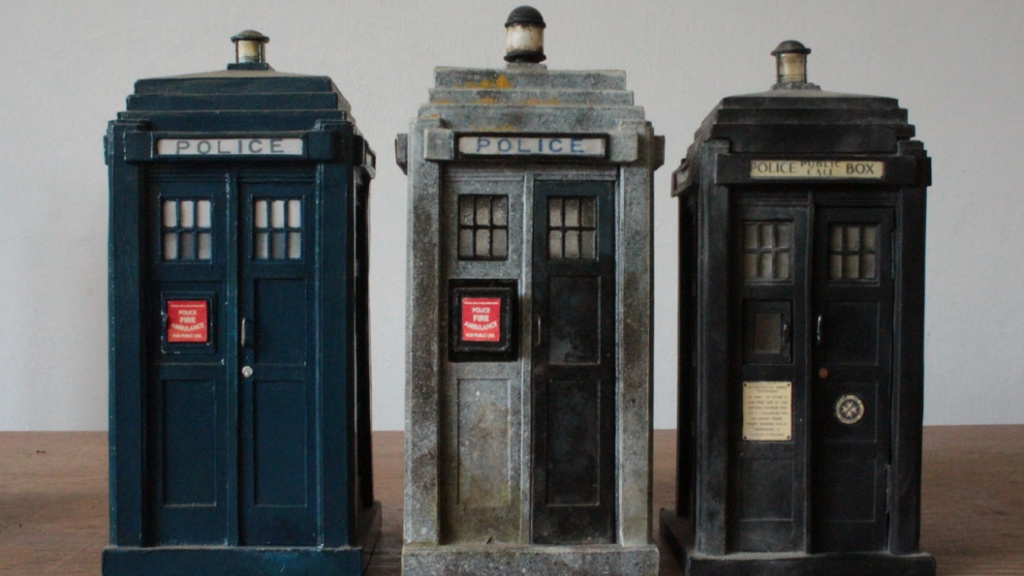
As for the most loyal companion of all to the Doctor, that is the TARDIS. Andrew has spent years making many Police Boxes to different scales, all based on original Mackenzie-Trench designs.
He has even adapted different versions of Police Boxes for different regions, including the distinctive Glasgow Police Boxes with their unique front panels.
These custom Police Boxes range from traditional model builds to inventive takes like a hollow, clear resin version lit from inside with an LED salvaged from a cigarette lighter.
“I have thought several times of making a TARDIS kit which could be cast in resin, white metal or even cement on a larger scale,” reveals Andrew.
That would represent a new branch for Andrew’s model making beyond personal amusement and collaborative storytelling. What Andrew has done so far is show how far a little Green Stuff can take you in the world of Doctor Who.
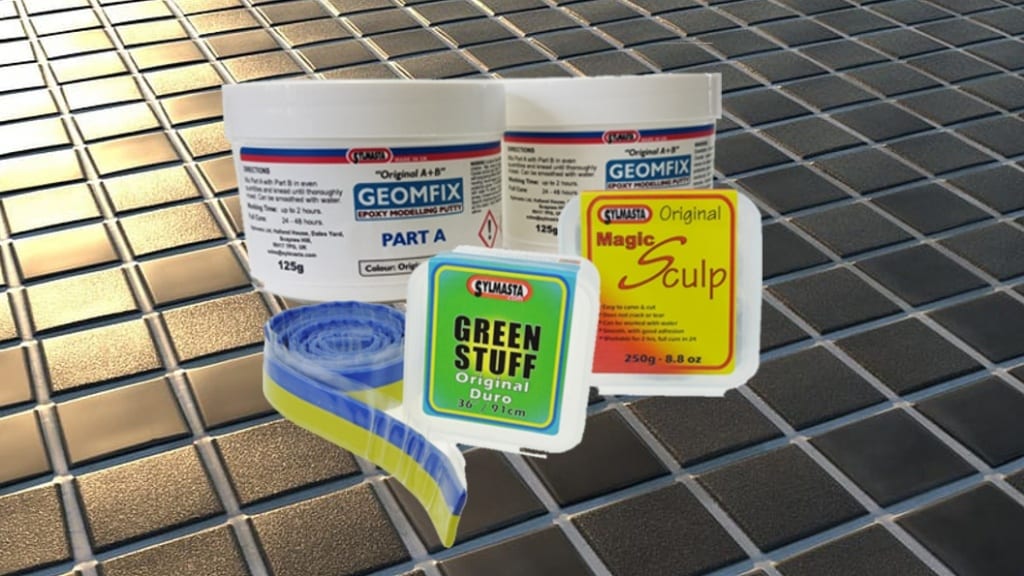
If you would like more information about Green Stuff or any other SylCreate products, please email sales@sylmasta.com or phone us on +44 (0)1444 831 459 to speak to one of our technicians.
Related Products
-
 Green Stuff Reel (90cm)£14.21 inc. VAT
 -
 Green Stuff Stick£16.58 inc. VAT
Related Articles

Green Stuff brings the dinosaurs and other long-vanished animals back to life… as models
Modelling in a heat wave: Tips for using epoxy putty in hot weather
Epoxy modelling putty – Your guide to model making & sculpting putties
The real life snipers who fought ISIS immortalised in Magic Sculp
The benefits of mixing modelling putties
David Parker’s Crew School and bringing figures to life with the man himself
Meet the military modelling company with the Middle East at its heart