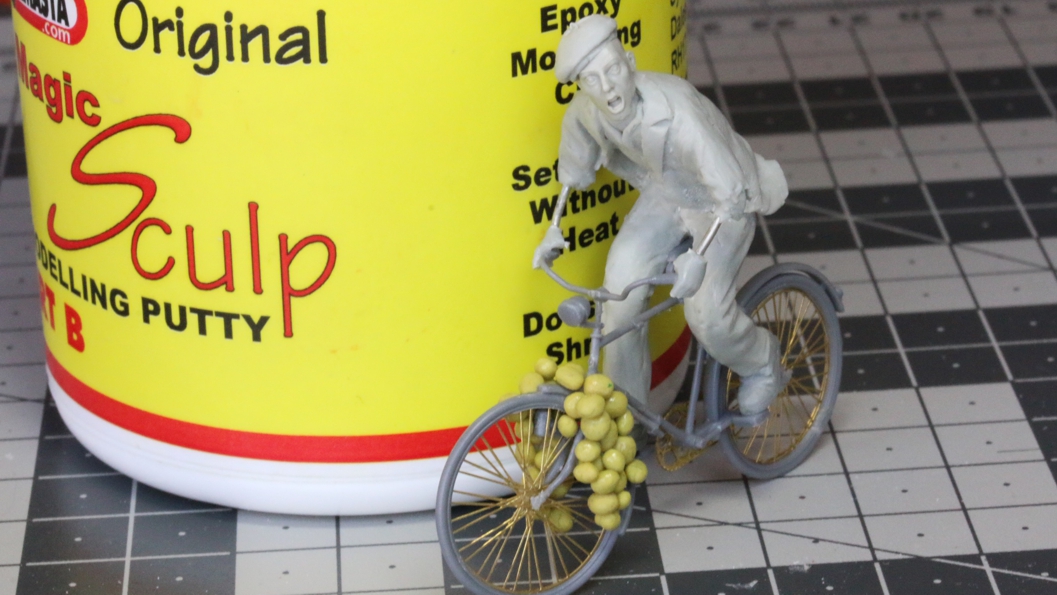
Whether you call it Magic Sculp, Magic Sculpt or any other name starting with A, B, C or D, the one thing that most model makers, sculptors and restorers will agree on is this – that Magic Sculp(t) is a pretty magic epoxy modelling putty.
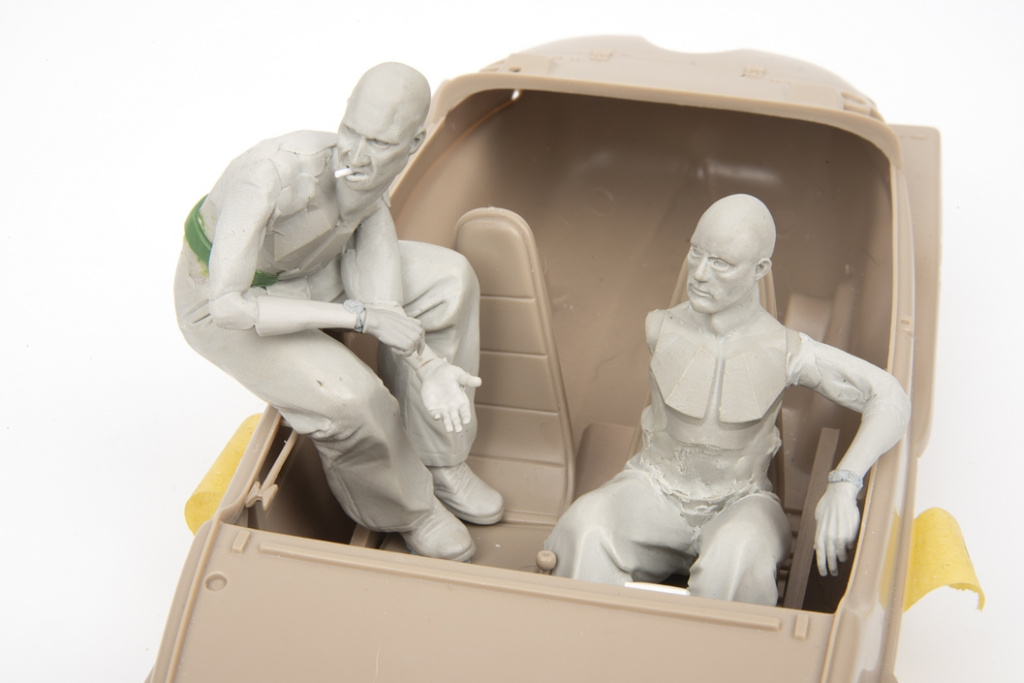
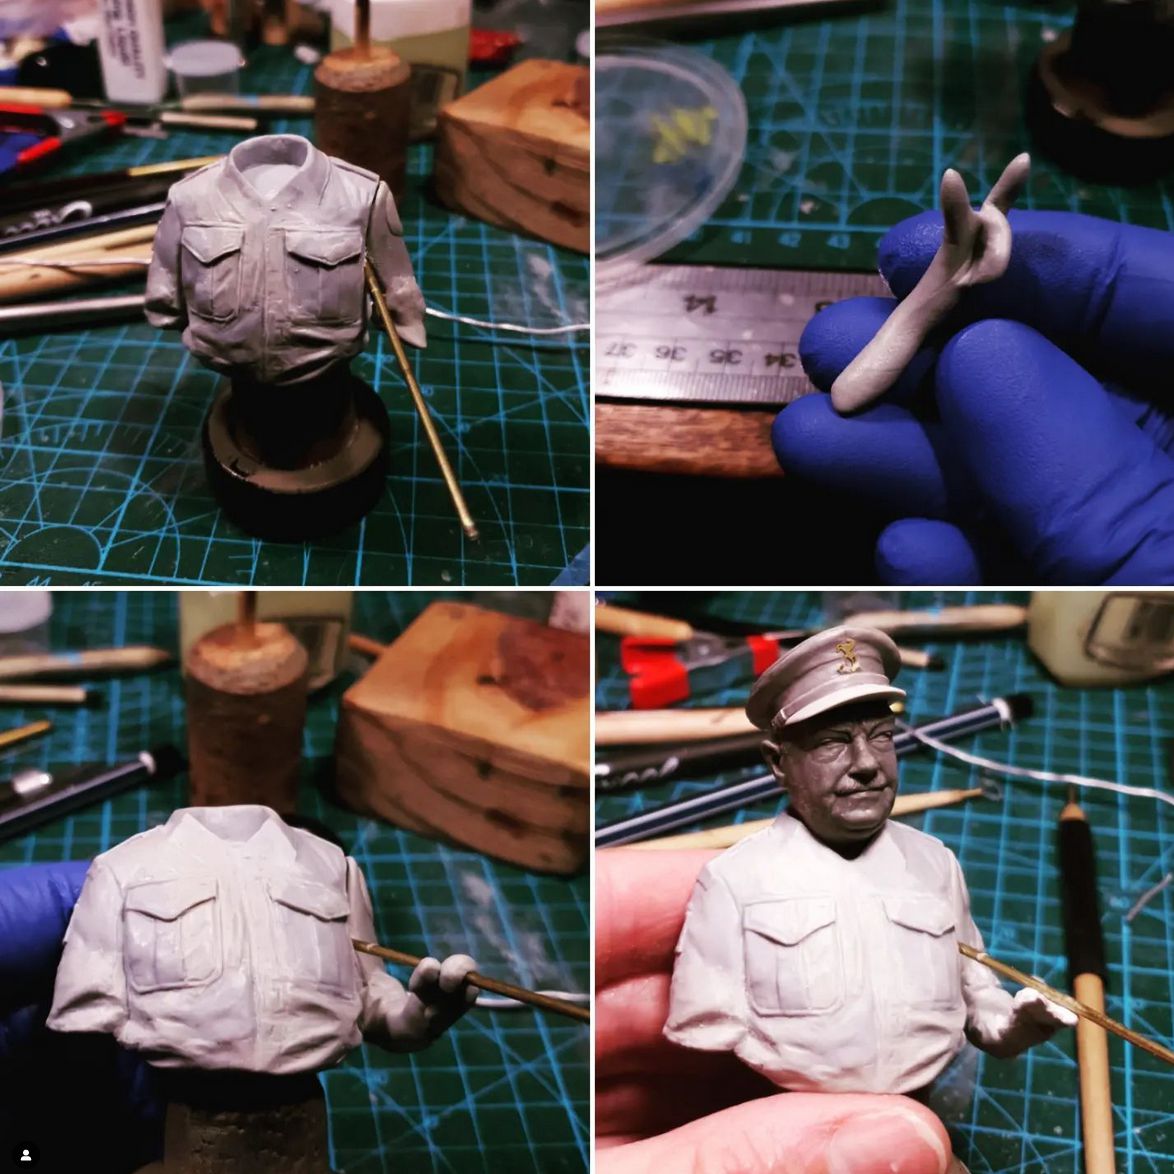
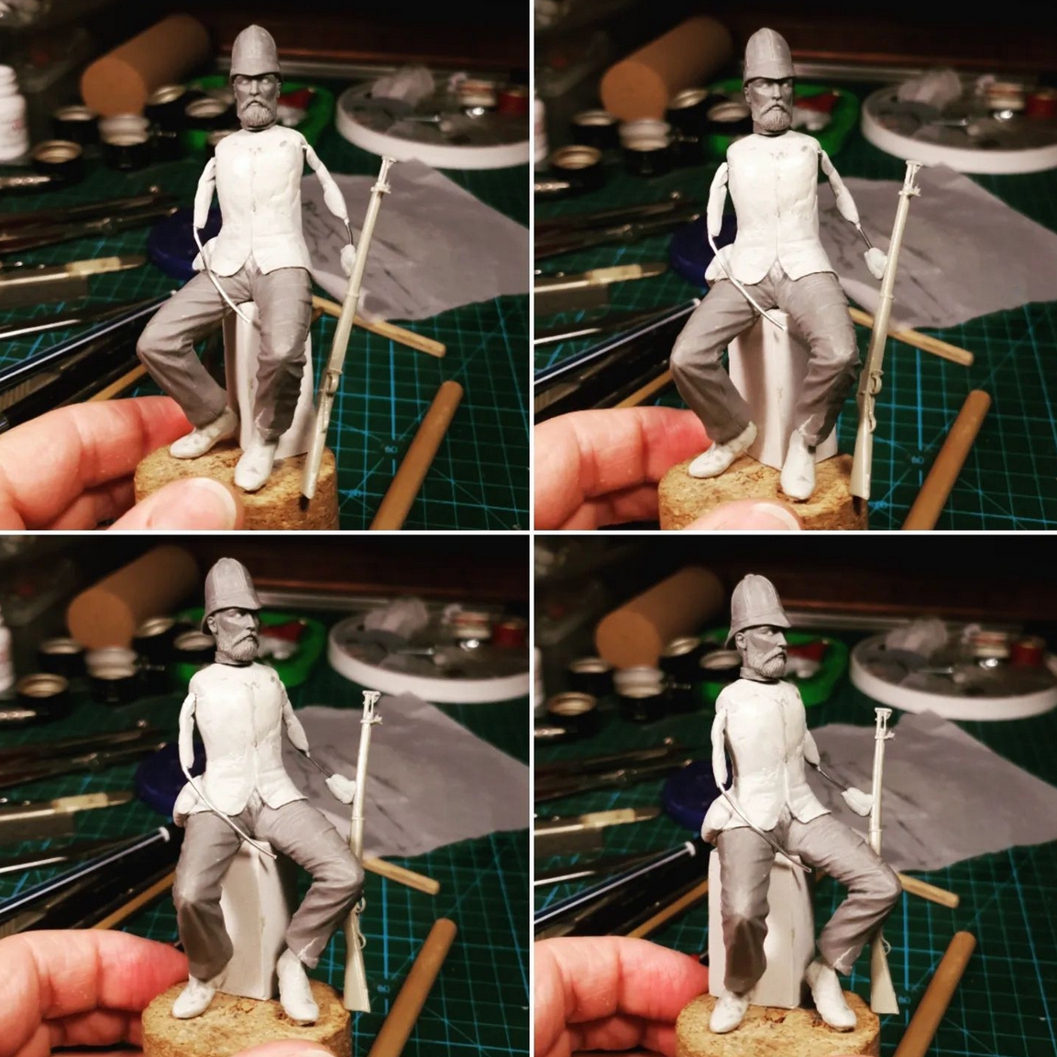
Our sales figures here at SylCreate tell us as much, with it being one of the most popular products we sell. It is also used in some of the most fascinating and widest ranging examples of work; from modifying existing military figures to creating maquettes to sculpting busts of Captain Maintaining from Dad’s Army.
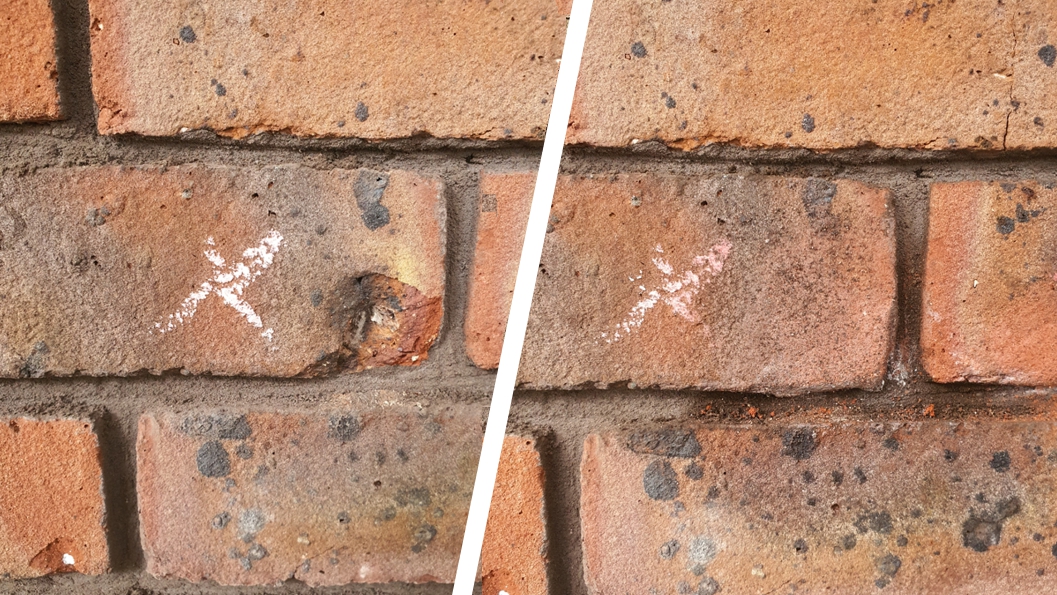
And that is before we even mention all the uses it has in repair. It fixes chipped and damaged statues and other forms of ceramic. It fills cracks. It resists temperatures to 150°C, so it is suitable for exterior use unless you happen to live on the surface of the planet Mercury. Mixing Magic Sculp with brick dust will even create a putty which seamlessly fills damage to brickwork and stone.
What makes Magic Sculp so popular is the ease with which it can be kneaded by hand, used to sculpt and then cures to a ceramic-like material at room temperature without the need for heat.
The basics are straightforward enough, and yet to help you really make the most of Magic Sculp, we decided to put together this how-to guide which answers some of the most frequently asked questions about the product.
How to mix Magic Sculp
Magic Sculp is supplied as two separate components. The lighter grey is the resin, the darker grey the hardener. When the two are mixed together, a chemical reaction takes place which will slowly turn the soft putty into a rock hard material which can can only be removed by chipping it away.
The recommended mix ratio is 50-50 by volume. Break off equal sized balls of resin and hardener and knead them by hand until they turn a uniform grey colour with no streaks. The putty is then ready to be shaped, moulded and applied as required over the next two or so hours before it cures and becomes unworkable.
Changing the mix ratio of Magic Sculp
Changing the mix ratio of Magic Sculp will reconfigure the properties of the putty. Using more hardener will reduce the cure speed from the standard two hours, also leading the set putty to have higher brittleness.
Conversely, more resin will extend the setting time. This is useful if you are using large quantities of putty and are concerned that it may begin curing before you have had time to work with it.
Colouring Magic Sculp
It is possible to colour Magic Sculp by adding epoxy resin pigments before mixing takes place. Pigments should be in powder form; paints or solutions can impact heavily on the chemical behaviour of the putty, whereas powders are less likely to do so.
We always recommend testing Magic Sculp with your chosen pigments before committing to their use in a full-scale project as some will work better than others. Mix up a small amount of Magic Sculp and leave it to cure for 24 hours to assess what impact there is on the cured material.
Another option for colouring Magic Sculp is to paint the cured putty. Paint adhesion is improved by using a primer, but it is not necessarily – most paints will take straight to the hardened material.
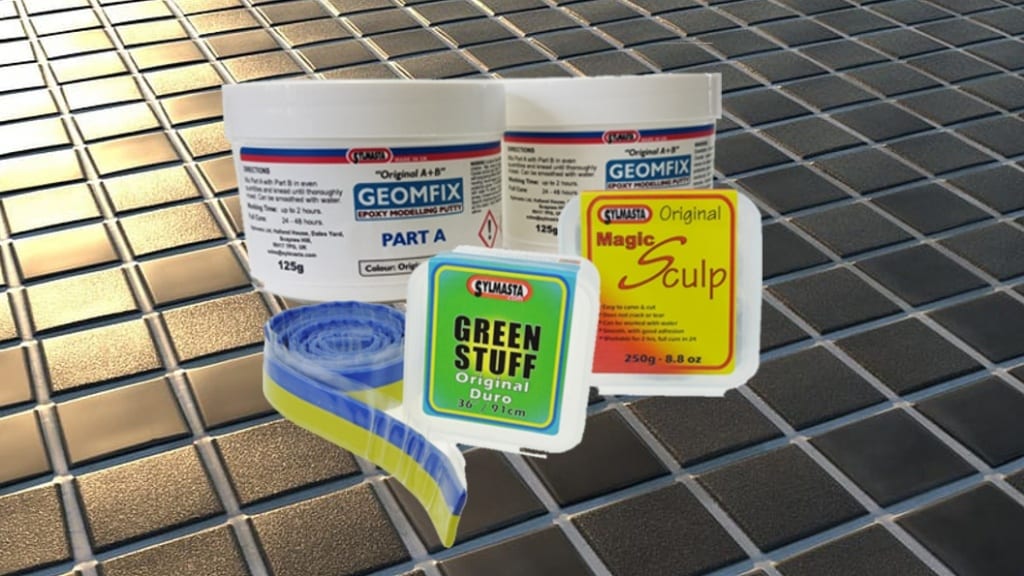
Alternatively, we manufacture Geomfix Colour Epoxy Modelling Putty. Geomfix is a two-part putty with similar properties to Magic Sculp, available in 23 different colours based around Swarovski crystals and used mainly to sculpt and create jewellery. Pre-coloured epoxy putty removes the risk that adding pigments will not work.
Materials Magic Sculp will adhere to
Magic Sculp will adhere to a metal, glass, stone, wood, ceramic, jewellery, fabric and many more materials. Newly mixed putty will also adhere to already cured Magic Sculp, meaning you can return to projects after long gaps between work. If the cured material is especially smooth, sand the surface first to improve adhesion.
The same preparation process is needed when using Magic Sculp with some plastics, like polysterol or stryrene. One alternative to sanding when working with plastics is to apply a thin layer of plastic cement or PVC glue and bond the putty to this instead. Magic Sculp will not adhere to a painted surface. Paint can be removed using sandpaper or by drilling capture holes into larger surfaces.
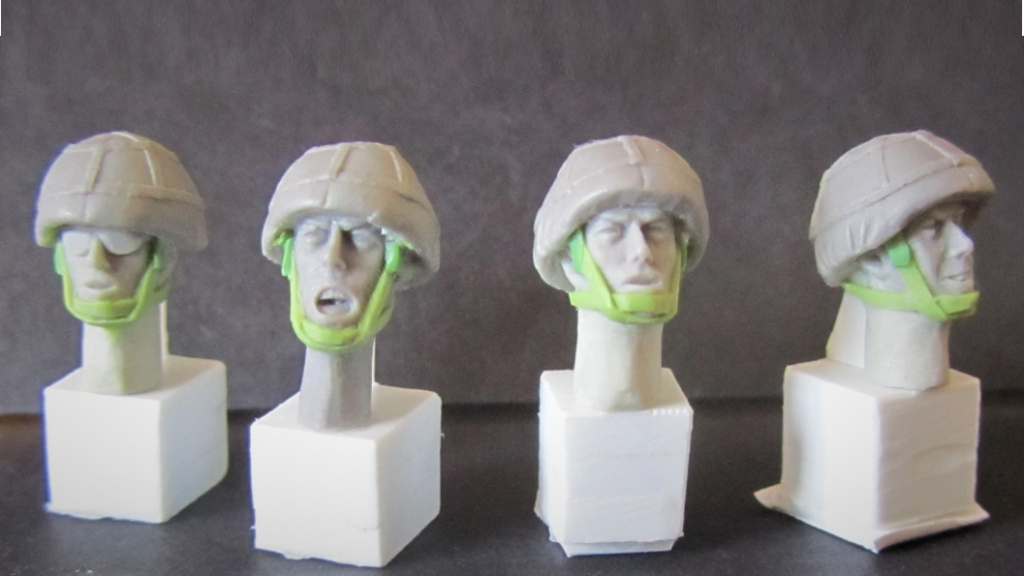
Creating intricate detail with Magic Sculp
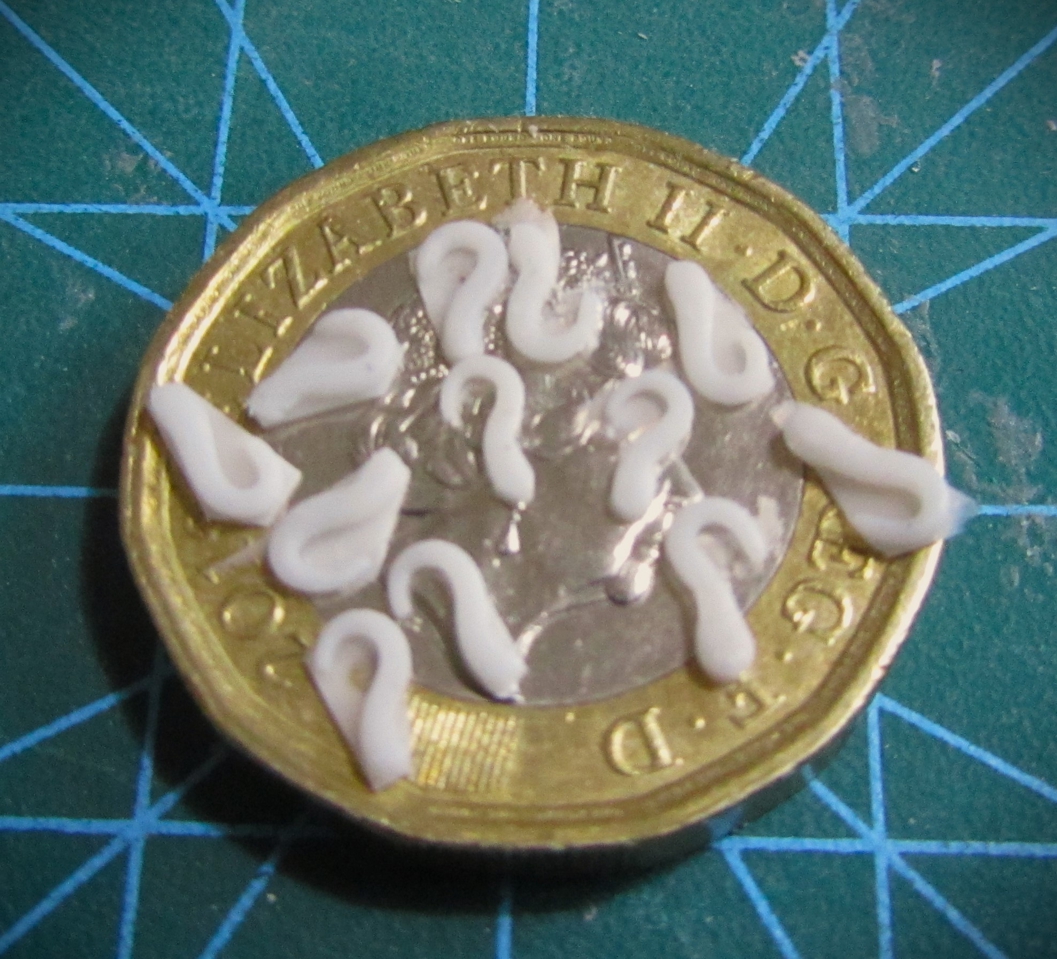
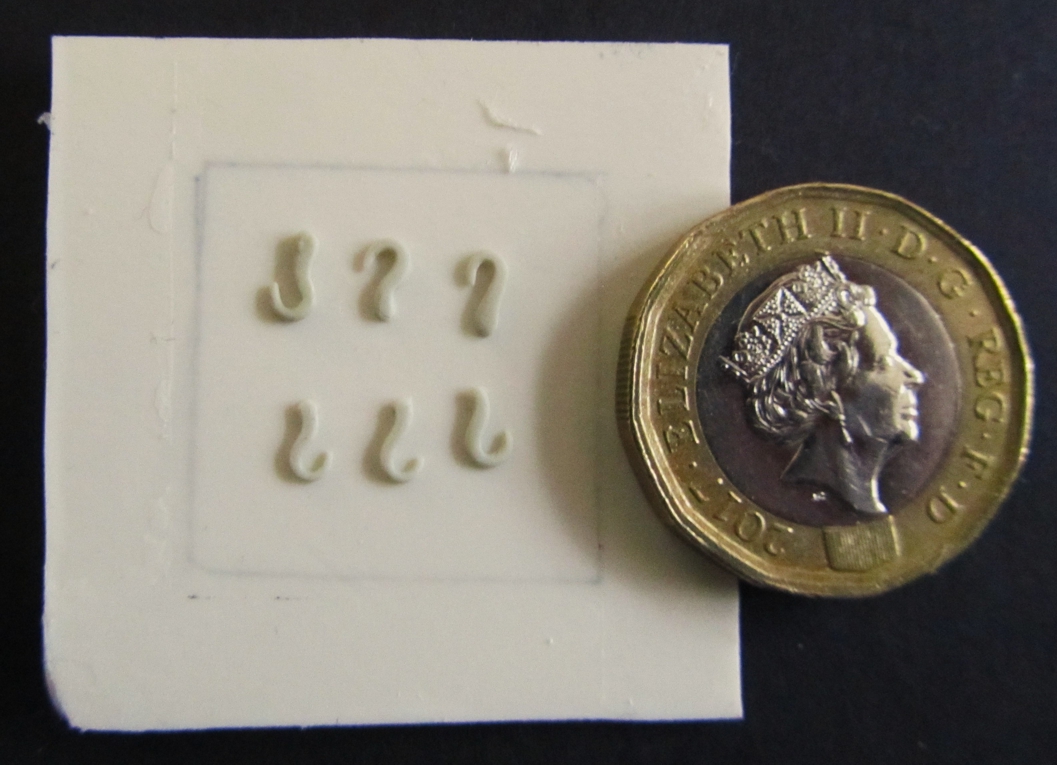
Magic Sculp is ideal for creating tiny pieces with highly intricate details. Paul Wade owns Red Zebra, a company specialising in military models from Middle East conflicts. His smallest sculpt to date using Magic Sculp involved a series of 2mm two hooks for the modification of a wrecker truck.
It can also be rolled to near paper thinness and will still set hard. Multi-award winning military modeller Dr Alex Clark uses Magic Sculp to scratch build military stowage, like tarpaulins and rolled blankets, where such characteristics are vital.
“It rolls very easily into thin sheets without tearing and gives realistic and natural folds and creases,” says Dr Clark. Red Zebra Paul adds: “Magic Sculp isn’t too sticky and even has a bit of a waxy feel. It can be rolled into very thin sections, especially if left to cure for a short while, so that it’s a bit firmer.”
Filling cracks in porcelain and ceramic using Magic Sculp
Because of the cured material’s similarities to ceramic, Magic Sculp is ideal for repairing cracked and broken objects. It can be thinned with a little water and made to penetrate cracks, where it will cure for a seamless repair.
Using a wetted finger or sculpting tool helps create an ultra-smooth finish. David Parker writes in his best-selling book David Parker’s Crew School: “Magic Sculp has a soft consistency with just the right amount of resistance.”

“It can be smoothed and worked by adding a touch of water to the surface. This needs to be very controlled or you can turn it to sludge quite easily but dipping a rubber tipped shaper into water will create a lovely smooth finish to your work.”
Making moulds with Magic Sculp
Magic Sculp can be used to create simple moulds or imprints. Whilst the epoxy is soft, pushing the item into the putty will create an impression of the details which will be maintained as it cures.
Using talc or a mould release agent prevents the Magic Sculp from sticking to the master too much. Talc or mould release agent can also be used to create a two-part mould using Magic Sculp.
The toughness of Magic Sculp
The most important question of all involving Magic Sculp more often than not involves how tough it is, especially amongst restorers and sculpturs making repairs or creating a sculpt which needs to be long-lasting.
And the way we always tend to answer it is by explaining the problems users will have if they want to reverse Magic Sculp. If the putty is not fully cured, it can be dissolved using warm water and soap or isopropanol, depending on how far along the curing process is.
Once Magic Sculp has set, the only way to remove it is to chip away as if working with stone, or use a grinding motor toll. That is how tough it is and why it is is such a popular medium.
One of the only ways Magic Sculp can broken down is by UV rays. Over time, UV impacts polymer resins of the type Magic Sculp consists of. This can be overcome by painting the cured material. Paint offers protection agains UV, enabling the Magic Sculp to last, well, forever barring an unforeseen circumstances.
In terms of general outdoor use, the temperature resistance of Magic Sculp means it will not be harmed by exposure to average temperatures. Frost makes all materials brittle, so if sculpting for outdoor used it is advised to keep enough cross-section in parts.
Related Products
-
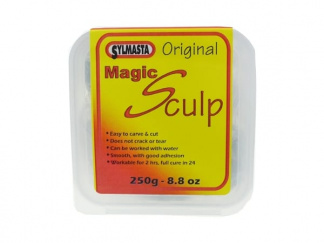 Magic SculpPrice range: £18.23 through £1,922.53 inc. VAT
 -
 Modelling Putty Kit£35.39 inc. VAT
 -
Modelling Putty Kit XL£61.64 inc. VAT
Related Articles
Modelling in a heat wave: Tips for using epoxy putty in hot weather
Epoxy modelling putty – Your guide to model making & sculpting putties
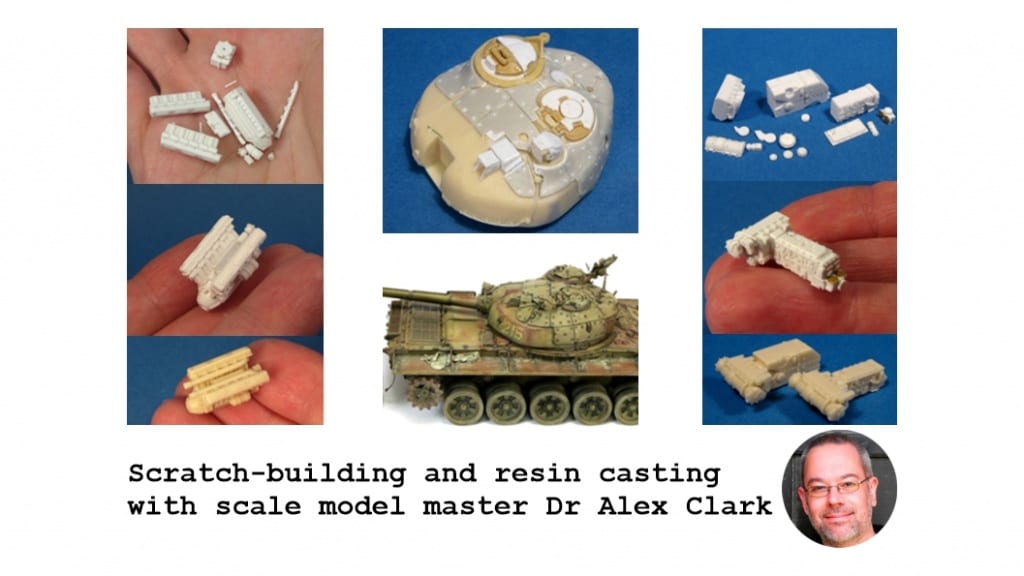
Scratch-building and resin casting with scale model master Dr Alex Clark
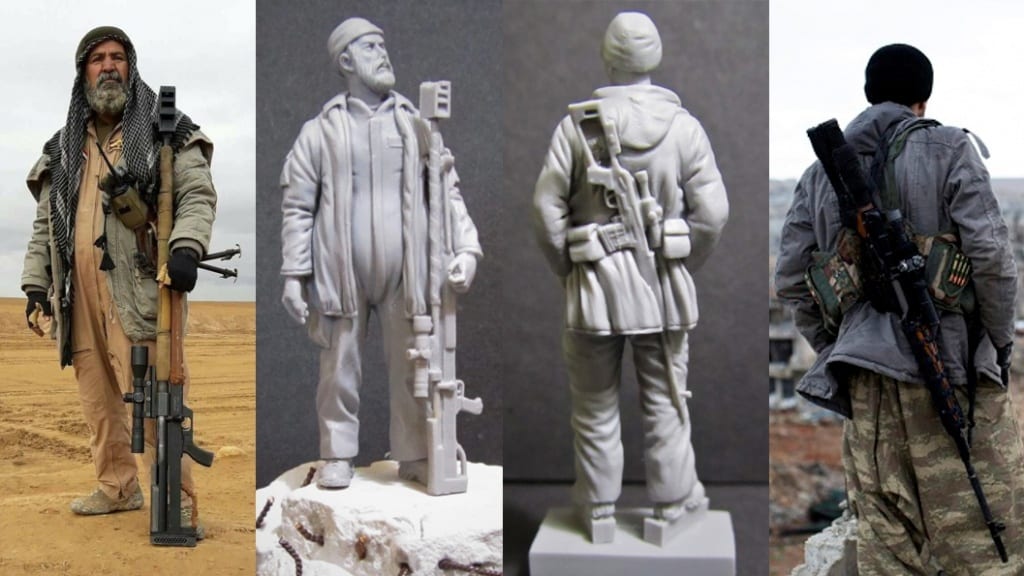
The real life snipers who fought ISIS immortalised in Magic Sculp

How to turn modelling putty into a material for brick restoration

The benefits of mixing modelling putties

David Parker’s Crew School and bringing figures to life with the man himself
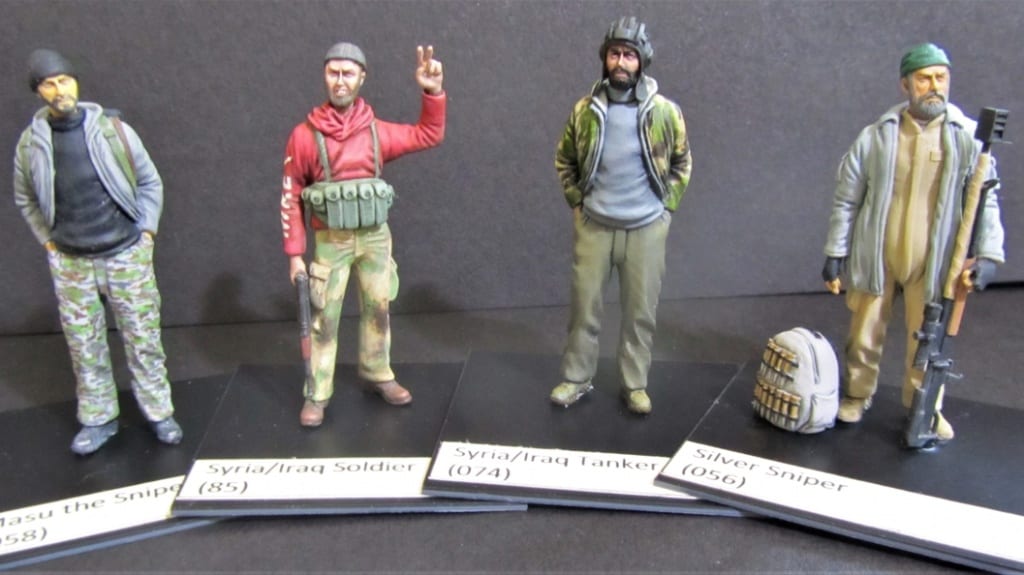
Meet the military modelling company with the Middle East at its heart